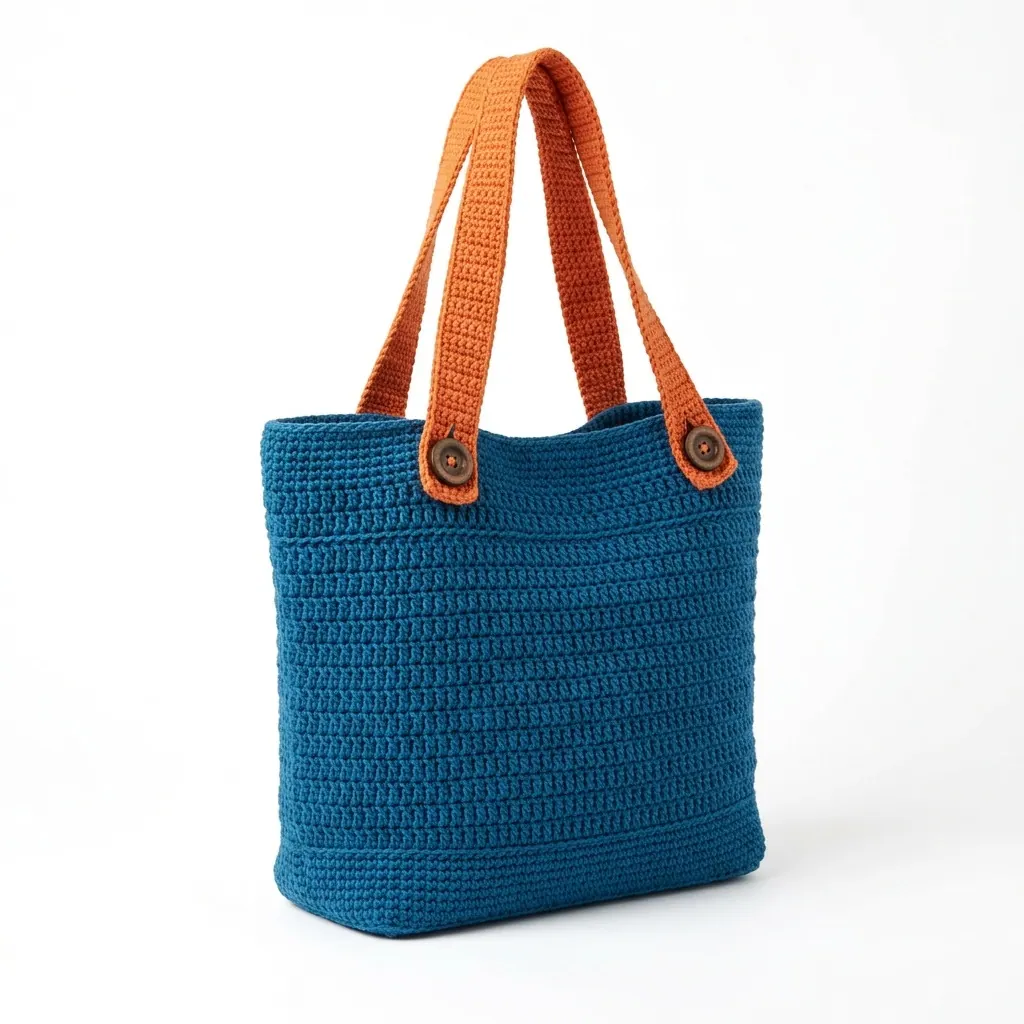
Free Crochet Chunky Winter Tote Bag Pattern for Beginners
A free crochet chunky winter tote bag pattern with straightforward steps and tips. Perfect for carrying essentials in style during colder months.
Published · by Sara
- Skill level
- Beginner
- Yarn weight
- Bulky (6)
- Hook size
- 10 mm (US N/P-15)
- Yardage
- about 720 m
- Gauge
- 8 hdc and 4 rows = 10 cm
- Time
- 7 hours
- Sizes
- 40.6 × 35.6 cm × 12.7 cm (16 × 14 × 5 in)
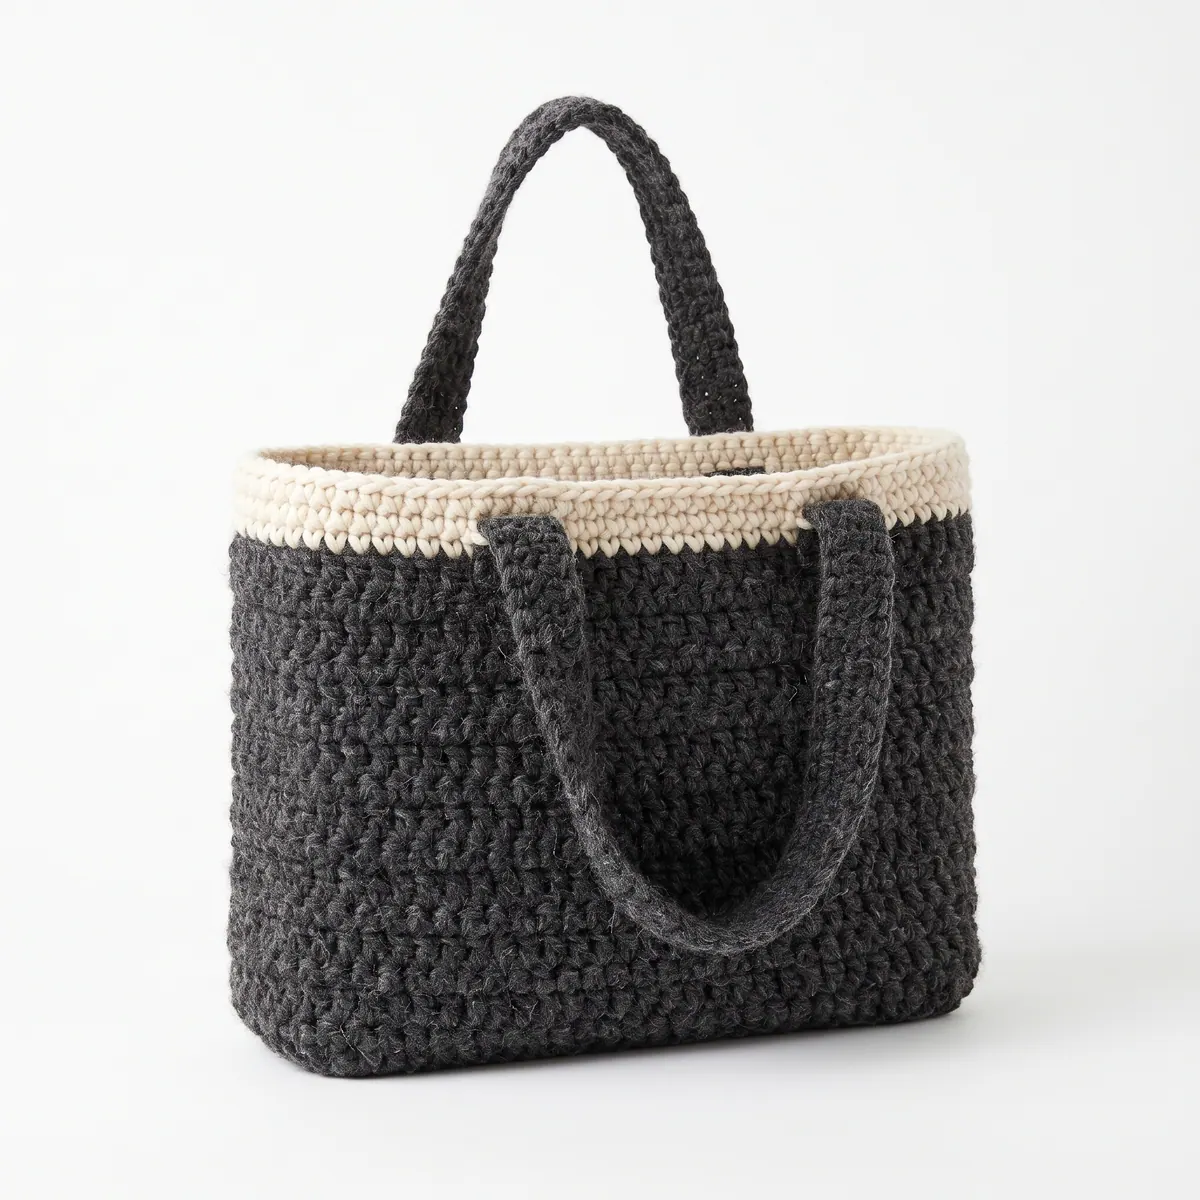
This crochet chunky winter tote bag pattern makes a stylish and functional accessory for the colder months. It features a textured stitch pattern, sturdy handles, and is perfect for carrying your essentials. With easy steps, you’ll be using basic stitches like half double crochet and single crochet to make this lovely bag.
This pattern suits everyone, whether you're a beginner looking to build confidence or an experienced crocheter needing a quick and enjoyable project. Let’s create a cozy and chic tote together!
Why You'll Love This Bag
- Quick and fun to make – you can crochet this bag in about 7 hours.
- Sturdy design – the thick yarn and reinforced handles mean you can carry all your essentials securely.
- Customizable – choose your color combinations or add personal touches like buttons or stripes for a unique flair.
- Perfect for beginners – you'll practice essential stitches while building your confidence!
Is This Pattern Good for Beginners?
Yes! This pattern uses basic stitches and easy-to-follow instructions. Even if you're new to crocheting, the step-by-step format will guide you through successfully creating your new tote bag.
Crochet Abbreviations (US Terms)
- ch – chain
- hdc – half double crochet
- sc – single crochet
- sl st – slip stitch
- st(s) – stitch(es)
Size and Gauge
- Finished size: 40.6 × 35.6 cm × 12.7 cm (16 × 14 × 5 in)
- Gauge: 8 hdc and 4 rows = 10 cm (4 in)
Checking your gauge is important; if your swatch is too large, try a smaller hook, and if it's too small, switch to a larger hook.
Step 1: Body of the Bag
The body of the bag is worked in rows.
- Ch 52. (51 sts)
- Row 1: Hdc in 3rd ch from hook, hdc in each ch across. Turn. (50 sts)
- Row 2: Ch 2, hdc in each st across. Turn. (50 sts)
- Repeat Row 2 until piece measures 35.6 cm (14 in) from the beginning (approx. 12 rows total).
- Switch to cream yarn.
- Row 13: Ch 2, hdc in each st across. Turn. (50 sts)
- Repeat Row 13 until piece measures 40.6 cm (16 in) from the beginning (approx. 3 rows total).
- Fasten off and weave in ends.
Step 2: Sides
The sides are joined to form the bag shape.
- Fold the body in half, with the cream section at the top, and sl st together the long sides.
- Leave one short side open for the bag's opening.
Step 3: Bottom
We’ll make a sturdy bottom by working through both layers.
- Working through both layers of the bag, join main color yarn at one open corner with sl st.
- Ch 1, sc in each st around the bottom edge. Join with sl st to the first sc. (50 sts)
Step 4: Handles (Make 2)
The handles add function and style.
- Ch 30. (29 sts)
- Row 1: Hdc in 3rd ch from hook, hdc in each ch across. Turn. (28 sts)
- Row 2: Ch 2, hdc in each st across. Turn. (28 sts)
- Repeat Row 2 until the strip measures 50.8 cm (20 in).
- Fasten off, leaving a long tail for sewing.
Step 5: Assembly of Handles
We'll attach the handles securely.
- Position the handles 10.2 cm (4 in) from each side of the bag's opening.
- Sew the handles to the bag using a tapestry needle and the long tail, making sure they are secure.
Finishing Tip: Weave Ends Neatly
Weave in all ends using a tapestry needle. Blocking the bag can also help achieve the final measurements and shape. For an extra touch, add a decorative button to the cream section if you like.
Beginner Tips for a Neat Bag
- Keep your work organized by using stitch markers to mark the beginning of each round or row.
- Maintain even tension throughout your stitches for a beautiful finish.
- Check your size as you go to ensure your project matches the dimensions.
Common Mistakes (and How to Fix Them)
- "My bag is not the right size." – This can happen if your gauge is off. Always check your gauge and adjust your hook size if necessary.
- "The stitches look uneven." – This may be due to inconsistent tension. Focus on keeping an even tension with each stitch.
- "My bag feels floppy." – This could be from too few stitches on the bottom. Ensure you follow the pattern as written for a sturdy base.
How to Care for Your Bag
To care for your finished tote, hand wash in cold water and lay it flat to dry. This will help maintain its shape and keep it looking great for seasons to come.
FAQ
Can I customize the size?
Absolutely! You can adjust the starting chain and the number of rows to make a larger or smaller tote, just remember to keep your gauge in check.
What if I don’t have bulky yarn?
You can substitute yarn, but keep in mind the gauge might change. Adjust your hook size as necessary to achieve the same dimensions.
How long will this take to make?
On average, expect about 7 hours of work to complete the bag, depending on your skill level and pace.
Want a matching set? Check out our crochet purse patterns or see all our free crochet bag patterns.
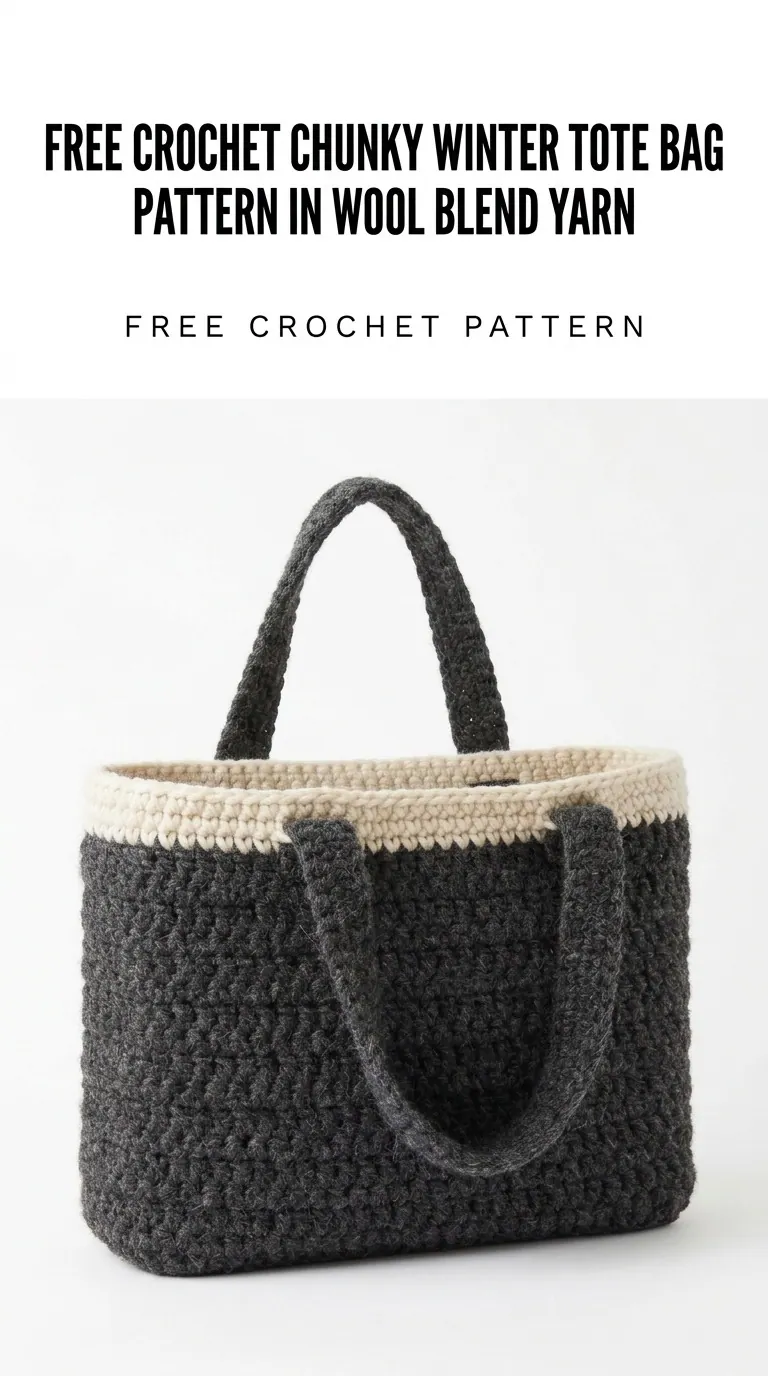
Image shown for inspiration — your finished result may vary slightly.