Free Crochet Padded Laptop Sleeve Pattern for Beginners
A free crochet padded laptop sleeve pattern with simple steps and helpful tips. Perfect for keeping your laptop safe and stylish.
Published · by Sara
- Skill level
- Intermediate
- Yarn weight
- Worsted (4)
- Hook size
- 5.5 mm (I-9)
- Yardage
- approximately 250 yards
- Gauge
- 14 dc and 10 rows = 10 cm
- Time
- approximately 5–6 hours
- Sizes
- 38 × 25 cm (15 × 10 in)
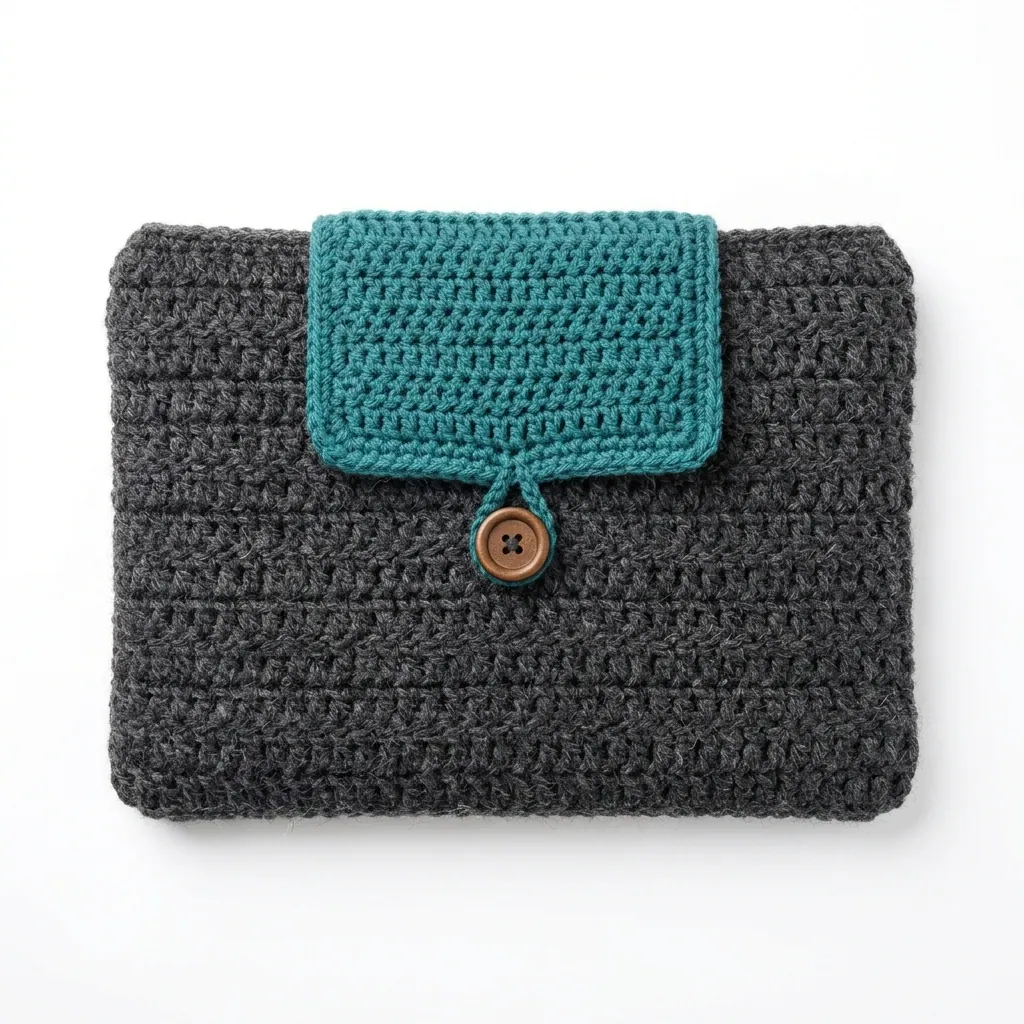
This crochet padded laptop sleeve pattern makes a stylish and functional accessory to keep your laptop safe. It features a secure button flap closure and good padding, which is perfect for preventing scratches and bumps. You'll be using basic stitches like double crochet and single crochet throughout, making it a satisfying project.
This pattern is great for those who have some crochet experience and are looking to expand their skills. By the end of this project, you'll have a beautiful laptop sleeve, and you'll learn more about working with padding and incorporating closures.
Why You'll Love This Padded Laptop Sleeve
- Protective and stylish – keeps your laptop safe while looking great.
- Easy to customize – adjust the size and colors to fit your personal style.
- Practical button flap – ensures your laptop remains secure while on the go.
- Quick to make – with an estimated total time of 5–6 hours, you’ll have a finished product in no time!
Is This Pattern Good for Beginners?
Yes! While this pattern is classified as intermediate, it primarily uses basic crochet stitches. If you know how to do chain, single crochet, and double crochet, you'll be just fine tackling this project.
Crochet Abbreviations (US Terms)
- ch – chain
- sc – single crochet
- dc – double crochet
- sl st – slip stitch
- FLO – front loop only
- BLO – back loop only
Size and Gauge
- Finished Sleeve Size: 38 × 25 cm (15 × 10 in)
- Gauge: 14 dc and 10 rows = 10 cm (4 in)
Check your gauge by crocheting a swatch and adjusting your hook size as needed to match the requirements.
Step 1: Body of the Laptop Sleeve
The body is made in rows, starting with a foundation chain.
- Ch 42.
Row 1:
2. Dc in 4th ch from hook and in each ch across. (40 dc)
3. Ch 3, turn.
Rows 2–20:
4. Dc in each dc across. (40 dc)
5. Ch 3, turn.
6. Repeat this row until you have a total of 20 rows.
Row 21:
7. Ch 1, sc across. (40 sc)
8. Fasten off.
Step 2: Adding Padding and Flap
We'll add the foam padding for protection and crochet the flap for closure.
Cut Foam Padding:
9. Cut a piece of foam padding to 38 × 102 cm (15 × 40 in).
10. Place foam inside the sleeve.
Flap:
11. From the top edge of the sleeve, rejoin yarn at the center on the back side and ch 1.
12. Sc in the same stitch and in the next 15 stitches. (16 sc)
13. Ch 3, turn.
14. Dc in each sc across. (16 dc)
15. Ch 1, turn.
16. Sc in each dc across. (16 sc)
17. Ch 8 (button loop), turn.
18. Sl st in 2nd ch from hook and each ch across. Fasten off.
Step 3: Assembly & Finishing
Now let's put it all together!
- Fold the body of the sleeve with foam inside.
- Secure the side seams using a whip stitch or slip stitch.
- Sew the button onto the front side of the sleeve, ensuring its placement aligns with the button loop.
- Weave in all ends.
- Block the sleeve to shape.
Beginner Tips for a Neat Padded Laptop Sleeve
- Keep your workspace organized – it helps manage your yarn and tools.
- Maintain consistent tension – this will keep your stitches even.
- Measure your work as you go – checking size will help ensure a perfect fit.
Common Mistakes (and How to Fix Them)
- My sleeve is too tight! – This could be due to an incorrect foundation chain. Adjust your starting chain for a better fit.
- The stitches are uneven. – This often happens from inconsistent tension. Practice keeping the same pressure while crocheting.
- The foam doesn't fit. – You may have mismeasured. Confirm your dimensions and adjust if necessary for a snug fit.
How to Care for Your Padded Laptop Sleeve
For best results, hand wash your sleeve in cold water and lay it flat to dry. Avoid machine drying to keep its shape and integrity.
FAQ
Can I customize the size?
Absolutely! Adjust the foundation chains based on the width of your laptop for a perfect fit.
What if I want a different color?
Feel free to mix and match your yarn colors! This pattern is very flexible for personal touches.
How long will this take to make?
The estimated time for this laptop sleeve is around 5–6 hours, depending on your crochet speed.
Want a matching set? Check out our crochet purse patterns or see all our free crochet bag patterns.
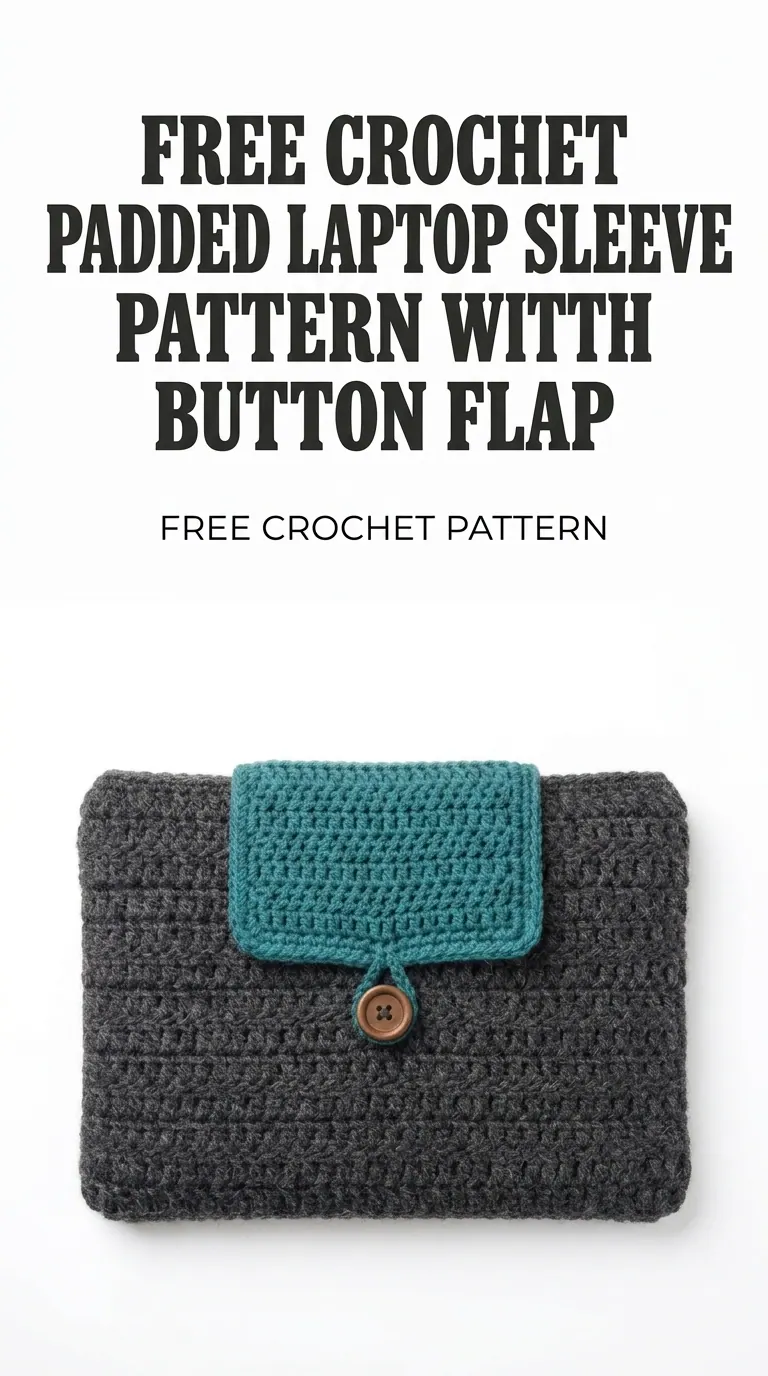
Image shown for inspiration — your finished result may vary slightly.