How to Line a Crochet Tote Bag With Fabric Step by Step
A free crochet tote bag lining pattern with clear steps and practical tips. Perfect for adding style and functionality to your crochet totes.
Published · by Sara
- Skill level
- Beginner
- Yarn weight
- Worsted (4)
- Hook size
- N/A
- Yardage
- about 200 yards
- Sizes
- 30 × 35.5 cm (12 × 14 in)
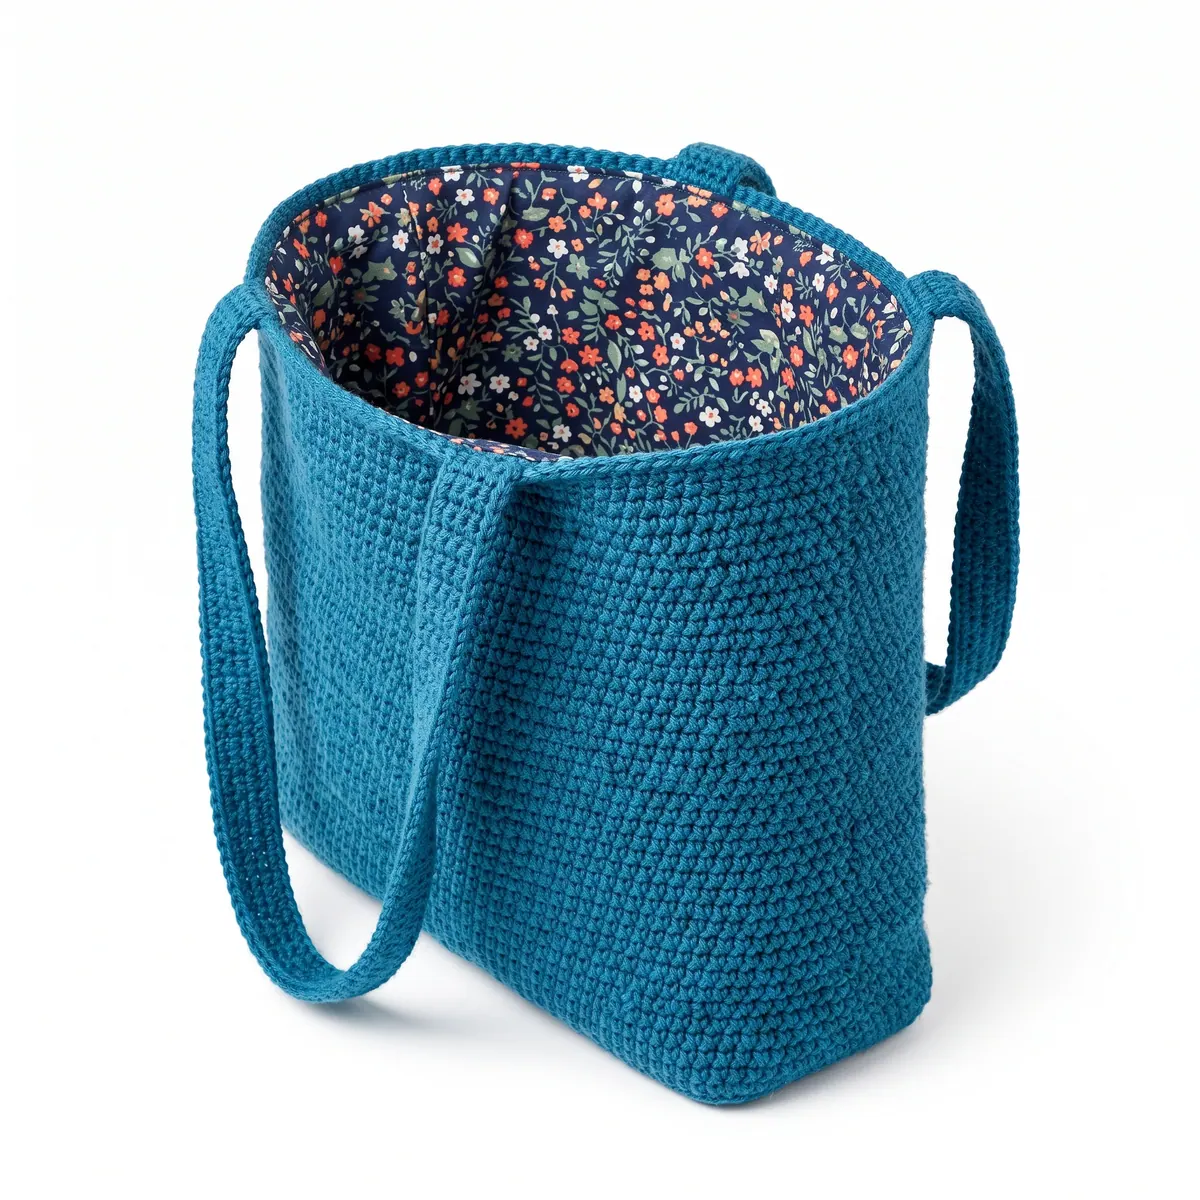
This crochet tote bag lining pattern is a fantastic way to make your handmade bag even more beautiful and useful. By learning how to add a fabric lining, you'll enhance the overall look and functionality of your tote. Plus, mastering this technique will give you the confidence to customize your bags in new ways.
This project is perfect for crocheters of any skill level wanting to improve their bags. You’ll learn not only how to sew but also how to create boxed corners, ensuring a professional finish that makes your tote bag truly stand out.
Why You'll Love This Lining Project
- Easy to follow – clear, step-by-step instructions make it beginner-friendly.
- Customizable dimensions – adapt the lining to any size crochet tote bag.
- Enhances functionality – adds structure and can include pockets for organization.
- Fun fabric choices – use bright or patterned cotton to express your style.
Is This Pattern Good for Beginners?
Yes! This project introduces simple sewing techniques and basic measurements, making it a great learning opportunity for beginners. You'll gain practical skills while creating something useful.
Size and Gauge
- Finished dimensions depend on your completed crochet tote bag.
- Example: A bag measuring 30 × 35.5 cm (12 × 14 in) will require fabric cut to those dimensions.
- Fabric gauge is not applicable for this project.
Step-by-Step Instructions
1. Preparing the Fabric
The fabric lining is prepared to fit your tote bag.
- Measure the height and width of your crochet tote bag.
- Cut two pieces of fabric:
- For a fully lined bag, cut one piece that matches the width and height of the bag and an additional piece for the base.
- If your tote bag has a bottom, cut a rectangle that is the same width as your bag and about 10 cm (about 4 in) tall.
Example for a bag that is 30 cm (12 in) wide and 35.5 cm (14 in) high:
- Cut a piece 30 cm (12 in) wide × 35.5 cm (14 in) high (for the main lining).
- Cut an additional base piece 30 cm (12 in) wide × 10 cm (4 in) high.
2. Assembling the Lining
The lining pieces come together to create a finished fabric lining. 3. Sew Side Seams:
- With right sides together, pin the fabric's side edges together (the 35.5 cm (14 in) height edges).
- Sew the side seams with a straight stitch, leaving a 0.6 cm (1/4 in) seam allowance. Repeat for the second piece.
Attaching Base:
- Pin the base piece to the bottom of the side-seamed fabric, right sides together.
- Sew around the edges with a straight stitch, again leaving a 0.6 cm (1/4 in) seam allowance.
Creating Boxed Corners:
- To box corners, fold the corners of the lining to create a triangular shape, lining up the side seam with the bottom seam.
- Measure 3.8 cm (1.5 in) from the tip, and sew across the triangle. Trim excess fabric. Repeat on both sides.
Turn Lining Right Side Out:
- Turn the fabric piece right side out and press with an iron for a neat finish.
3. Inserting the Lining into the Bag
Now we can put the completed lining inside the crochet bag. 7. Insert Lining:
- Place the fabric lining into the crocheted tote bag with the right side facing the inside of the bag.
- Pin Together:
- Align the top edges of the lining with the top edge of the crochet bag, pinning them together.
4. Attaching Lining to Bag
Let’s secure the lining to the bag. 9. Sew Lining to Bag:
- Using a whip stitch or a straight stitch, sew the lining to the top edge of the bag, ensuring to catch both layers (the crochet and the lining).
- Work slowly to ensure that the stitches are even.
- Final Touches:
- Remove any pins and check that the lining is fully secured and lies flat within the bag.
5. Finish
Complete your beautiful lined tote bag. 11. Weave in Ends: - Use a tapestry needle to weave in any ends from your crochet work as well as finish off any exposed threads on the lining.
Beginner Tips for a Neat Lining
- Keep fabric pieces organized as you cut to avoid confusion.
- Maintain an even tension while sewing to ensure straight seams.
- Check measurements frequently to ensure a perfect fit.
Common Mistakes (and How to Fix Them)
- My lining is too loose. – This might happen if you cut the lining too big. Make sure to measure accurately against the bag.
- The corners don’t look right. – This often means the sewing angle was off. Double check that you’re creating triangles accurately when boxing the corners.
- The stitches are messy. – Uneven tension or rushing can cause this. Take your time and adjust your grip on the fabric for better control.
How to Care for Your Lined Tote Bag
Machine wash the lining fabric on a cold setting and tumble dry low. For the crochet bag, spot clean with cold water or hand wash gently to keep it looking its best.
FAQ
Can I customize the size?
Absolutely! Simply measure your crochet bag and adjust the fabric dimensions accordingly.
What type of fabric works best?
100% cotton fabric is recommended for its durability and ease of care, but you can choose any fabric you like that fits your style.
How long will this take to complete?
Estimated time varies, but the whole project can be completed in about 2 hours, including preparation, assembly, and sewing.
Want a matching set? Check out our crochet purse patterns or see all our free crochet bag patterns.
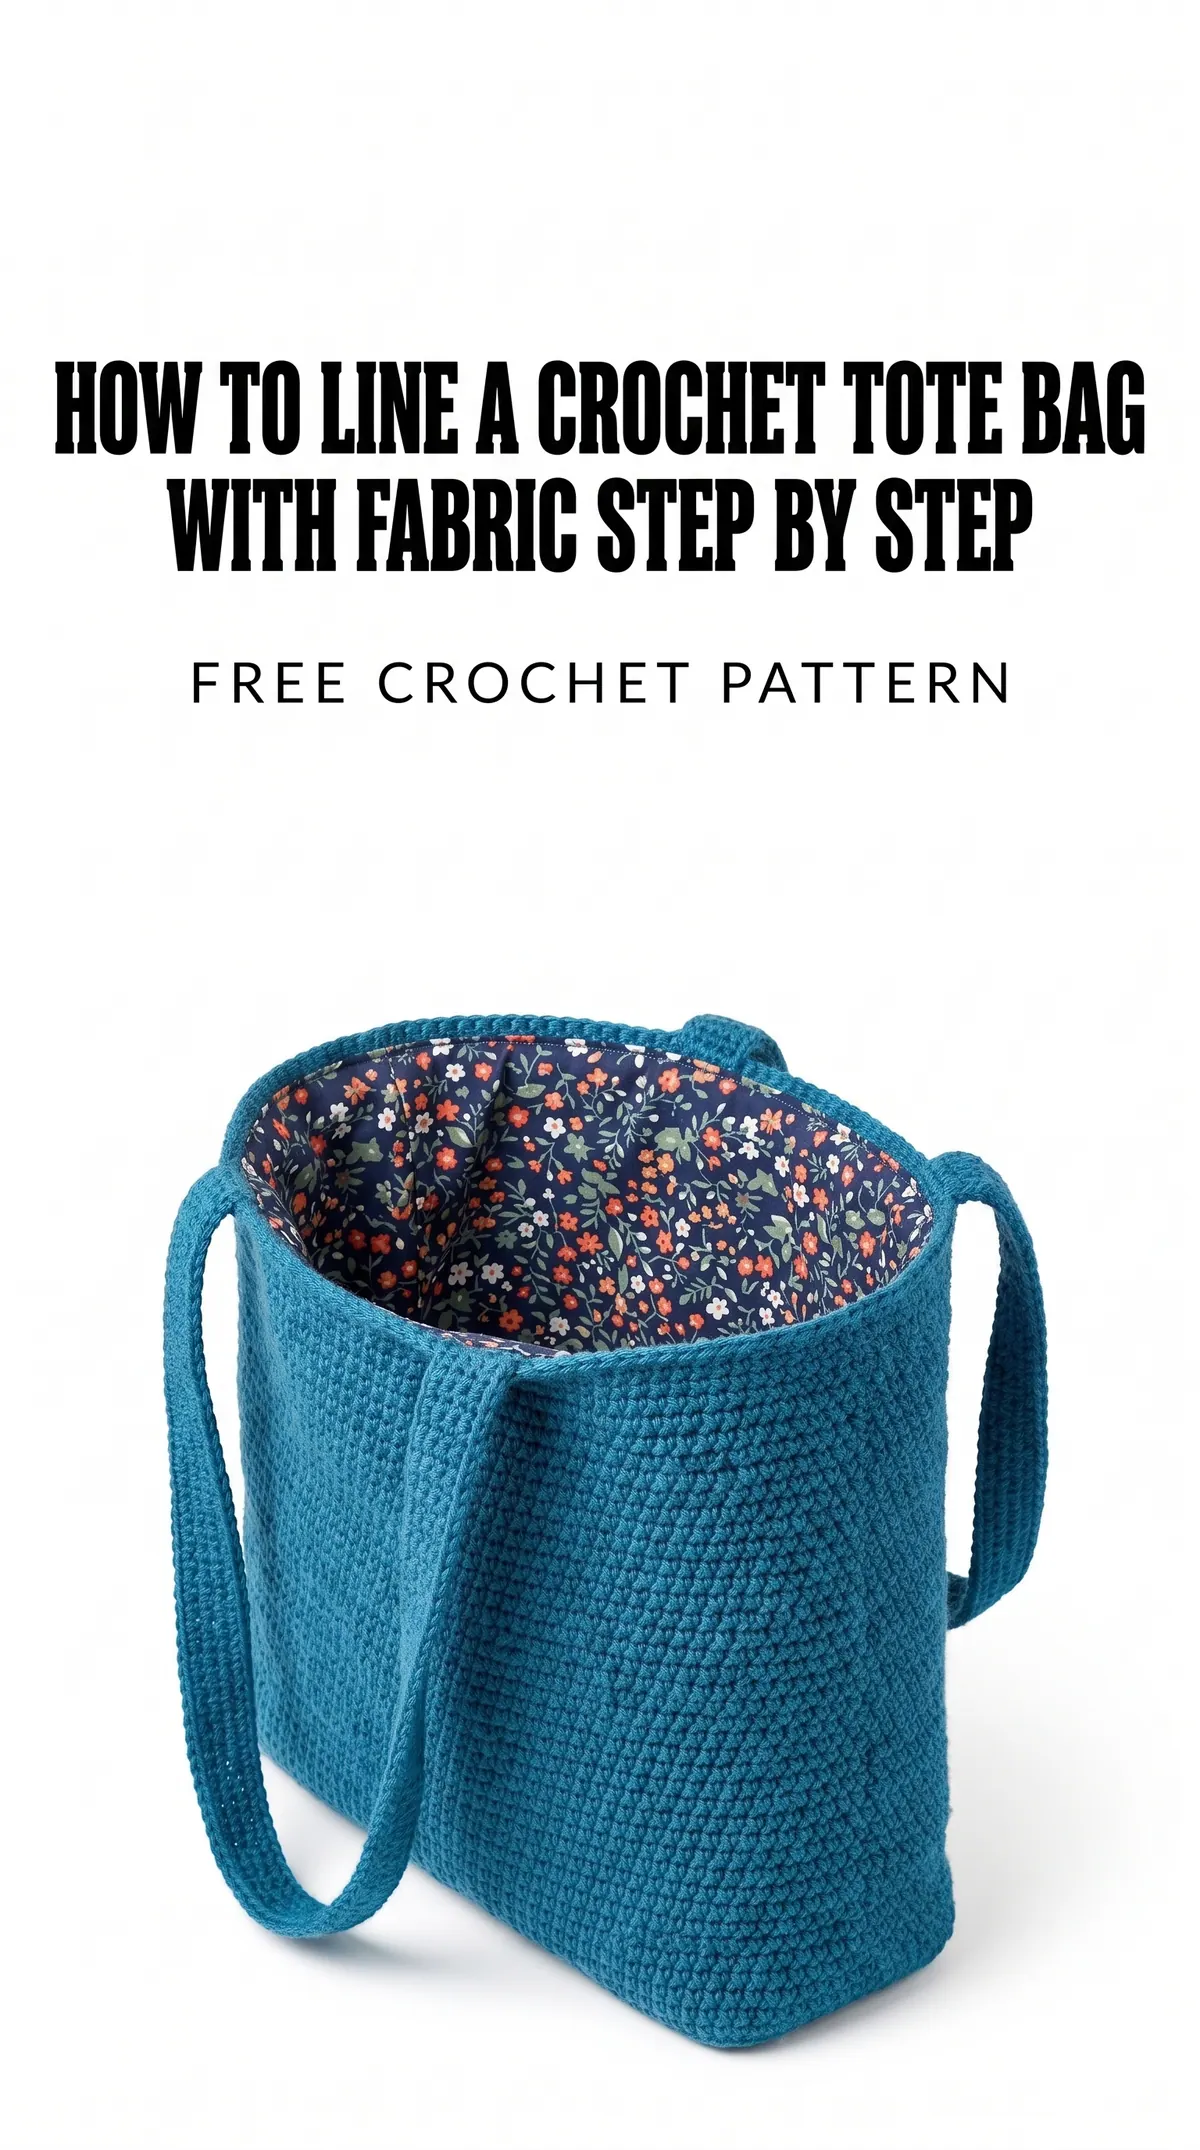
Image shown for inspiration — your finished result may vary slightly.