Alpine Stitch Crochet Pillow Cover Pattern for Beginners
A free crochet pillow cover pattern with straightforward steps and helpful tips. Perfect for adding texture and warmth to your home decor.
Published · by Sara
- Skill level
- Beginner
- Yarn weight
- Worsted (4)
- Hook size
- 5.0 mm (H-8)
- Yardage
- about 450 yards
- Gauge
- 14 sts and 10 rows = 10 cm
- Time
- 4–6 hours
- Sizes
- 45 × 45 cm (18 × 18 in)
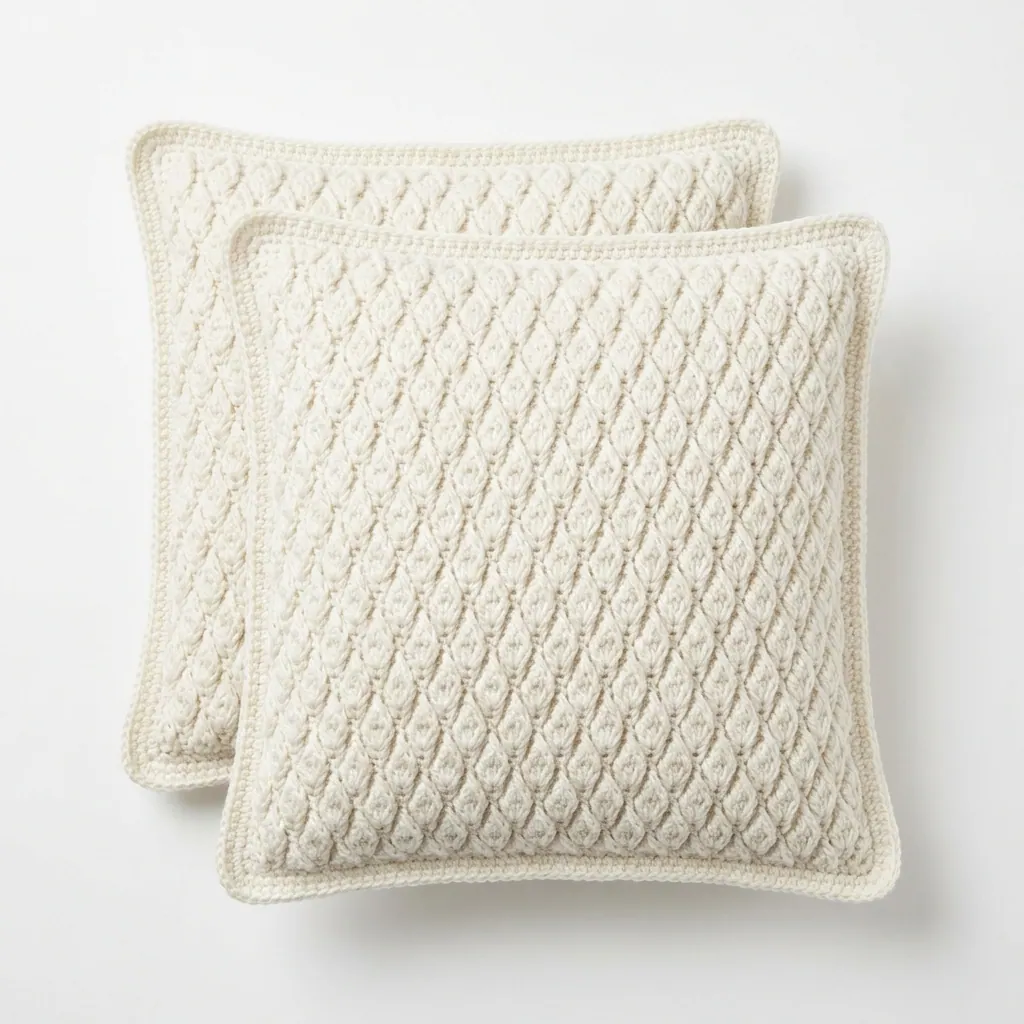
This crochet pillow cover pattern features a beautiful alpine stitch that adds texture and visual interest to any decor. It's designed to fit a standard 45 × 45 cm (18 × 18 in) pillow insert, making it both practical and decorative. You'll enjoy the straightforward repeat of basic stitches like double crochets and half double crochets as you create this cozy cover.
This project is perfect for those looking to enhance their crochet skills while making a lovely home accessory. You will learn how to work the alpine stitch, which will give your work a stunning texture. Let's dive in!
Why You'll Love This Pillow Cover
- Beautiful Texture – The alpine stitch adds an eye-catching design that will elevate your home decor.
- Easy to Follow – With simple steps and clear instructions, this pattern is perfect for beginners.
- Customizable Colors – You can choose your favorite colors to match your home or gift it to someone special.
- Quick Project – This pillow cover works up quickly, making it a satisfying addition to your crafting repertoire.
Is This Pattern Good for Beginners?
Yes! This pattern primarily uses basic stitches like chains, double crochet, and half double crochet. You will also learn the alpine stitch, which is simple and rewarding.
Crochet Abbreviations (US Terms)
- ch – chain
- dc – double crochet
- hdc – half double crochet
- st(s) – stitch(es)
- ( ) – denotes stitch count
Special Stitch: Alpine Stitch
- Alpine Stitch:
- Yarn over, insert hook into the indicated st and pull up a loop.
- Yarn over and pull through 2 loops (2 loops remaining).
- Yarn over again and insert hook into the same st, pull up a loop.
- Yarn over and pull through 2 loops (2 loops remaining).
- Yarn over and pull through all 3 loops.
Size and Gauge
- Finished Size: 45 × 45 cm (18 × 18 in)
- Gauge: 14 sts and 10 rows = 10 cm (4 in) in alpine stitch pattern.
To check your gauge, crochet a swatch of 20 sts and 14 rows. If your swatch does not match, adjust your hook size accordingly.
Step 1: Making the Pillow Front
The front piece is worked in rows.
- Foundation Chain: Ch 48.
- Row 1: 1 dc in the 4th ch from the hook, 1 dc in each of the next 2 ch, *1 alpine st in next ch, 3 dc in next ch; repeat from * to end, turn. (Total 12 alpine sts and 24 dc)
- Row 2: Ch 2 (counts as 1 hdc), 1 hdc in same st, *1 alpine st in the next alpine st, 3 hdc in the next dc; repeat from * to end, turn.
- Row 3: Ch 2 (counts as 1 hdc), 1 hdc in same st, *1 alpine st in the next alpine st, 3 dc in the next hdc; repeat from * to end, turn.
- Repeat Rows 2-3: 10 more times (total of 20 rows).
- Last Row: Ch 1, sc across all stitches, turn.
- Finish off, leaving a long tail for sewing.
Step 2: Making the Pillow Back
The back piece uses the same technique as the front.
- Foundation Chain: Ch 48.
- Rows 1-20: Repeat the same instructions as for the Pillow Front.
- Finish off, leaving a long tail for sewing.
Assembly & Finishing
- Align the 2 pieces: Place the front and back pieces right sides together, matching the edges.
- Sewing: Using the long tail from both pieces, whip stitch around the edges, leaving one side open for the pillow insert.
- Insert Pillow: Turn the pillow cover right side out and insert the pillow.
- Finishing Edge: Use whip stitch to close the open side, or you can add a zipper if you prefer.
- Weave in all ends: Secure all yarn ends with a tapestry needle.
Beginner Tips for a Neat Pillow Cover
- Stay organized with your yarn and tools, keeping your workspace tidy.
- Maintain consistent tension to keep your stitches even.
- Check your size as you go to make sure it matches the measurements.
Common Mistakes (and How to Fix Them)
- "My pillow cover is too small." – This could be due to a tight gauge. Make sure your stitches are not pulled too tightly.
- "The alpine stitches look different." – Inconsistent counting can lead to uneven stitches. Always make sure to follow the stitch counts carefully.
- "I can't figure out where to insert my hook." – Refer to the stitch instructions and remember the basics. Practice helps with confidence!
How to Care for Your Pillow Cover
To keep your pillow cover looking its best, machine wash on a gentle cycle and lay it flat to dry. Do not iron to maintain its texture.
FAQ
Can I customize the size?
Yes, you can adjust the foundation chain to make a smaller or larger pillow cover. Just remember to maintain even stitch counts for the pattern.
What yarn can I use instead?
You can substitute another worsted weight yarn, but keep in mind that different fibers may affect the texture and gauge.
How long will this take to make?
The estimated working time is about 4-6 hours total, depending on your experience level and comfort with the stitches.
Want a matching set? Check out our crochet purse patterns or see all our free crochet bag patterns.
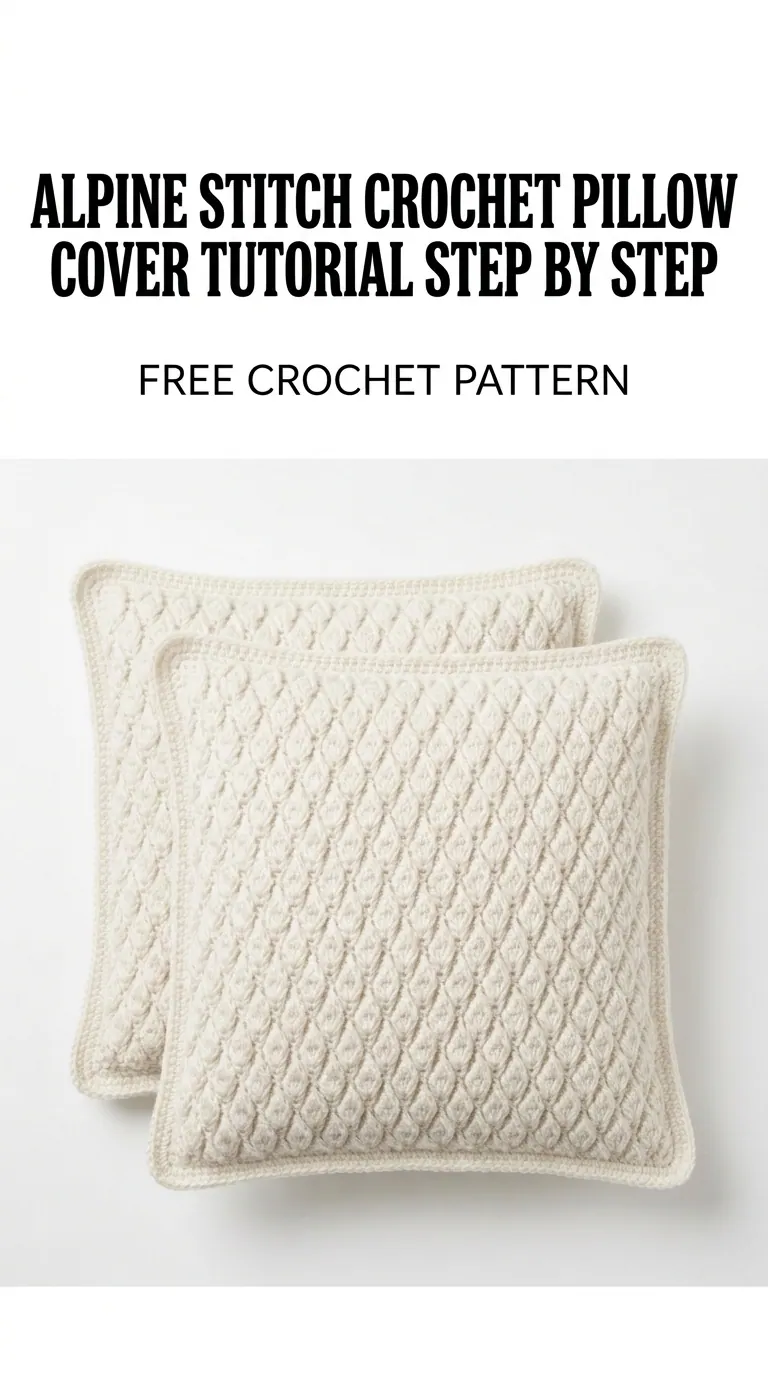
Image shown for inspiration — your finished result may vary slightly.