Crochet Kids Cardigan With Button-Off Sleeves (The Switch Cardi) Pattern for Beginners
A free crochet kids cardigan pattern with straightforward steps and helpful tips. Perfect for layering and versatility.
Published · by Sara
- Skill level
- Beginner
- Yarn weight
- DK (3)
- Hook size
- 4 mm (G/6) and 3.5 mm (E/4)
- Yardage
- approx. 300–450 yards
- Gauge
- 18 dc and 10 rows = 10 cm
- Time
- 6–8 hours
- Sizes
- 2T, 4T, 6T, 8T
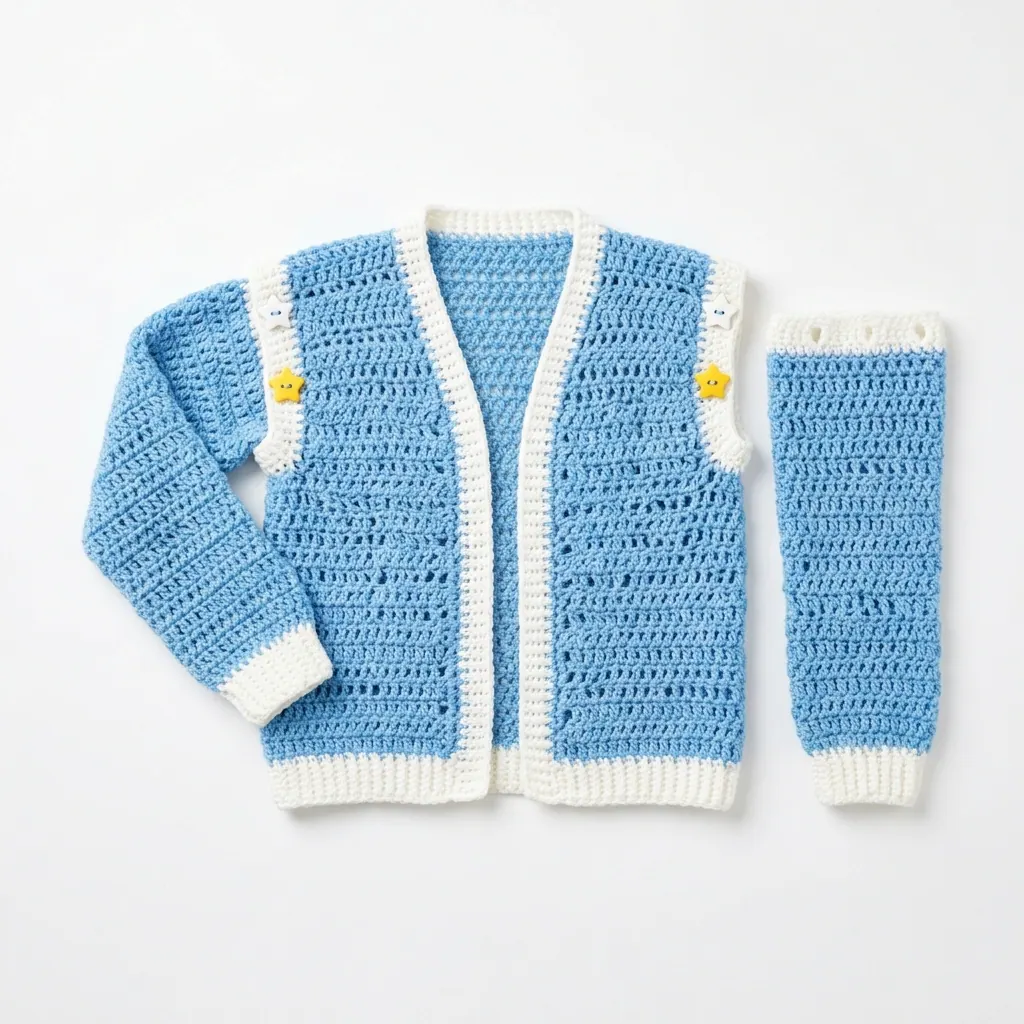
This crochet kids cardigan pattern is special because it features button-off sleeves, making it versatile and fun for little ones. It's both cozy and stylish, perfect for layering, and uses basic stitches like double crochet and single crochet.
Whether you're making this for a child or want to learn how to add unique features to your crochet projects, this pattern is designed to be enjoyable and approachable.
Why You'll Love This Kids Cardigan
- Versatile design – the button-off sleeves allow for different styling options.
- Easy to layer – perfect for changing weather and provides comfort.
- Perfect for little ones – cozy and stylish, sure to keep kids warm.
- Quick to make – with an estimated time of about 6-8 hours, it's a fun project that won't take long to complete.
Is This Pattern Good for Beginners?
Yes! This pattern uses basic stitches like double crochet and single crochet. You'll also learn how to add fun features such as button-off sleeves, making it a great project to grow your skills.
Crochet Abbreviations (US Terms)
- ch – chain
- sl st – slip stitch
- sc – single crochet
- dc – double crochet
- st(s) – stitch(es)
- inc – increase (2 stitches in the same stitch)
- dec – decrease (crochet 2 stitches together)
Size and Gauge
- Gauge: 18 dc and 10 rows = 10 cm (4 in) in double crochet (dc).
- Finished Size:
- 2T: Length 38 cm (15 in), Width 66 cm (26 in)
- 4T: Length 41 cm (16 in), Width 71 cm (28 in)
- 6T: Length 43 cm (17 in), Width 76 cm (30 in)
- 8T: Length 46 cm (18 in), Width 81 cm (32 in)
Step 1: Making the Body
The body is worked in rows.
- Foundation Chain: Ch 58 (62, 66, 70 for sizes 2T, 4T, 6T, 8T).
- Row 1: Dc in 4th ch from hook, dc in each ch across (56, 60, 64, 68 dc total). Turn.
- Row 2: Ch 3 (counts as first dc), dc in next st, ch 1, skip next st, dc in next st repeat from * to * until 2 sts remain, dc in last 2 sts. Turn.
- Row 3: Ch 3, dc in each ch-1 space across (28, 30, 32, 34 dc total). Turn.
- Rows 4–12: Repeat rows 2 and 3 until there are 12 rows total.
- Adding Sleeves: Ch 1, sc around the entire neckline, joining sleeves later (do not cut yarn).
Step 2: Crochet the Sleeves
The sleeves are attached directly to the body.
- Each Sleeve: With the body piece still attached, ch 24.
- Row 1: Dc in the 4th ch from hook, dc in each ch across (22 dc). Turn.
- Row 2: Ch 3, dc in next st, ch 1, skip next st, dc in next st repeat from * to * until 2 sts remain, dc in last 2 sts. Turn.
- Row 3: Ch 3, dc in each ch-1 space across (11 dc). Turn.
- Rows 4–8: Repeat rows 2 and 3 until sleeves measure about 18 cm (7 in) long.
- Cut yarn, leave a tail for sewing.
Step 3: Adding Button-Off Cuffs
Cuffs are worked in a contrast color yarn.
- Cuff Setup: Attach contrast color yarn at the base of each sleeve.
- Round 1: Ch 1, sc around the edge of the sleeve (22 sc). Join with a sl st to the first sc.
- Round 2: Ch 1, sc in next 10 sc, ch 1 (for button space), skip next sc, sc in remaining 10 sc. Join and finish off.
How to Join Your Pieces
- Joining Sleeves: Sew each sleeve onto the body at the shoulder seam with a tapestry needle.
- Button Band: Attach contrast yarn to the body edge where the buttons will go. Ch 1, sc evenly down the edge (should match number of buttons).
- Adding Buttons: Sew buttons on the sleeve cuffs where appropriate.
Beginner Tips for a Neat Cardigan
- Keep your work organized by using stitch markers to track your rows and stitches.
- Maintain consistent tension by practicing before starting on the main piece.
- Check your size frequently as you go to ensure the fit is just right.
Common Mistakes (and How to Fix Them)
- "My cardigan is too small." – You may not have checked your gauge. Always knit a swatch first to compare.
- "The stitches are uneven." – This often happens with changing tension. Try to keep a relaxed grip on your yarn.
- "The rows are misaligned." – Ensure that you count your rows accurately and remember to finish each row properly.
How to Care for Your Kids Cardigan
Hand wash in cold water and lay flat to dry. This helps maintain the shape and softness of the acrylic yarn, keeping the cardigan cozy for your little one.
FAQ
Can I customize the size?
Absolutely! This pattern is easily adjustable. Just add or reduce rows before starting the sleeves.
What type of yarn can I use?
You can substitute the DK weight acrylic yarn with any soft, lightweight yarn. Just make sure to check your gauge.
How long will this project take?
It should take approximately 6-8 hours in total, depending on your skill level and pace.
Want a matching set? Check out our crochet purse patterns or see all our free crochet bag patterns.
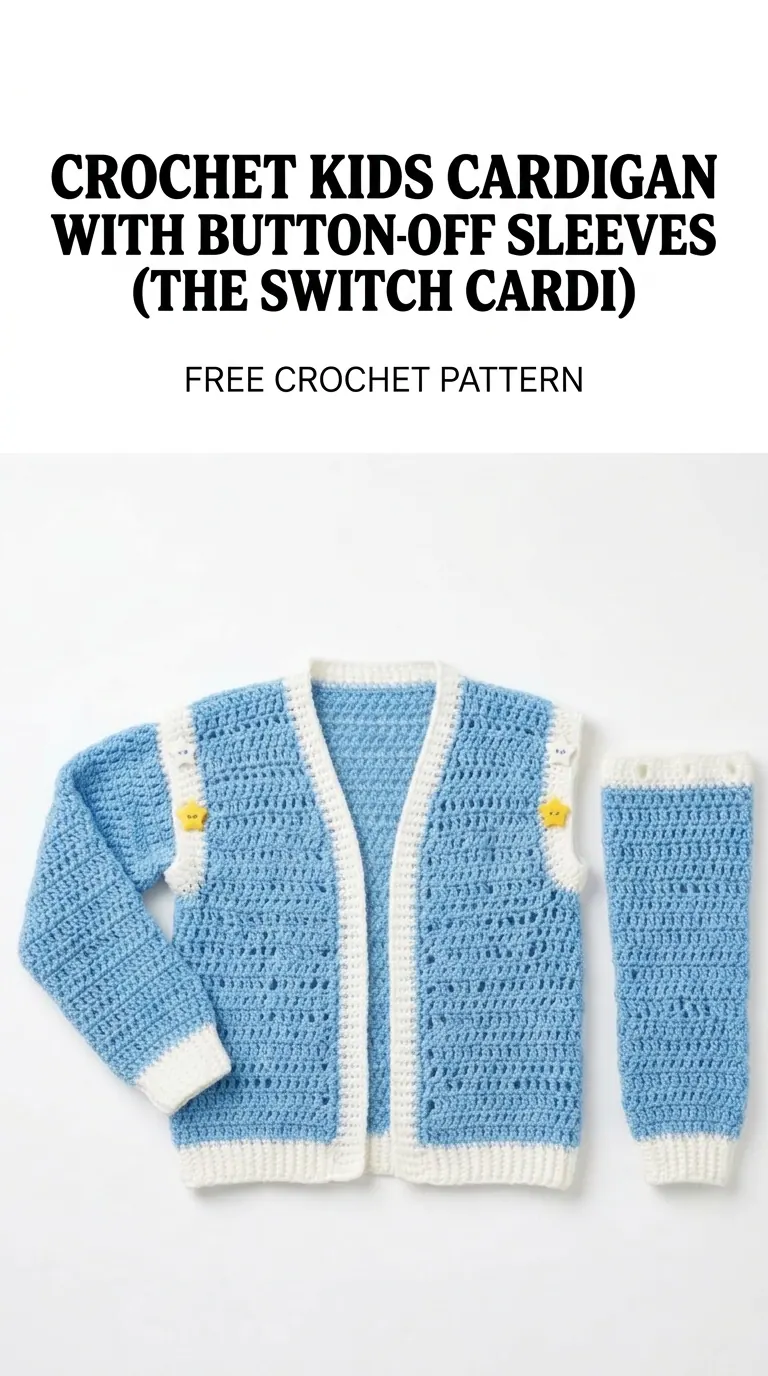
Image shown for inspiration — your finished result may vary slightly.