Free Crochet Toddler Cardigan Pattern With Chunky Buttons
A free crochet toddler cardigan pattern perfect for layering. Easy steps and tips make this cozy design ideal for beginners.
Published · by Sara
- Skill level
- Beginner
- Yarn weight
- Worsted (4)
- Hook size
- 5.5 mm (I/9)
- Yardage
- about 400 yards
- Gauge
- 14 dc and 8 rows = 10 cm
- Time
- approximately 10 hours
- Sizes
- 2T (50 cm / 20 in), 3T (56 cm / 22 in), 4T (61 cm / 24 in)
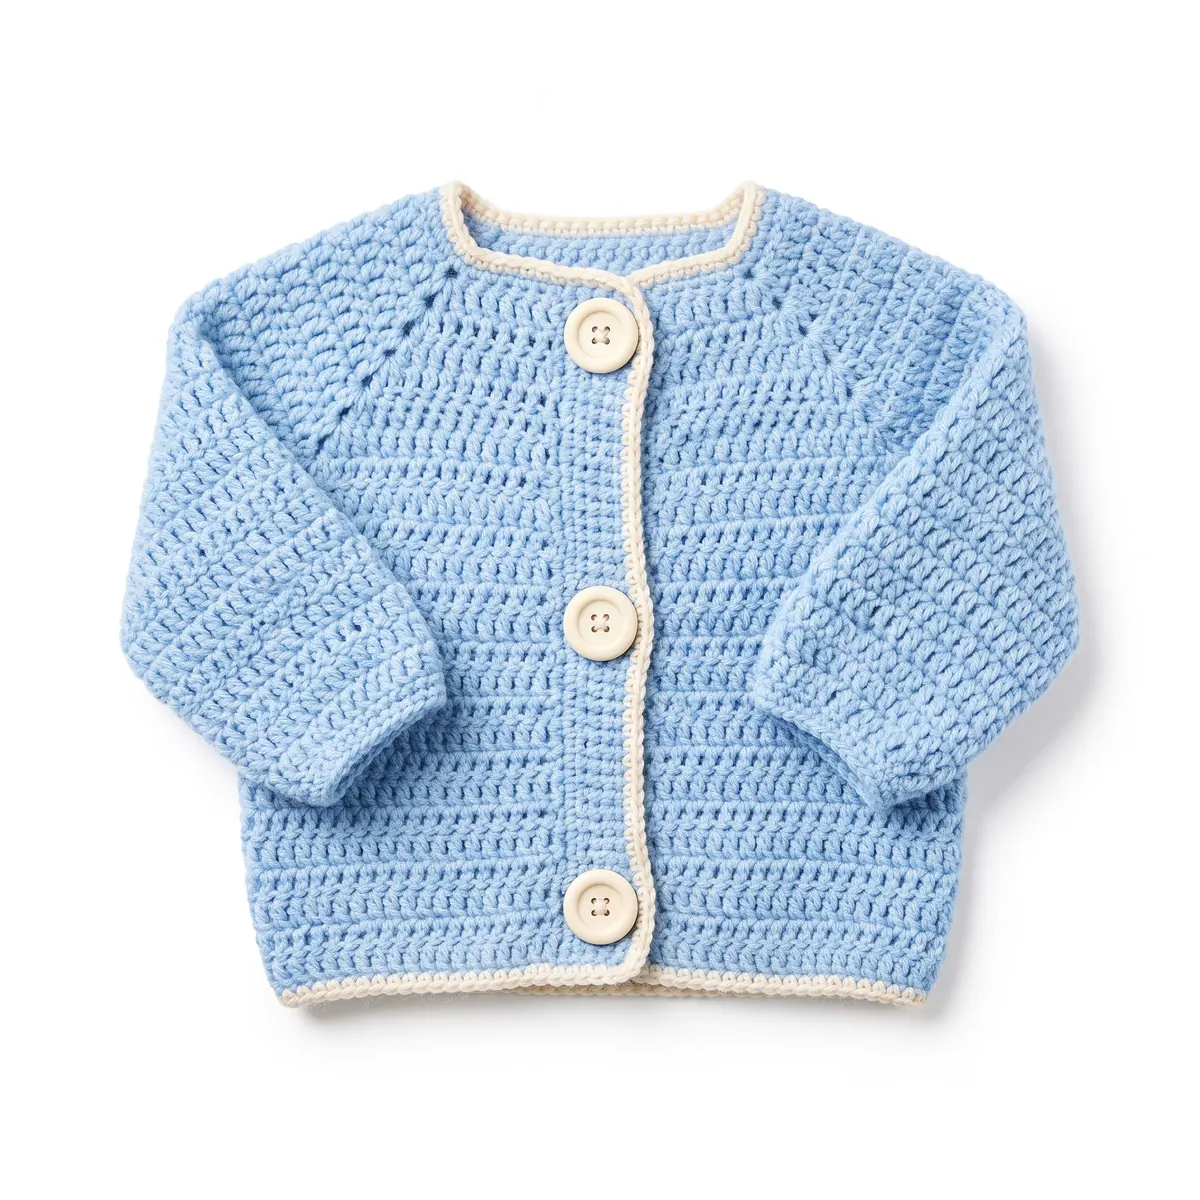
This crochet toddler cardigan pattern makes a cozy and stylish addition to any little one’s wardrobe, featuring chunky buttons and deliciously soft yarn. It’s an enjoyable project for beginners, using simple stitches that will help you build confidence as you create something special.
This pattern is perfect for parents and caregivers who want to craft a delightful garment for toddlers. You'll learn basic double crochet techniques, while also getting to practice shaping and joining pieces.
Why You'll Love This Cardigan
- Quick to make – you can create this lovely cardigan in about 10 hours!
- Easy to customize – change colors and sizes to fit different little ones.
- Cozy and warm – perfect for layering in cooler months.
- Practical design – features chunky buttons for easy dressing.
Is This Pattern Good for Beginners?
Yes! This pattern uses only basic stitches like double crochet and single crochet. With each step clearly outlined, you’ll find it straightforward to follow along.
Crochet Abbreviations (US Terms)
- ch – chain
- dc – double crochet
- st – stitch
- sl st – slip stitch
- sc – single crochet
- inc – increase (2 dc in the same st)
- dec – decrease (dc2tog - double crochet two together)
Size and Gauge
- Finished Size:
- 2T (chest 50 cm / 20 in, length 30.5 cm / 12 in)
- 3T (chest 56 cm / 22 in, length 35.5 cm / 14 in)
- 4T (chest 61 cm / 24 in, length 40.5 cm / 16 in)
- Gauge: 14 dc and 8 rows = 10 cm (4 in)
To check gauge, make a swatch of 20 dc in 10 rows. If your gauge does not match, use a larger or smaller hook as needed.
Step 1: Making the Body
The body is worked in rows.
- Foundation Chain: Ch 60 (for size 2T).
- Row 1: Dc in 4th ch from the hook and in each ch across. (58 dc)
- Row 2: Ch 3, turn. Dc in each st across. (58 dc)
- Rows 3–18: Repeat Row 2 until the piece measures 30.5 cm (12 in) for size 2T (or 35.5 cm (14 in) for 3T, 40.5 cm (16 in) for 4T).
- Row 19: Ch 1, turn. Sc across, placing 3 sc in the last st. (60 sc)
- This completes the back. Fasten off.
Step 2: Front Panels (Make 2)
The front panels are also worked in rows.
- Foundation Chain: Ch 30 (for size 2T).
- Row 1: Dc in 4th ch from the hook and in each ch across. (28 dc)
- Row 2: Ch 3, turn. Dc in each st across. (28 dc)
- Rows 3–16: Repeat Row 2 until the piece measures 30.5 cm (12 in) for size 2T (or 35.5 cm (14 in) for 3T, 40.5 cm (16 in) for 4T).
- Row 17: Ch 1, turn. Sc across, placing 3 sc in the last st. (30 sc)
- This completes one front panel. Fasten off. Repeat for the second front panel.
Step 3: Sleeves (Make 2)
The sleeves are worked in rows as well.
- Foundation Chain: Ch 24 (for size 2T).
- Row 1: Dc in 4th ch from the hook and in each ch across. (22 dc)
- Row 2: Ch 3, turn. Dc in each st across. (22 dc)
- Rows 3–12: Repeat Row 2 until the piece measures 20 cm (8 in) from the foundation chain.
- Row 13: Ch 1, turn. Sc across, placing 3 sc in the last st. (24 sc)
- This completes one sleeve. Fasten off. Repeat for the second sleeve.
How to Join Your Pieces
- Join Body Parts: Align the front panels to the back piece with right sides facing. Use slip stitch to join the shoulders and sides, leaving openings for the sleeves.
- Attach Sleeves: Use slip stitch to attach each sleeve to the armhole.
Adding the Edging
- With cream yarn, sc around the front edges and bottom of the cardigan.
- Create a buttonhole by chaining 2 at every 5th sc on the right front panel.
Sewing on the Buttons
Attach buttons to the left front panel at the corresponding buttonholes on the right front panel.
Finishing Tip: Weave Ends Neatly
Weave in all ends with a tapestry needle and block to shape if desired.
Beginner Tips for a Neat Cardigan
- Keep your workspace tidy – it helps to have all your materials organized.
- Maintain consistent tension as you work – this will help your stitches look even.
- Check your size frequently as you go – it’s easier to adjust earlier in the project.
Common Mistakes (and How to Fix Them)
- "My cardigan feels too small." – Check your stitch count; ensure you're following the rows accurately.
- "The cuffs are uneven." – Make sure you have the same number of rows for each sleeve.
- "The fabric looks lumpy." – This might be due to tension; try to keep your yarn evenly pressured as you crochet.
How to Care for Your Cardigan
Hand wash the cardigan in cool water and lay flat to dry to maintain its shape. Avoid machine washing and drying to prevent shrinkage.
FAQ
Can I customize the size?
Absolutely! You can make adjustments to the foundation chain and number of rows to fit different ages and sizes.
What if I don't have the exact colors?
No worries! You can choose any colors you love, just be sure to check that all yarn used is the same weight.
How long will it take to finish?
On average, the total time is about 10 hours, but this can vary based on your crocheting speed and experience.
Want a matching set? Check out our crochet purse patterns or see all our free crochet bag patterns.
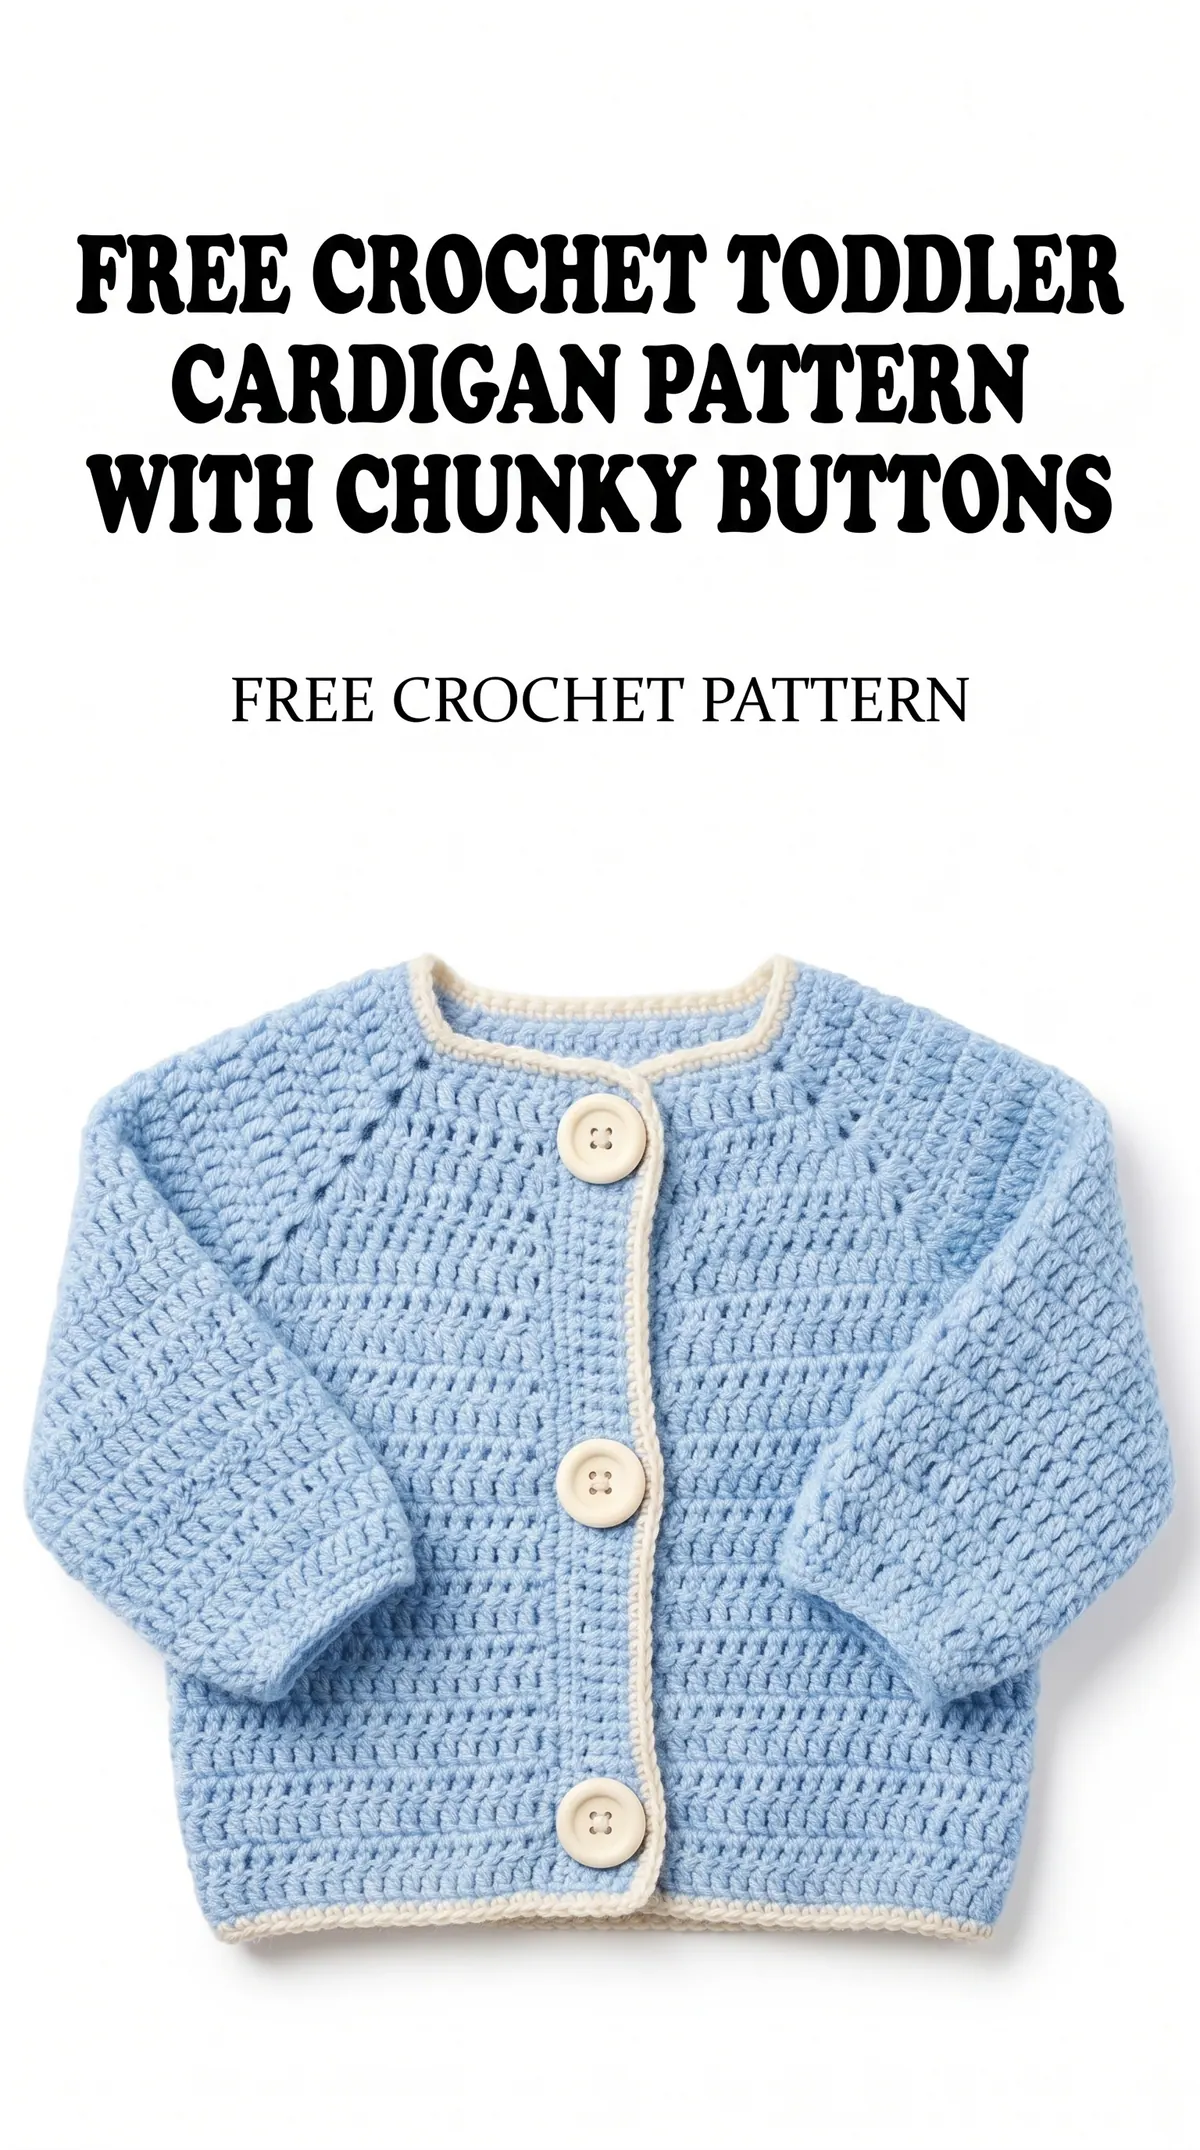
Image shown for inspiration — your finished result may vary slightly.