Crochet Lunch Bag With Placemat Flap Pattern for Beginners
A free crochet lunch bag pattern with straightforward steps and helpful tips. Perfect for carrying meals with a unique placemat feature.
Published · by Sara
- Skill level
- Beginner
- Yarn weight
- Worsted (4)
- Hook size
- 5.0 mm (H-8)
- Yardage
- about 450 yards
- Gauge
- 12 sc and 15 rows = 10 cm
- Time
- 3.5 hours
- Sizes
- 30 × 25 cm (12 × 10 in), 30 × 45 cm (12 × 18 in)
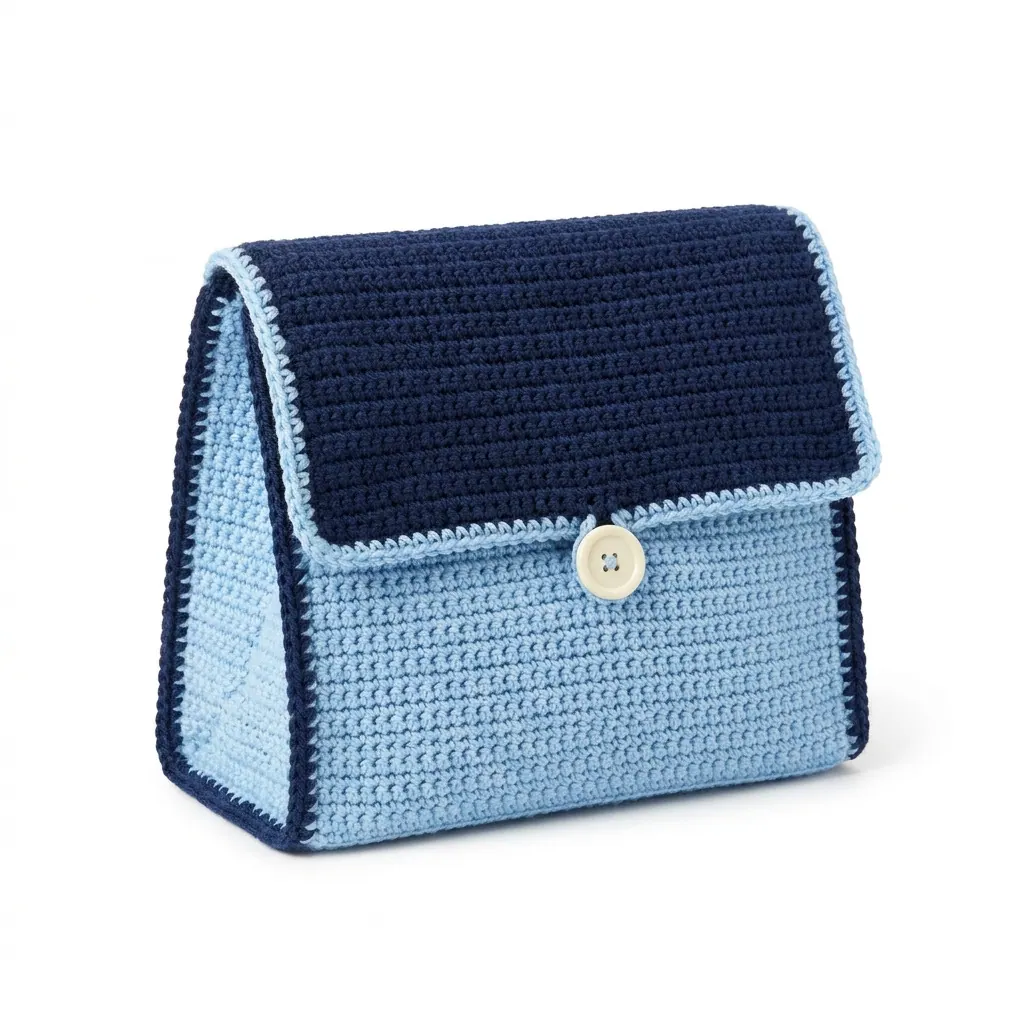
This crochet lunch bag pattern makes a stylish and practical accessory for your lunchtime outings. Featuring a unique placemat flap that doubles as a placemat, this project keeps your lunch secure while providing a touch of handmade charm. The pattern uses basic stitches like single crochet, half double crochet, and double crochet, making it enjoyable for anyone to crochet.
This pattern is perfect for beginners wanting to create practical items or for experienced crafters looking for a fun and quick project. You'll learn not only how to construct a bag but also how to add decorative elements such as the placemat flap.
Why You'll Love This Lunch Bag
- Stylish and functional – the unique placemat flap adds charm and utility.
- Quick to make – with an estimated total time of just 3.5 hours.
- Beginner-friendly – uses basic stitches that are easy to learn.
- Practical – perfect for carrying lunches or snacks on the go.
Crochet Abbreviations (US Terms)
- ch – chain
- sc – single crochet
- sl st – slip stitch
- dc – double crochet
- hdc – half double crochet
- st(s) – stitch(es)
- Rnd – round
Gauge and Finished Size
- Gauge: 12 sc and 15 rows = 10 cm (4 in).
- Finished size: Approx. 30 × 25 cm (12 × 10 in) for the bag; Placemat measures 30 × 45 cm (12 × 18 in).
Step 1: Bag Body
The bag body is worked in rows.
- Foundation Chain: With Color A, ch 40.
- Row 1: Sc in 2nd ch from hook, sc in each ch across. (39 sts)
- Row 2: Ch 1, turn. Sc in each st across. (39 sts)
- Row 3: Repeat Row 2. (39 sts)
- Row 4: Ch 1, turn. Sc in next 19 sts, ch 1, skip 1 st, sc in next 19 sts. (38 sts)
- Row 5–12: Ch 1, turn. Sc in each st across for 8 rows total including last row. (38 sts)
- Row 13: Ch 1, turn. Sc in each of next 2 sts, then hdc in next 10 sts, dc in next 10 sts, hdc in next 10 sts. Sc in last 3 sts. (38 sts)
- Row 14: Ch 1, turn. Sc in each st across. (38 sts)
Step 2: Bag Sides
The sides of the bag are worked in rounds. 9. Sides: Ch 1, turn. Work around edges to create sides. Sc evenly across edges: 26 sc on each side and 3 sc on top. Join with sl st to the first sc. (55 sts total) 10. Rnd 2: Ch 1, sc in each st around. Join with sl st. (55 sts) 11. Rnd 3–6: Ch 1, repeat Rnd 2, 4 more times. (55 sts) 12. Rnd 7: Ch 1, sc in each st around. Do not join. (55 sts)
Step 3: Placemat Flap
The placemat flap is also worked in rows. 13. Foundation for Placemat: With Color B, ch 48. 14. Row 1: Sc in 2nd ch from hook, sc in each ch across. (47 sts) 15. Row 2–17: Ch 1, turn. Sc in each st across for 16 rows. (47 sts)
Finishing the Bag
After constructing the bag and flap, we’ll assemble it. 17. Fold the bag and placemat flap down, slip stitch the top closed. 18. Sew a button onto the front of the flap.
- Weave in all loose ends with a tapestry needle.
- If using lining, place it inside the bag, and fold the top edge to sew it secure.
- Use remaining color yarn to add a small decorative edge around the top of the flap.
- Block the finished bag using appropriate blocking tools to shape.
Beginner Tips for a Neat Lunch Bag
- Keep your yarn organized to avoid tangles and knots.
- Maintain even tension throughout your work to ensure a uniform look.
- Check your size after each section to keep your bag symmetrical.
Common Mistakes (and How to Fix Them)
- My bag is too small. – You might have skipped stitches. Count your stitches after each round to ensure accuracy.
- The stitches are uneven. – This can happen due to varying tension. Try to relax your grip on the yarn for even stitches.
- The top closure is too tight. – If you joined too tightly in the last rounds, it might be hard to close. Consider leaving a little more slack next time.
How to Care for Your Lunch Bag
Hand wash your crochet lunch bag in cold water and lay it flat to dry. Avoid bleach as it may damage the fibers and colors.
FAQ
Can I customize the size?
Yes! For a larger lunch bag, simply increase the foundation chain in increments of 4 stitches.
What type of yarn can I use?
You can substitute with any worsted weight cotton yarn for a similar look and feel. Just ensure you get enough yardage!
How long does it take to make?
The estimated working time is about 3.5 hours for the entire project, including the bag body and placemat flap.
Want a matching set? Check out our crochet purse patterns or see all our free crochet bag patterns.
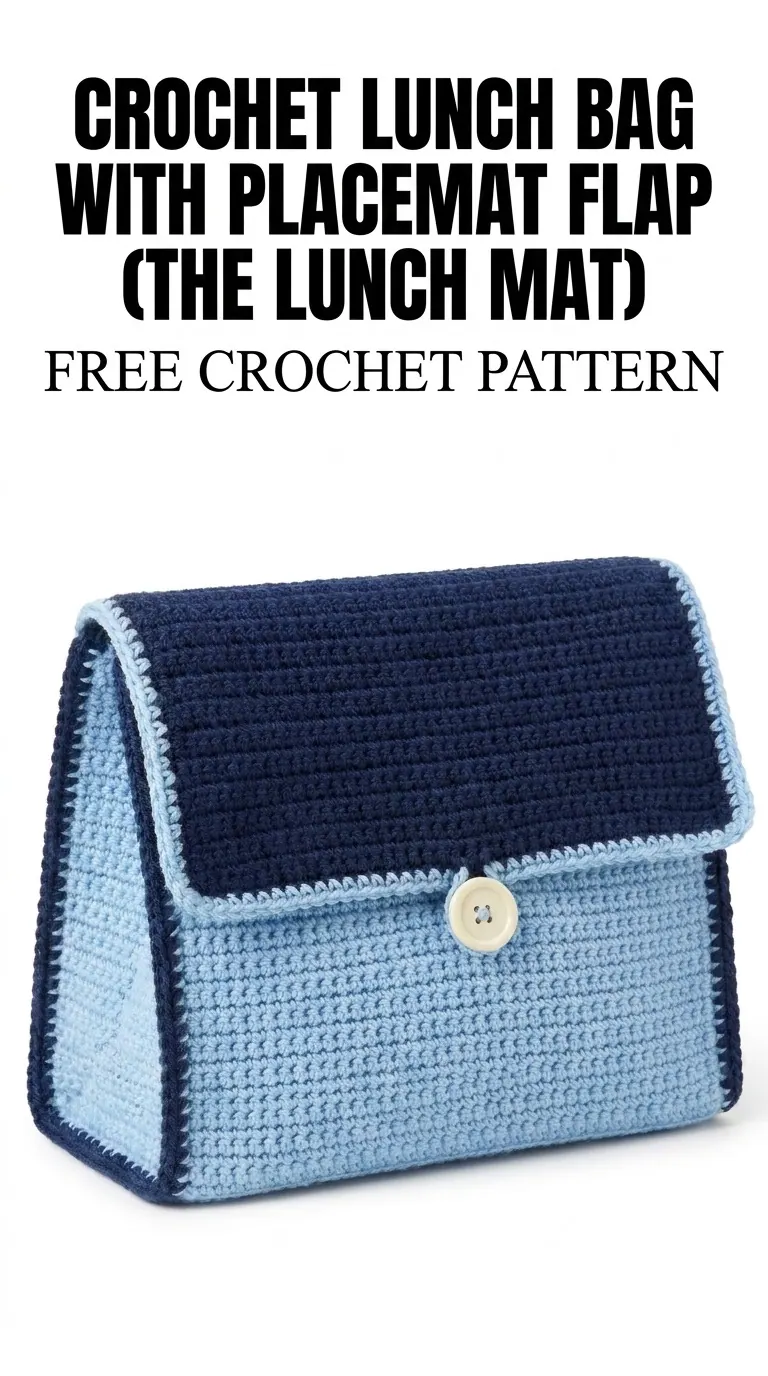
Image shown for inspiration — your finished result may vary slightly.