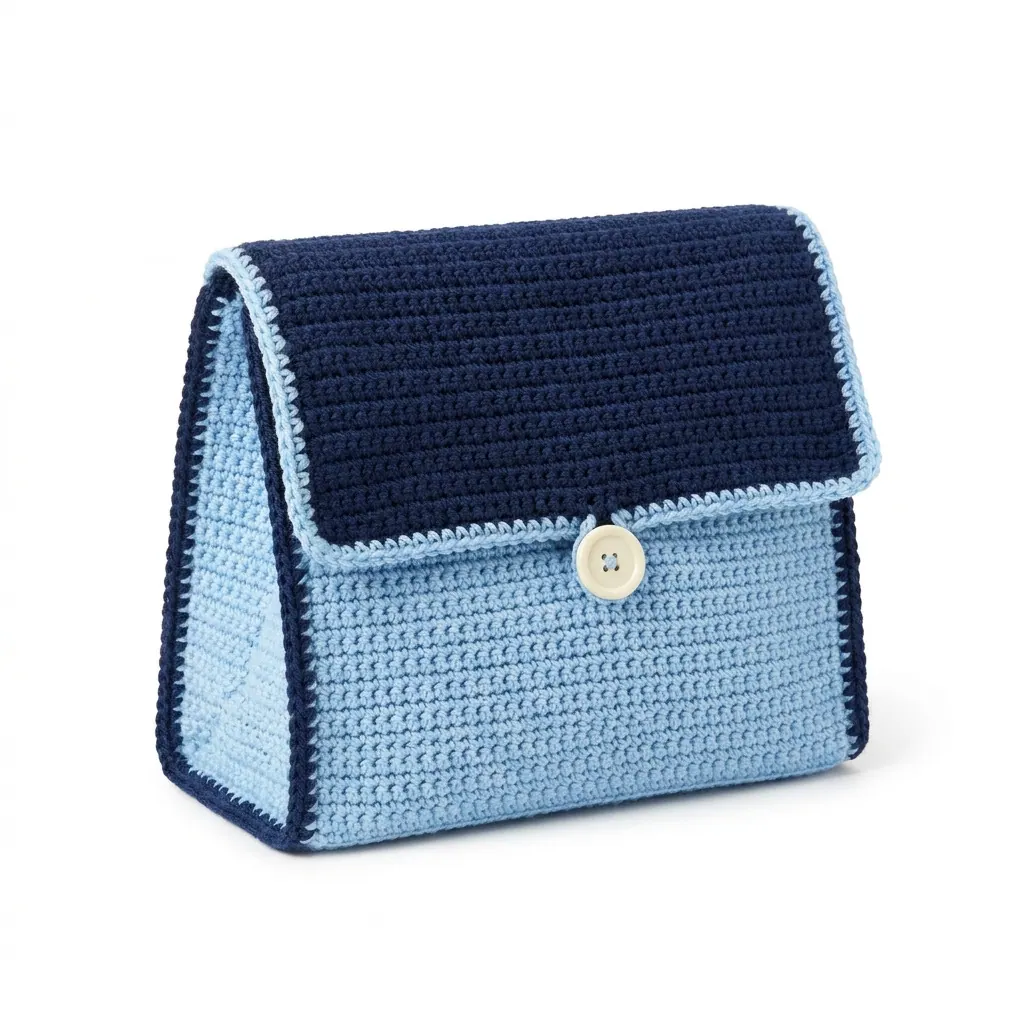
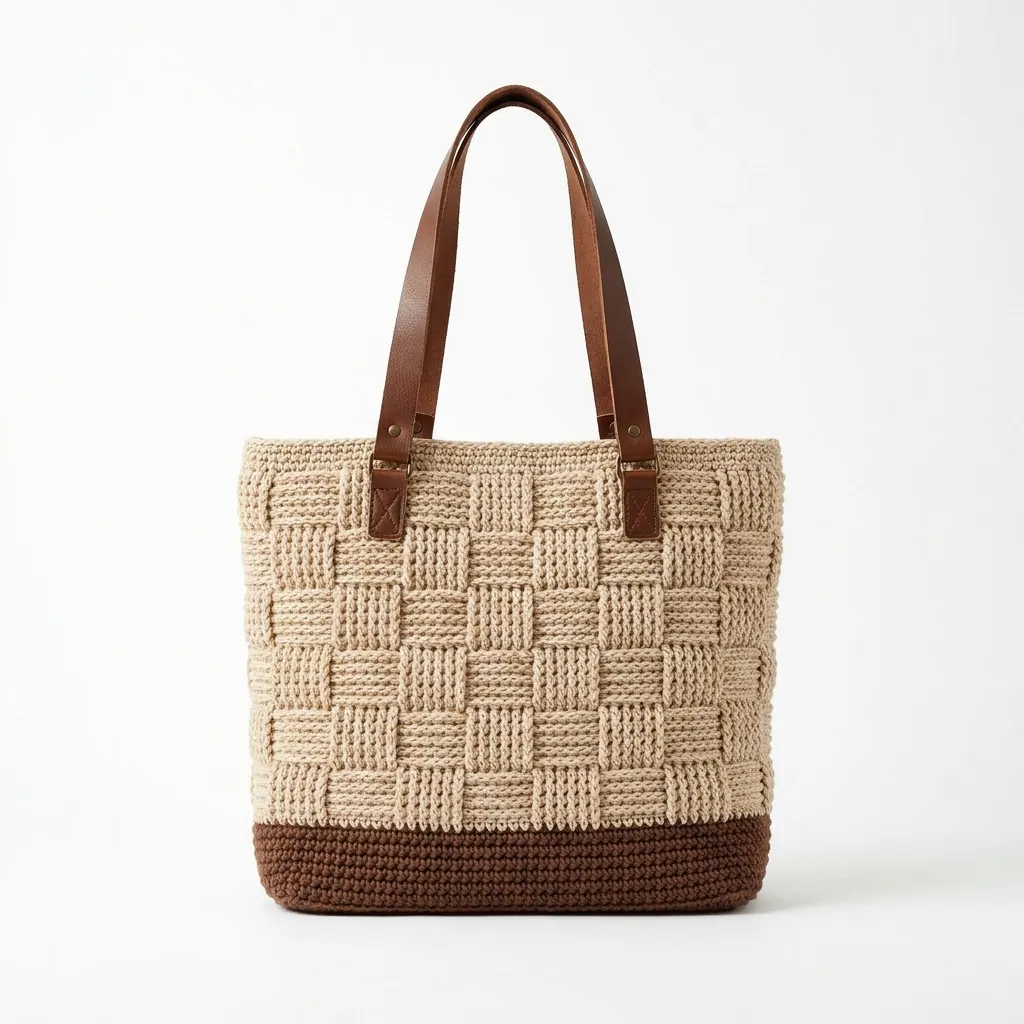
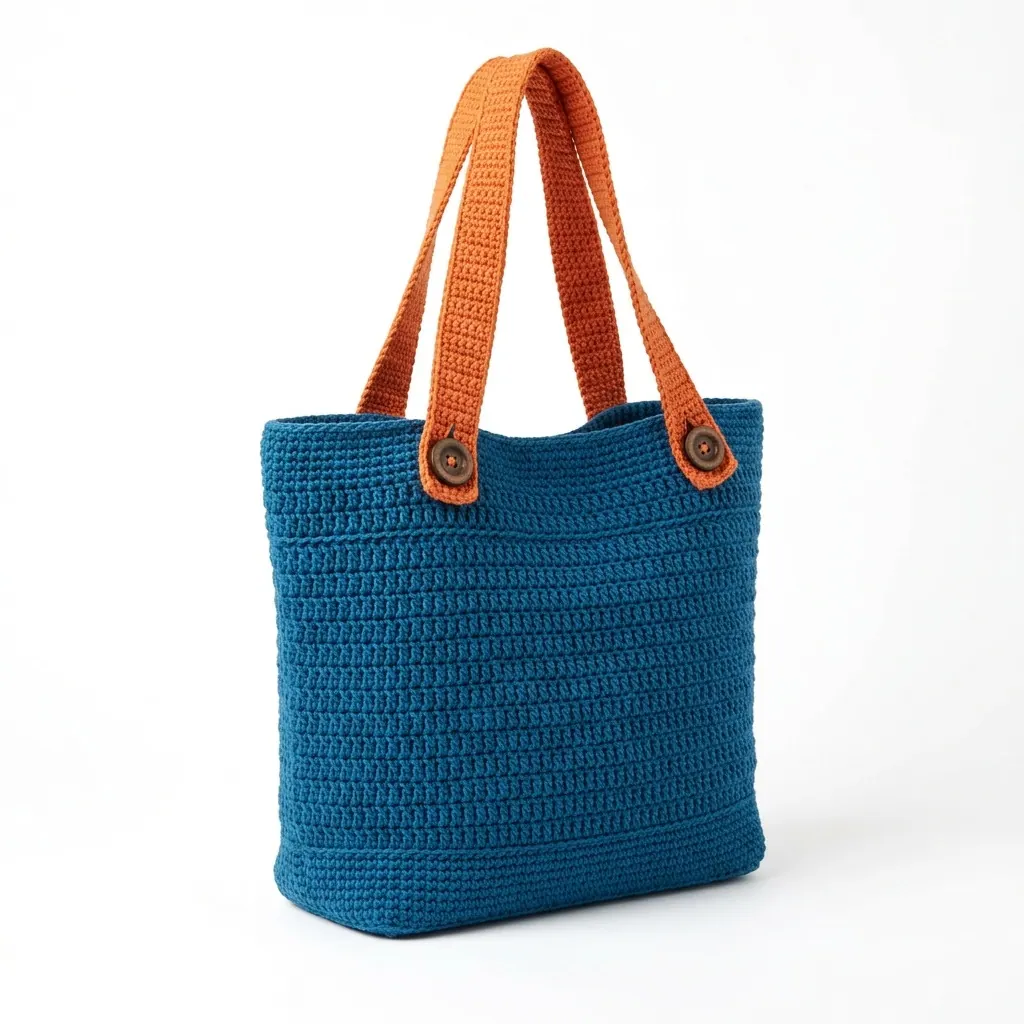
Crochet Tote With Button-Out Expanding Sides Pattern for Beginners
A free crochet tote pattern featuring button-out expanding sides. Perfect for everyday essentials and easy to follow for intermediate crocheters.
Published · by Sara
- Skill level
- Intermediate
- Yarn weight
- Worsted (4)
- Hook size
- 5.5 mm (I-9)
- Yardage
- about 450 m
- Gauge
- 14 dc and 8 rows = 10 cm
- Time
- approximately 7 hours
- Sizes
- 30 × 25 cm (12 × 10 in)
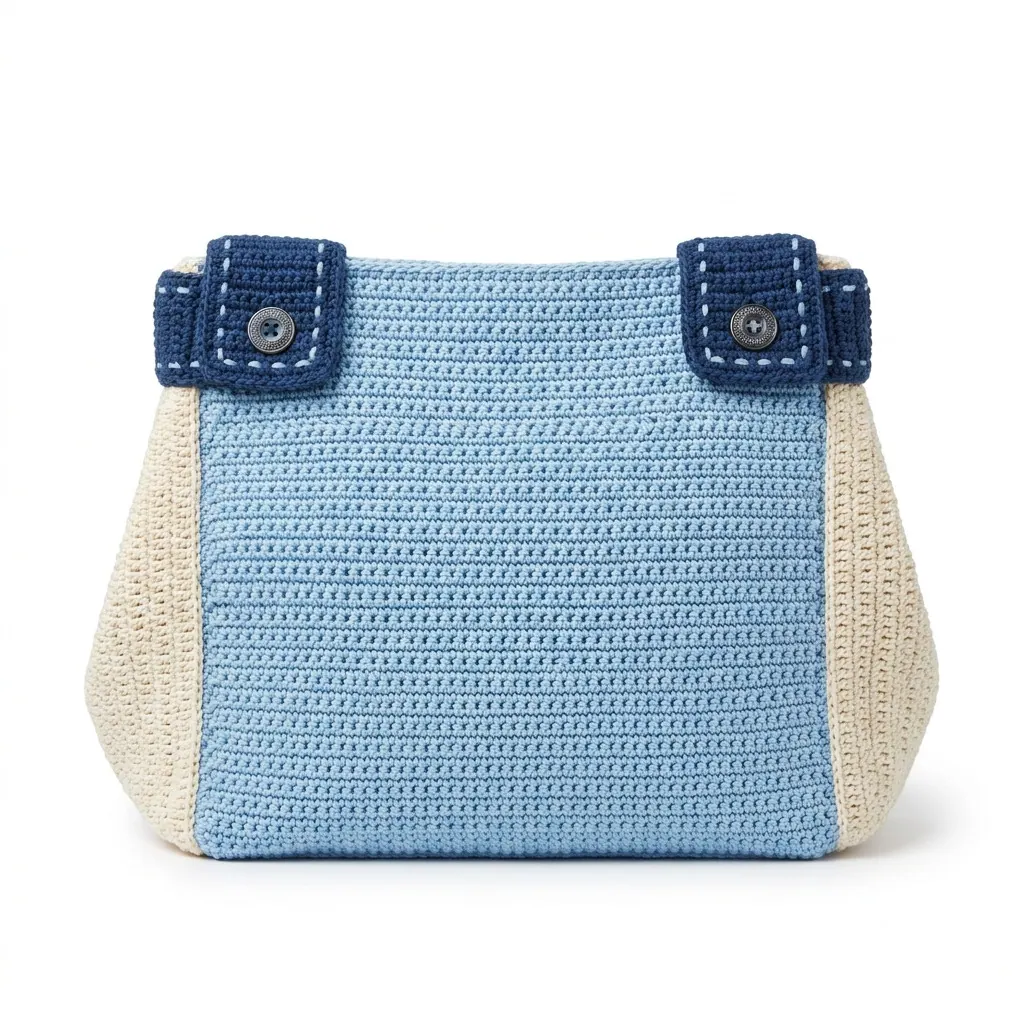
This crochet tote pattern makes a stylish and practical bag perfect for your everyday essentials or travel needs. With its unique button-out expanding sides, this bag can accommodate extra items when needed. You'll find this project uses basic stitches like double crochet and single crochet, making it enjoyable to crochet.
This pattern is great for intermediate crocheters looking to enhance their skills. As you work through this tote, you'll get familiar with increasing stitches and creating flaps to give your bag extra functionality!
Why You'll Love This Tote
- Functional design – the expanding sides allow for extra storage when you need it.
- Stylish appearance – unique color combinations and a trendy shape make it fun to carry.
- Great for any occasion – perfect for shopping, travel, or everyday use.
- Engaging project – with different components and techniques, you’ll enjoy every step!
Is This Pattern Good for Beginners?
Yes! Though it's labeled as intermediate, you’ll learn valuable skills and techniques along the way. The pattern is straightforward with clear instructions, making it accessible for those ready to try something new.
Crochet Abbreviations (US Terms)
- ch – chain
- sc – single crochet
- dc – double crochet
- st(s) – stitch(es)
- st marker – stitch marker
- inc – increase (2 sts in the same st)
Size and Gauge
- Finished Size: Approximately 30 × 25 cm (12 × 10 in), with a base width of 13 cm (5 in).
- Gauge: 14 dc and 8 rows = 10 cm (4 in). Check your gauge by making a small swatch, and adjust your hook size if needed.
Step 1: Tote Body
The body of the tote is worked in rows.
- Foundation Chain: Ch 36.
- Row 1: Dc in 4th ch from hook, dc in next 31 ch, 2 dc in last ch (38 sts).
- Row 2: Ch 3, turn. Dc in next 36 sts, 2 dc in next st (40 sts).
- Row 3: Ch 3, turn. Dc in next 38 sts, 2 dc in last st (42 sts).
- Row 4: Ch 3, turn. Dc in next 40 sts, 2 dc in last st (44 sts).
- Rows 5-12: Repeat Row 4 (44 sts).
Step 2: Sides
Now we'll create the expandable sides of the tote. 7. Row 13: Ch 1, turn. Sc across (44 sts). 8. Row 14: Ch 3, turn. Dc in next 43 sts, 2 dc in last st (46 sts). 9. Rows 15-22: Repeat Row 14 (48 sts). 10. Row 23: Ch 1, turn. Sc in first 2 sts, sc in next 42 sts, inc (50 sts). 11. Row 24: Ch 1, turn. Sc in first 2 sts, sc in next 48 sts, inc (52 sts). 12. Rows 25-28: Repeat Row 24. 13. Row 29: Ch 1, turn. Sc in next 51 sts (52 sts).
Step 3: Button Flaps
Let’s make the flaps that will hold your buttons. 14. Flap 1: Ch 4, dc in 2nd ch from hook, dc in next 2 ch (3 dc). Ch 1 and turn; repeat for a total of 6 rows. Bind off leaving long tail for sewing. 15. Flap 2: Repeat as for Flap 1. 16. Attach Flaps to the top right and top left corners of the tote using the long tail from each flap.
Step 4: Button Placement
- Sew 2 buttons to the opposite sides of the flaps wherever the crochet sides will expand and contract.
Assembly & Finishing
Now, we’ll join the sides for a functional finish.
- Joining Sides: Fold the tote diagonally to create expandable sides, buttoning the flaps to secure.
- Weaving in Ends: Use the tapestry needle to weave in all loose ends.
- Blocking: Gently block the tote for a neat finish, shaping it as desired.
Beginner Tips for a Neat Tote
- Keep your workspace organized – tidy up as you go to avoid losing pieces.
- Maintain consistent tension – try to keep an even pull on your yarn for uniform stitches.
- Check your size as you work – measure frequently to ensure your tote turns out the right size.
Common Mistakes (and How to Fix Them)
- "My tote is too small." – You may have a tighter gauge. Make sure to check your tension and adjust your hook if needed.
- "The stitches are uneven." – This could happen if your tension fluctuates. Focus on keeping an even pull on your yarn.
- "My flaps are not aligning properly." – Ensure to accurately count your stitches and rows; use stitch markers for guidance.
How to Care for Your Tote
To keep your tote looking great, hand wash it in cold water and lay it flat to dry. Avoid bleach to maintain the colors.
FAQ
Can I customize the size?
Absolutely! You can adjust the foundation chain and the number of rows worked to change the size to your preference.
What yarn can I use instead?
You can use any worsted weight yarn (4) that matches your desired look. Just make sure to check gauge.
How long will this project take?
The tote will take approximately 7 hours in total, including making the body, sides, and flaps.
Want a matching set? Check out our crochet purse patterns or see all our free crochet bag patterns.
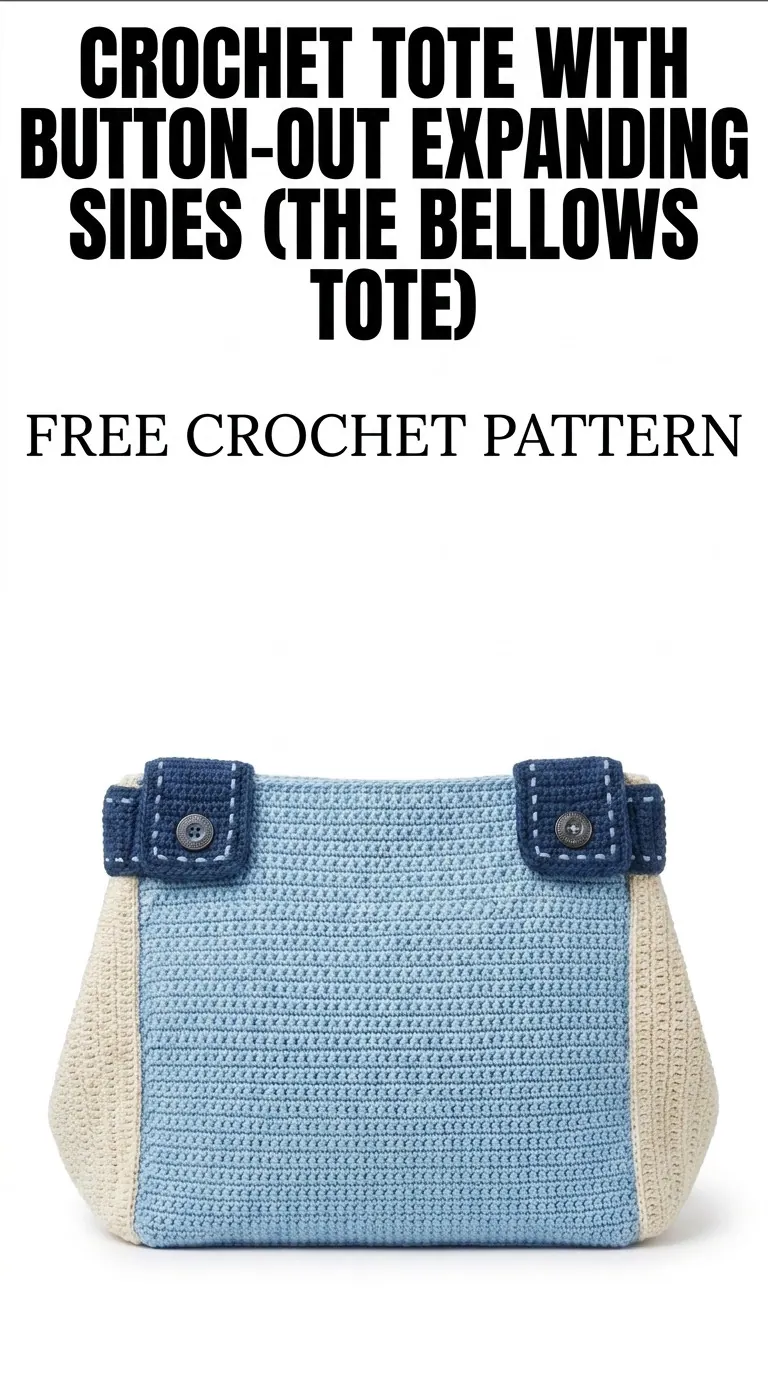
Image shown for inspiration — your finished result may vary slightly.