Crochet Armrest Cover With Built-In Cup Ring (The Sip Rest) Pattern for Beginners
A free crochet pattern for a stylish armrest cover with a built-in cup ring. Perfect for protecting your furniture and keeping drinks conveniently close.
Published · by Sara
- Skill level
- Beginner
- Yarn weight
- Worsted (4)
- Hook size
- 5.5 mm (I-9)
- Yardage
- about 200 yards (main color) and 50 yards (accent color)
- Gauge
- 13 dc and 7 rows = 10 cm
- Time
- approximately 4 hours
- Sizes
- 51 × 20 cm (20 × 8 in)
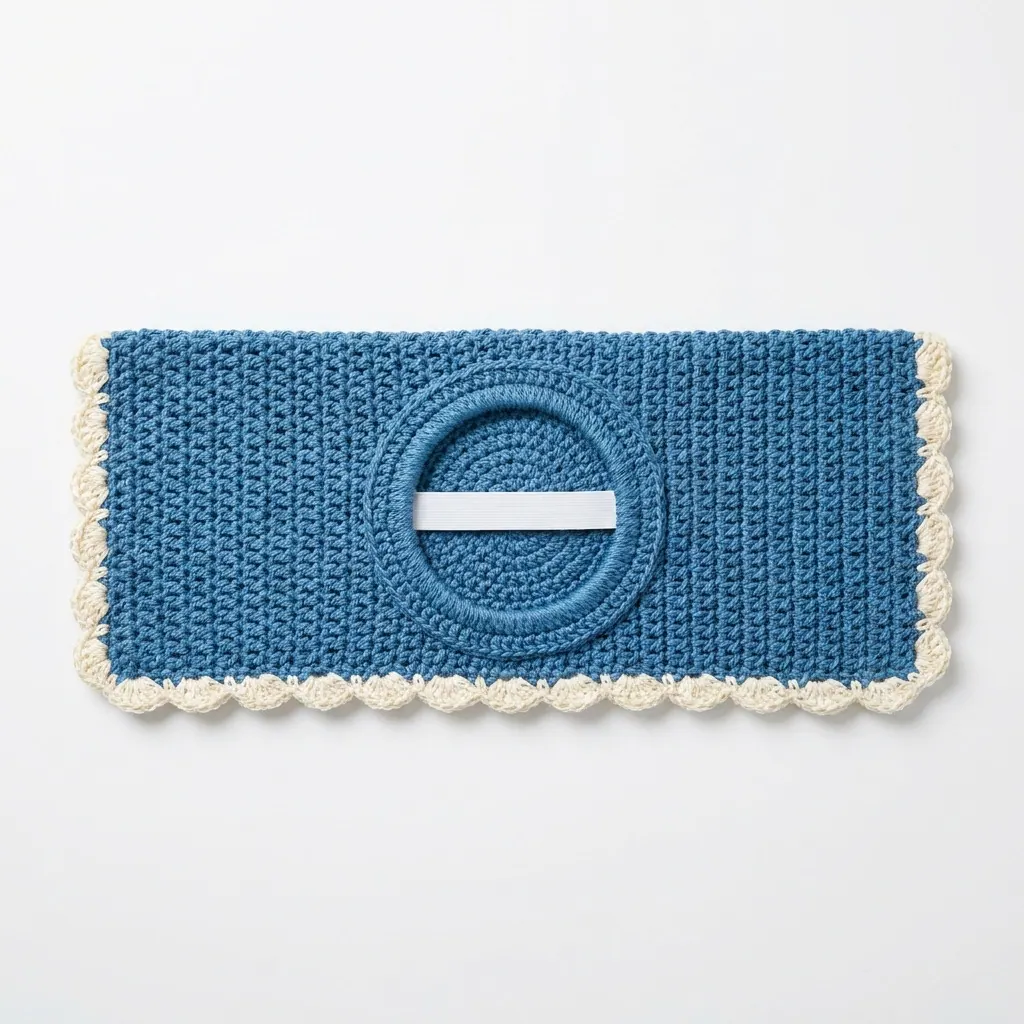
This crochet armrest cover pattern makes a stylish and functional Sip Rest, designed to protect your furniture while keeping your beverages close at hand. It features a built-in cup ring, making it a delightful addition to your living space. The pattern is easy to follow, using basic stitches like double crochet and single crochet, which are perfect for beginners.
This project is great for anyone wanting to learn how to crochet a practical item for home décor. You'll also gain experience in working with color changes and creating structured shapes.
Why You'll Love This Crochet Armrest Cover
- Practical design – it protects your furniture while holding your drink securely.
- Quick to make – with an estimated time of 4 hours, it's perfect for a weekend project.
- Fun color combinations – express your style by choosing your favorite yarn colors.
- Easy to follow – the pattern uses basic crochet stitches, perfect for beginners.
Is This Pattern Good for Beginners?
Yes! This project uses simple stitches and straightforward techniques. You'll feel accomplished making something useful for your home, even if you’re new to crochet!
Crochet Abbreviations (US Terms)
- ch – chain
- dc – double crochet
- sc – single crochet
- sl st – slip stitch
- st(s) – stitch(es)
- sk – skip
- inc – increase (2 sts in the same stitch)
- dec – decrease (2 sts together)
Size and Gauge
- Finished Size: Approximately 20 × 8 inches (51 × 20 cm).
- Cup ring diameter: Approximately 4 inches (10 cm).
- Gauge: 13 dc and 7 rows = 10 cm (4 in) in double crochet. Check your gauge to ensure the correct size!
Step 1: Making the Base
The base is worked using the main color, Ocean Blue.
- Ch 43. (42 sts)
- Row 1: Dc in 4th ch from hook and in each ch across. Turn. (40 sts)
- Row 2: Ch 3 (counts as first dc), dc in each st across. Turn. (40 sts)
- Row 3–14: Repeat Row 2. You should have 14 rows of dc. The piece should measure about 8 inches (20 cm) in width by now.
- Row 15: Ch 1, sc in first st, *ch 2, sk next st, sc in next st; repeat from * across. Turn. (20 ch-2 spaces)
- Row 16: Ch 1, sc in first ch-2 space, ch 2; repeat from * across, ending with a sc in the last st. Turn. (19 ch-2 spaces)
- Row 17–20: Repeat Row 16, changing to Accent Color (Cream) on the last st of Row 20. (3 rows of cream)
- Row 21: Ch 1, sc in first st, sc across. Turn. (40 sts)
- Row 22: Ch 1, sc in next st, inc in next st; repeat from * across. Turn. (60 sts)
- Row 23–24: Ch 1, sc in each st across. Turn. (60 sts)
Step 2: Cup Ring – Build into the Center
The cup ring is formed into the center of the cover.
- Row 25: Ch 1, sc in first 10 sts, ch 6, sk next 14 sts, sc in next 10 sts; repeat once more across. Turn. (60 sts)
- Row 26: Ch 1, sc in first 10 sts, then sc across (into the ch-6) followed by 10 sc, then repeat for remaining. Turn. (60 sts)
- Row 27–28: Ch 1, sc in each st across. Turn. (60 sts)
- Row 29: Ch 1, sc in next st, dec in next 2 sts; repeat from * across, ending with 3 sc. Turn. (40 sts)
- Row 30: Ch 1, sc in each st across. Turn. (40 sts)
- Row 31: Ch 1, sc in next st, dec in next 2 sts; repeat from * across, ending with 2 sc. (26 sts)
- Row 32: Ch 1, sc in each st across. Turn. (26 sts)
- Row 33: Ch 1, sc in next st, dec in next 2 sts; repeat from * across. (17 sts)
- Row 34: Ch 1, sc in each st across. Turn. (17 sts)
- Row 35: Ch 1, sc in next st and dec across till last st. (8 sts)
- Row 36: Ch 1, sc in each st across. Turn. (8 sts)
Assembly & Finishing
- Fold the armrest cover in half along its length, with the decorative edge (from Rows 15–20) on the top.
- Attach the elastic band across the middle of the cup ring to hold drinks securely.
- Secure the ends of the elastic with sl st to the inside of the armrest cover.
- Weave in all ends using the tapestry needle, ensuring all loose threads are secured.
- Optionally spray fabric stiffener for added structure and a sleek finish, and block if desired.
Beginner Tips for a Neat Armrest Cover
- Keep your workspace organized – this helps to avoid losing small items like stitch markers.
- Maintain consistent tension – this ensures each stitch looks even and neat.
- Check your gauge – make a small swatch before starting to ensure your measurements match.
Common Mistakes (and How to Fix Them)
- "My armrest cover is too small." – This usually happens if your gauge is off. Make sure to check your tension before starting.
- "The stitches are uneven." – This can occur from varying tension. Practice maintaining a steady hold on your yarn.
- "My cup ring doesn't look right." – If it’s not sturdy enough, consider adding fabric stiffener or double-checking your stitch counts in the center area.
How to Care for Your Armrest Cover
To keep your armrest cover looking fresh, hand wash or machine wash on a gentle cycle. Lay flat to dry, and avoid hot water to maintain its shape and color.
FAQ
Can I customize the size?
Yes! You can adjust the size by increasing or decreasing the starting chain. Just make sure to maintain the same stitch counts throughout.
What type of yarn can I use?
You can substitute yarn with a similar weight and fiber content. Look for 100% cotton or a cotton blend for ease of washing and comfort.
How long will this project take?
The estimated total time is about 4 hours, broken down into about 1.5 hours for the base, 2 hours for the cup ring, and 30 minutes for assembly and finishing.
Want a matching set? Check out our crochet purse patterns or see all our free crochet bag patterns.
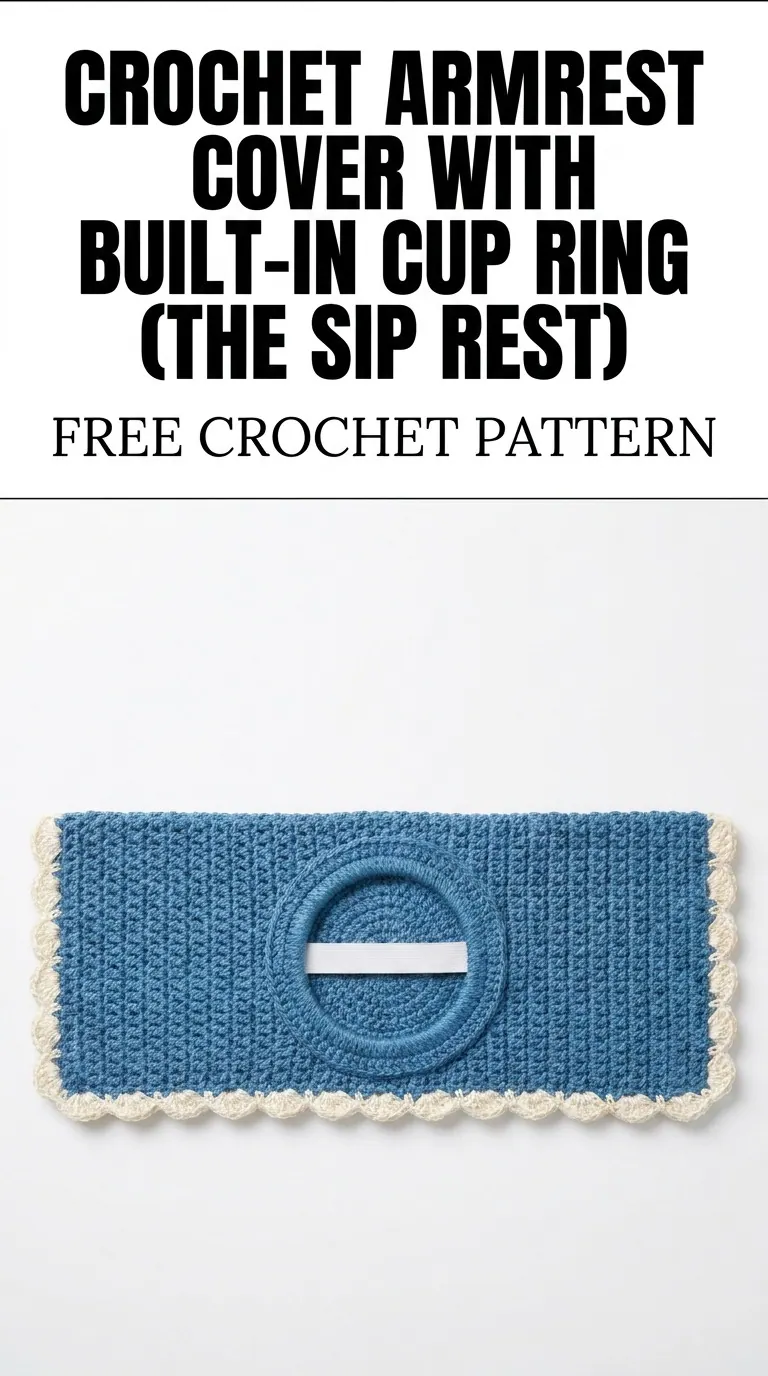
Image shown for inspiration — your finished result may vary slightly.