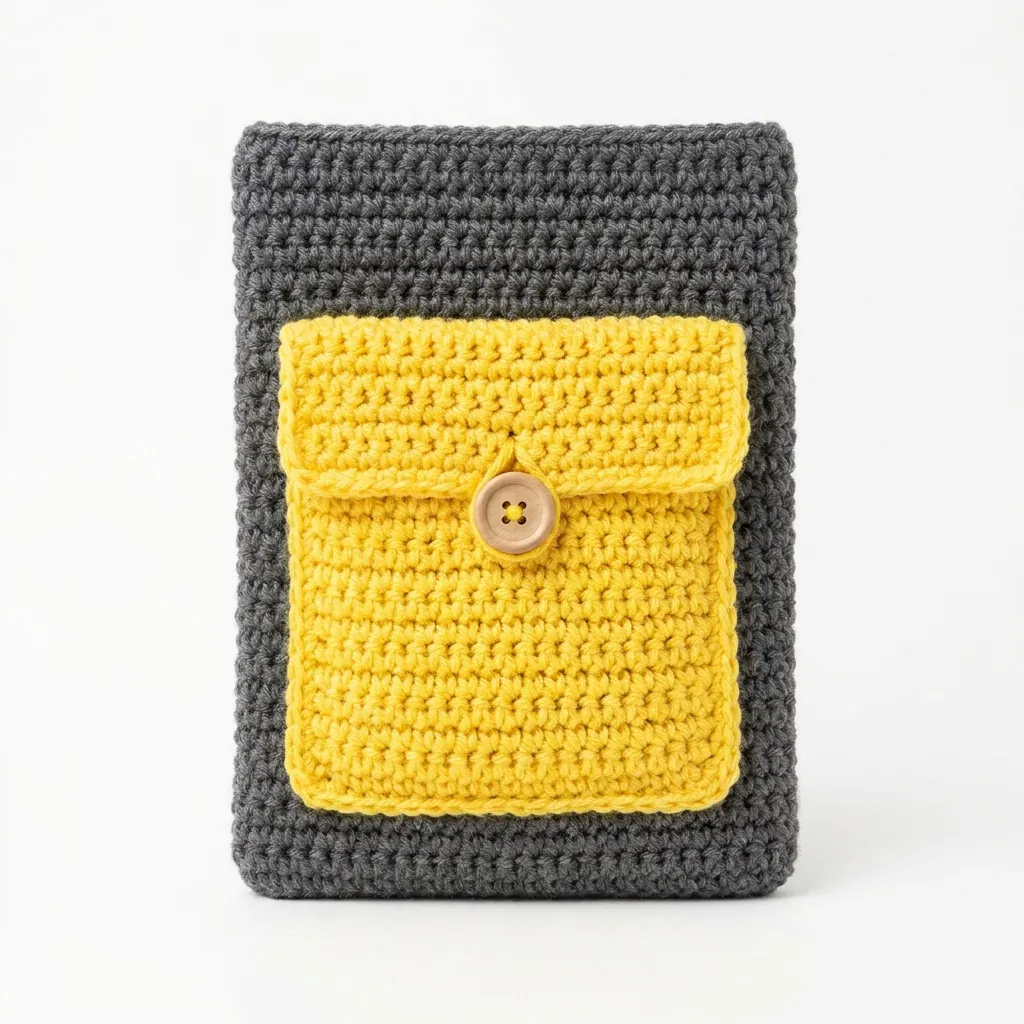
Crochet Boot Shaper Inserts for Tall Boots (Free Pattern)
A free crochet pattern for boot shaper inserts designed for tall boots. Easy to follow with straightforward instructions and tips.
Published · by Sara
- Skill level
- Intermediate
- Yarn weight
- Worsted (4)
- Hook size
- 5.0 mm (H-8)
- Yardage
- about 240 yards
- Gauge
- 11 dc and 7 rows = 10 cm
- Time
- approximately 4 hours
- Sizes
- 40.6 × 12.7 cm (16 × 5 in)
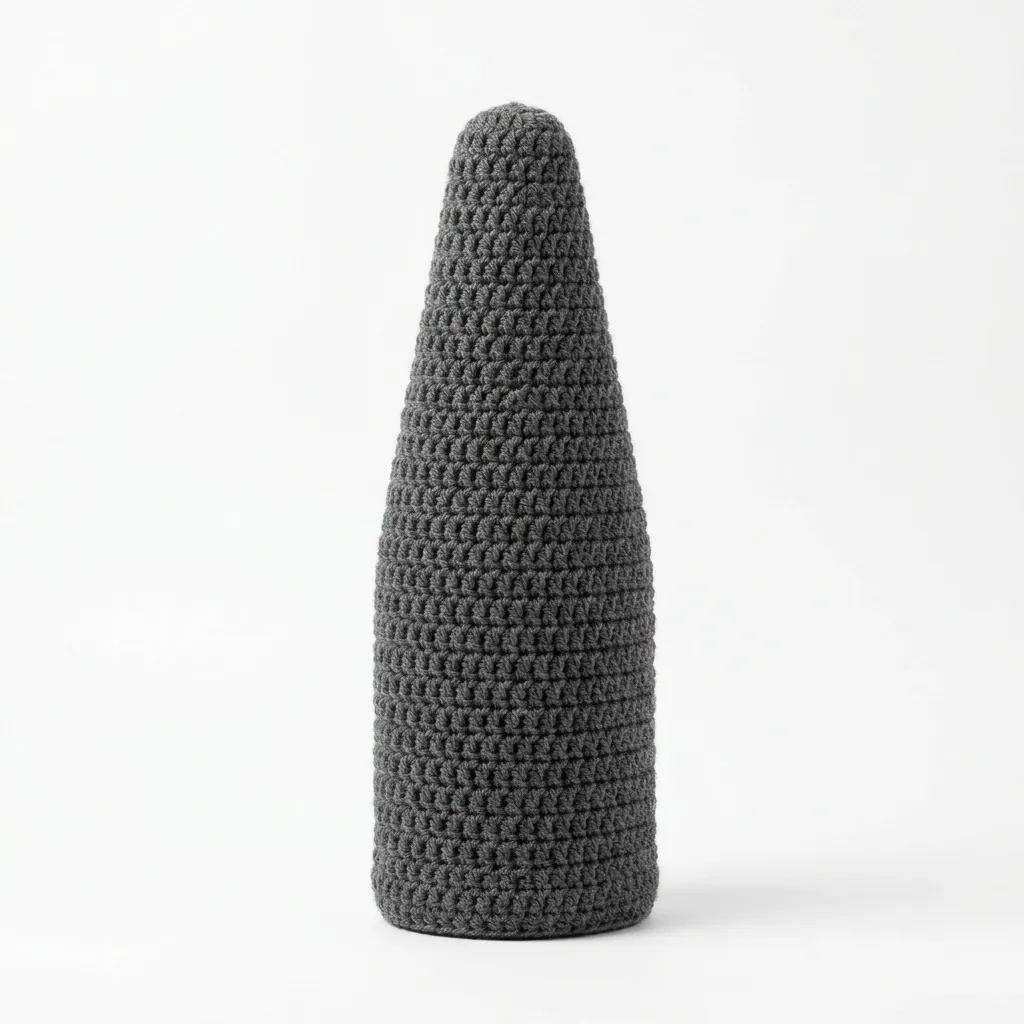
These crochet boot shaper inserts are designed to provide upright support for tall boots, helping them maintain their shape while stored. They are lightweight, durable, and can easily be customized to fit any pair of boots. You'll be using basic stitches like double crochet and single crochet, making this project both fun and achievable.
This pattern is great for anyone looking to create practical boot inserts. By following along, you’ll learn how to crochet a structured item that will help keep your boots looking their best.
Why You'll Love This Boot Shaper
- Adjustable size – customize to fit your favorite tall boots.
- Easy to store – lightweight design makes them simple to pack away.
- Quick project – you can whip them up in just a few hours.
- Useful gift – perfect for friends who love their tall boots!
Is This Pattern Good for Beginners?
Yes! While this pattern is marked as intermediate, you'll be focusing on basic stitches and following easy rows. With a bit of patience, you can create these practical inserts.
Crochet Abbreviations (US Terms)
- ch – chain
- dc – double crochet
- sl st – slip stitch
- st(s) – stitch(es)
- sc – single crochet
- inc – increase (2 dc in same st)
Size and Gauge
- Finished Size: 40.6 × 12.7 cm (16 × 5 in)
- Gauge: 11 dc and 7 rows = 10 cm (4 in) in double crochet.
Make sure to check your gauge before starting. If your gauge is off, adjust your hook size accordingly.
How to Crochet Boot Shaper Inserts (Step by Step)
Part 1: Base
The base is worked in rows.
- Foundation Chain: Ch 32.
- Row 1: Dc in 4th ch from hook, dc in each ch across. (30 dc)
- Row 2: Ch 2, turn. Dc in each dc across. (30 dc)
- Row 3: Repeat Row 2. (30 dc)
- Row 4: Ch 2, turn. Dc in next 10 dc, inc in next st; repeat from * to end. (33 dc)
- Rows 5-15: Repeat Row 2 for 11 rows. (33 dc)
- Row 16: Ch 2, turn. Dc in next 11 dc, inc in next st; repeat from * to end. (36 dc)
- Rows 17-20: Repeat Row 2 for 4 rows. (36 dc)
Part 2: Body
The body creates the height of the insert. 9. Row 21: Ch 2, turn. Dc in next 18 dc, inc in next st; repeat from * to end. (39 dc) 10. Rows 22-30: Repeat Row 2 for 9 rows. (39 dc) 11. Row 31: Ch 2, turn. Dc in next 19 dc, inc in next st; repeat from * to end. (42 dc) 12. Rows 32-40: Repeat Row 2 for 9 rows. (42 dc)
Part 3: Shaping and Finishing
Finish off your insert. 13. Row 41: Ch 2, turn. Dc in next 20 dc, inc in next st; repeat from * to end. (45 dc) 14. Row 42: Ch 2, turn. Dc in each dc across. (45 dc) 15. Fasten off: Leave a long tail for sewing to attach a lining if desired.
How to Assemble Your Boot Shapers
- Insert Stabilizer (Optional): If using plastic or cardboard, cut to shape and place inside the boot insert.
- Stuffing: Lightly stuff with fiberfill for shape, ensuring not to overstuff.
- Sewing Base to Body: Using the long tail, sew the base to the bottom of the body firmly.
- Blocking (Optional): Steam block to form and maintain desired shape.
Beginner Tips for Neat Boot Shapers
- Keep your yarn tension consistent for a polished finish.
- Use stitch markers to keep track of your pattern, especially in longer rows.
- Frequently measure as you go to ensure it matches the desired size.
Common Mistakes (and How to Fix Them)
- "My boot shaper is too short." – You might not have enough rows; add more rows for height.
- "The edges are curling." – Check your tension; loose stitches can help prevent curling.
- "My stitches look uneven." – Take time to keep tension even; practice can help with consistency.
How to Care for Your Boot Shaper Inserts
Machine wash cold on a gentle cycle and lay flat to dry. Keeping them out of direct sunlight will help prevent fading.
FAQ
Can I customize the size?
Yes, you can adjust the starting chain length for a different size by adding more or fewer chains according to the desired width.
What yarn can I use instead?
You can substitute with any worsted weight (Category 4) yarn. Just ensure the gauge matches.
How long will this project take?
You can expect to spend about 4 hours total, divided into steps for the base, body, and finishing.
Want a matching set? Check out our crochet purse patterns or see all our free crochet bag patterns.
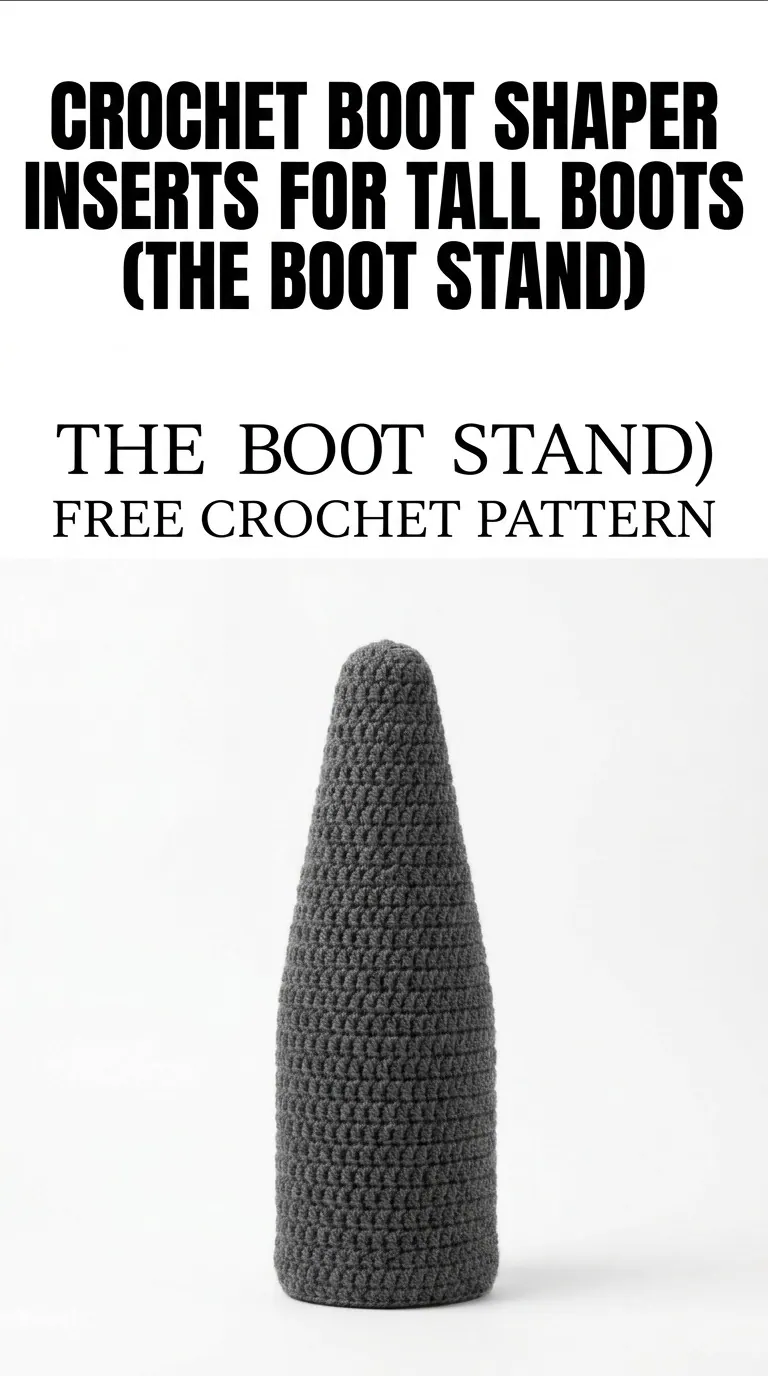
Image shown for inspiration — your finished result may vary slightly.