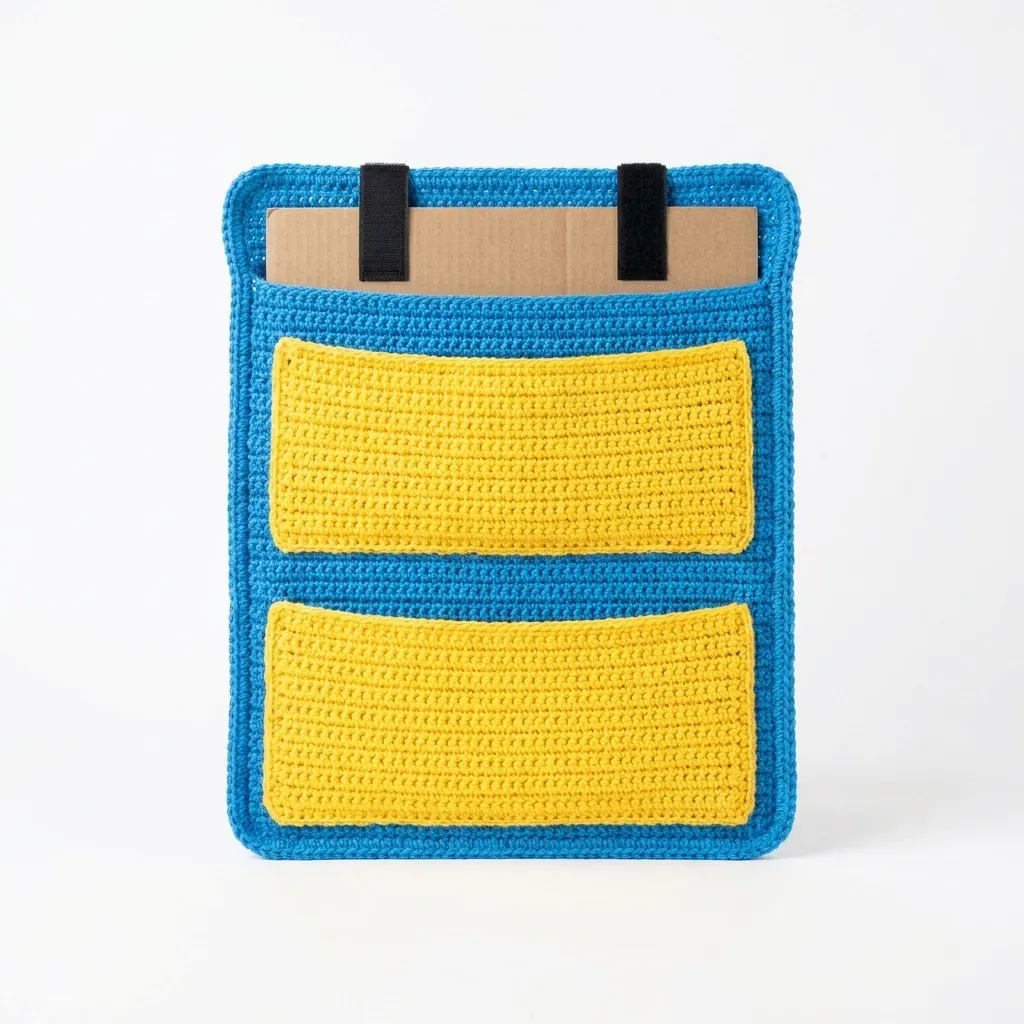
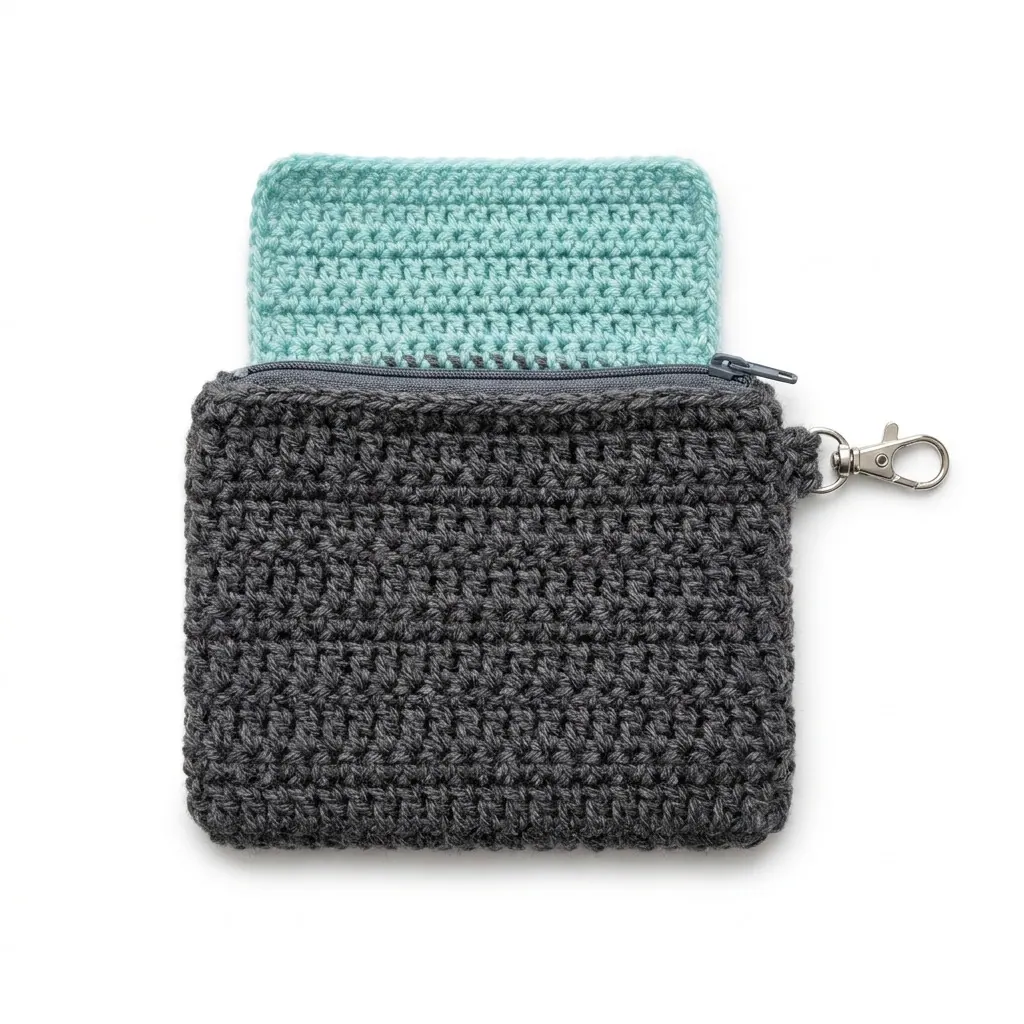
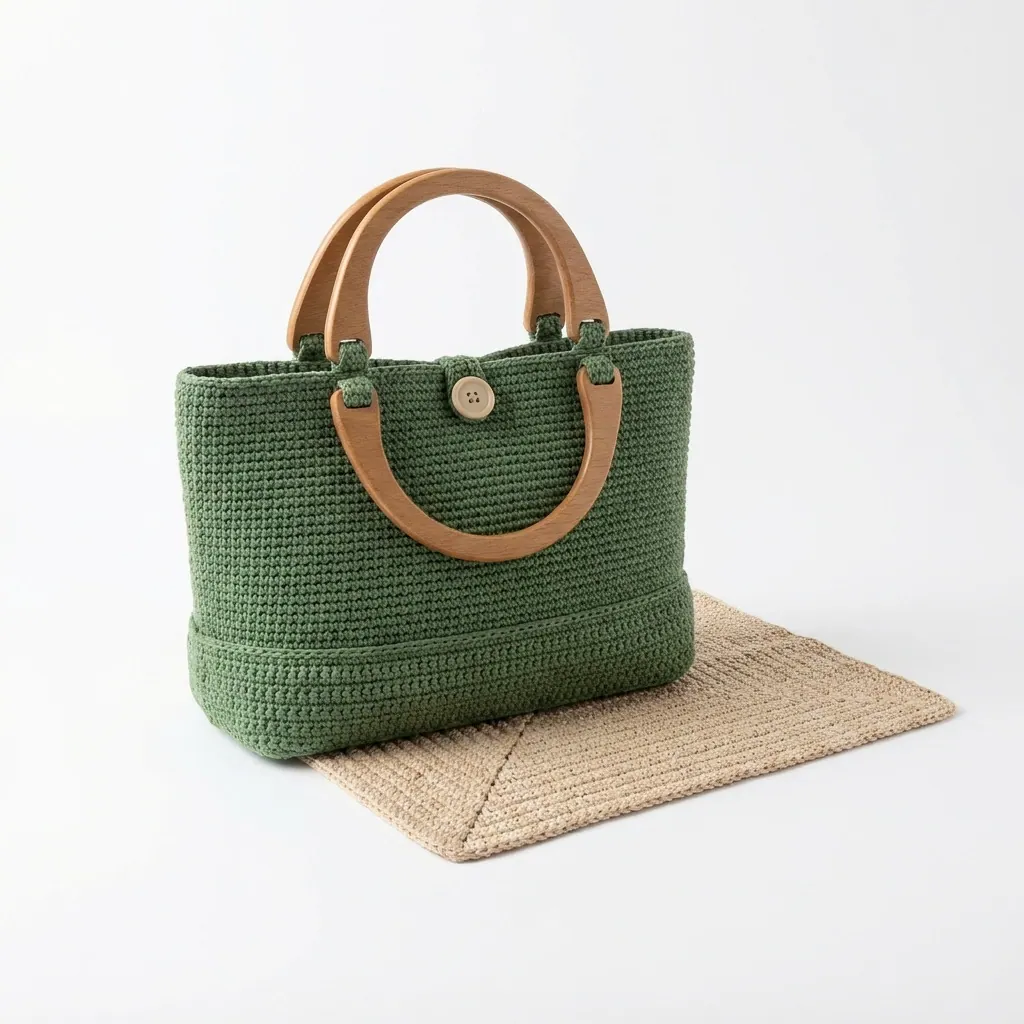
Crochet Car Seat Gap Filler Pattern for Beginners
A free crochet car seat gap filler pattern with straightforward steps and helpful tips. Perfect for keeping your car organized.
Published · by Sara
- Skill level
- Beginner
- Yarn weight
- Worsted (4)
- Hook size
- 5.5 mm (I-9)
- Yardage
- about 250 yards
- Gauge
- 12 dc and 8 rows = 10 cm
- Time
- 3.5 hours
- Sizes
- 12.7 × 25.4 cm (5 × 10 in)
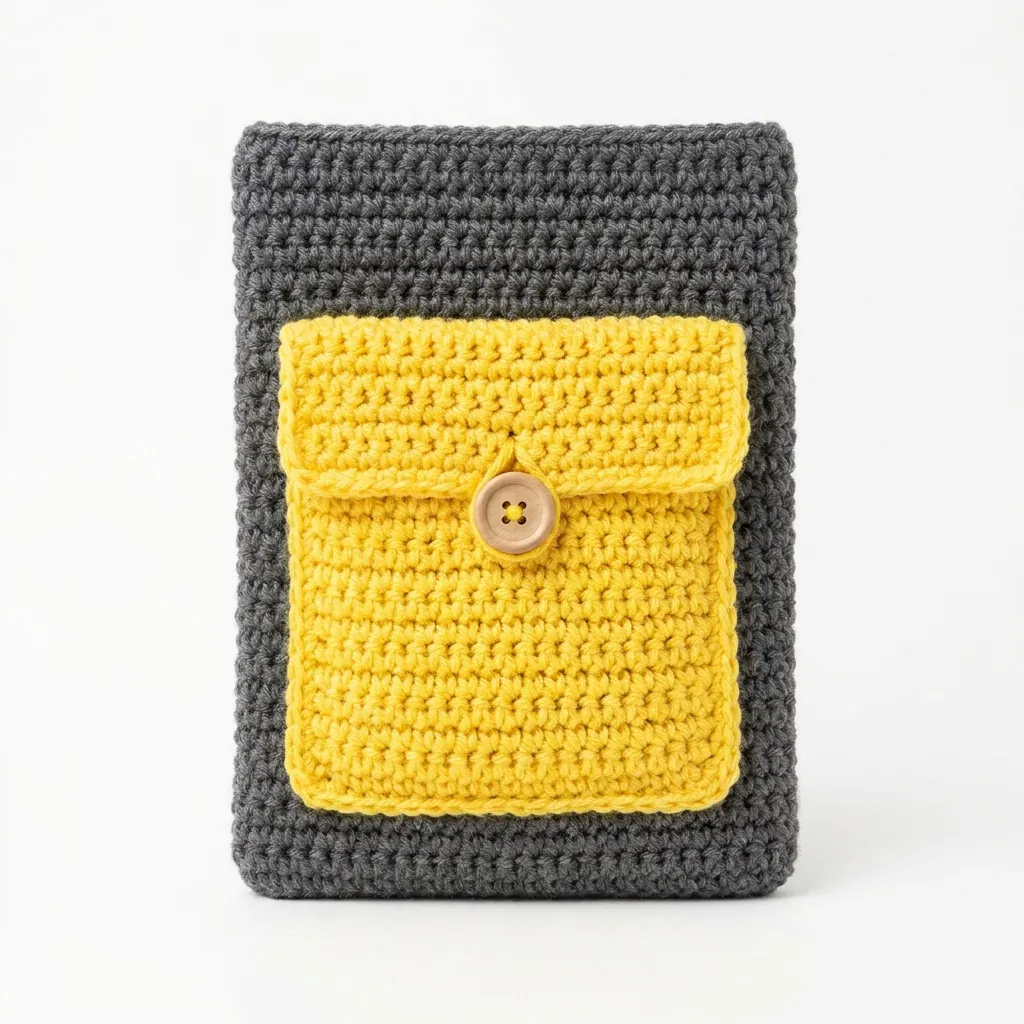
This crochet car seat gap filler pattern makes The Gap Keeper, a clever solution to prevent items from slipping between your car seat and console, while also providing an extra pocket for your essentials. It's an enjoyable project that combines simple stitches like single crochet and double crochet, making it approachable for beginners.
You'll find this pattern perfect for anyone who wants to organize their vehicle, as well as for those looking to practice their crochet skills. Let's dive in and get started!
Why You'll Love This Gap Keeper
- Practical design – keeps your items secure and accessible while driving.
- Quick project – estimated completion time is just 3.5 hours.
- Fun color options – personalize it with your favorite yarn shades.
- Easy to follow – great for beginners wanting to build confidence in their crochet skills.
Is This Pattern Good for Beginners?
Yes! This pattern uses basic stitches—single crochet and double crochet—making it a great choice for those new to crochet. You'll learn how to create a functional piece while practicing your stitches.
Crochet Abbreviations (US Terms)
- ch – chain
- sc – single crochet
- dc – double crochet
- sl st – slip stitch
- st – stitch
Size and Gauge
- Finished Size: Approximately 12.7 × 25.4 cm (5 × 10 in).
- Pocket Size: Approximately 12.7 × 17.8 cm (5 × 7 in).
- Gauge: 12 dc and 8 rows = 10 cm (4 in) square in double crochet.
To check your gauge, crochet a swatch of 12 dc by 8 rows. Adjust your hook size if needed to meet the gauge for the best fit.
Step 1: Body of the Gap Filler
The body is worked in rows.
- Ch 20 (20 sts).
- Row 1: dc in 4th ch from hook, dc in each ch across. Turn. (18 sts)
- Row 2: ch 3, dc in each st across. Turn. (18 sts)
- Rows 3–20: Repeat Row 2 for a total of 19 rows. (18 sts)
- Row 21: ch 1, sc in each st across. Turn. (18 sts)
- Row 22: ch 1, sc in first 6 sts, skip 6 sts, sc in last 6 sts. Turn. (12 sts)
- Row 23: ch 1, sc in each st across. Turn. (12 sts)
- Rows 24–36: Repeat Row 7 for a total of 13 rows. (12 sts)
- Row 37: ch 1, sc in each st across. Turn. (12 sts)
- Row 38: ch 1, fold piece in half lengthwise, sc in both layers across. (12 sts)
Step 2: Pocket
We’ll make the pocket in a contrasting color.
- Join Bright Yellow yarn.
- Ch 20 (20 sts).
- Row 1: dc in 4th ch from hook, dc in each ch across. Turn. (18 sts)
- Rows 2–8: Repeat Row 2 for a total of 8 rows. (18 sts)
- Row 9: ch 1, sc in each st across. Turn. (18 sts)
- Row 10: ch 1, sc in first 6 sts, skip 6 sts, sc in last 6 sts. Turn. (12 sts)
- Rows 11–12: Repeat Row 7 for 2 rows. (12 sts)
- Row 13: ch 1, sc in each st across. Turn. (12 sts)
- Row 14: ch 1, fold piece in half lengthwise, sc in both layers across. (12 sts).
- Fasten off and weave in ends.
Step 3: Assembly
- Position the pocket on top of the main body, centering it, and attach using sc around the edges of the pocket to the body.
- Optional: Add fiberfill stuffing within the gap filler for firmness before sewing the final edges.
- Sew a button to the center of the pocket flap for closure.
Beginner Tips for a Neat Gap Keeper
- Keep your workspace clear and organized to avoid losing your pieces.
- Check your tension regularly to ensure even stitches throughout.
- Measure your work as you go to avoid any unexpected size changes.
Common Mistakes (and How to Fix Them)
- "My pocket is too small." – Check your starting chain and rows to ensure you're following the pattern closely.
- "The gaps in my stitches are too big." – Maintain consistent tension when crocheting to avoid loose stitches.
- "The piece is curling." – Make sure your gauge is correct; blocking may help it lay flat.
How to Care for Your Gap Keeper
Hand wash in cold water and lay flat to dry. This will help maintain the shape and quality of your crocheted piece.
FAQ
Can I customize the size?
Yes! To adjust the size, increase the starting chain in increments of 4 stitches.
What type of yarn can I use instead?
You can substitute any worsted weight yarn in your desired colors, but be sure to check gauge.
How long will it take to make?
The total estimated time is about 3.5 hours, with the body taking approximately 2 hours, the pocket 1 hour, and assembly 30 minutes.
Enjoy your new Gap Keeper in your car! Want a matching set? Check out our crochet purse patterns or see all our free crochet bag patterns.
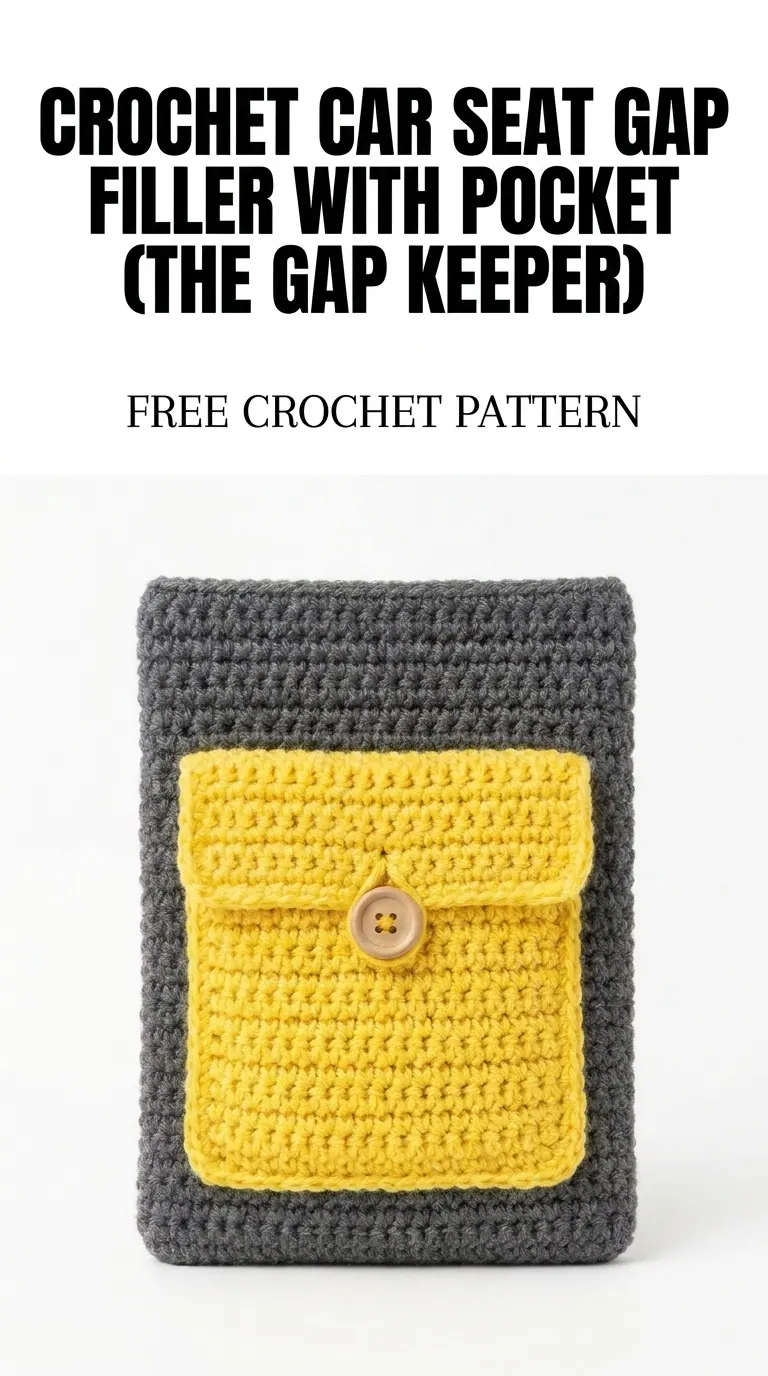
Image shown for inspiration — your finished result may vary slightly.