Crochet Lunch Bag That Unfolds Into a Placemat Pattern for Beginners
A free crochet pattern perfect for beginners, featuring clear steps to create a multifunctional lunch bag that transforms into a placemat.
Published · by Sara
- Skill level
- Beginner
- Yarn weight
- Worsted (4)
- Hook size
- 5.5 mm (US I/9)
- Yardage
- about 300 yards
- Gauge
- 12 dc and 8 rows = 10 cm
- Time
- 5 hours
- Sizes
- 30.5 × 20.3 × 10.2 cm (12 × 8 × 4 in)
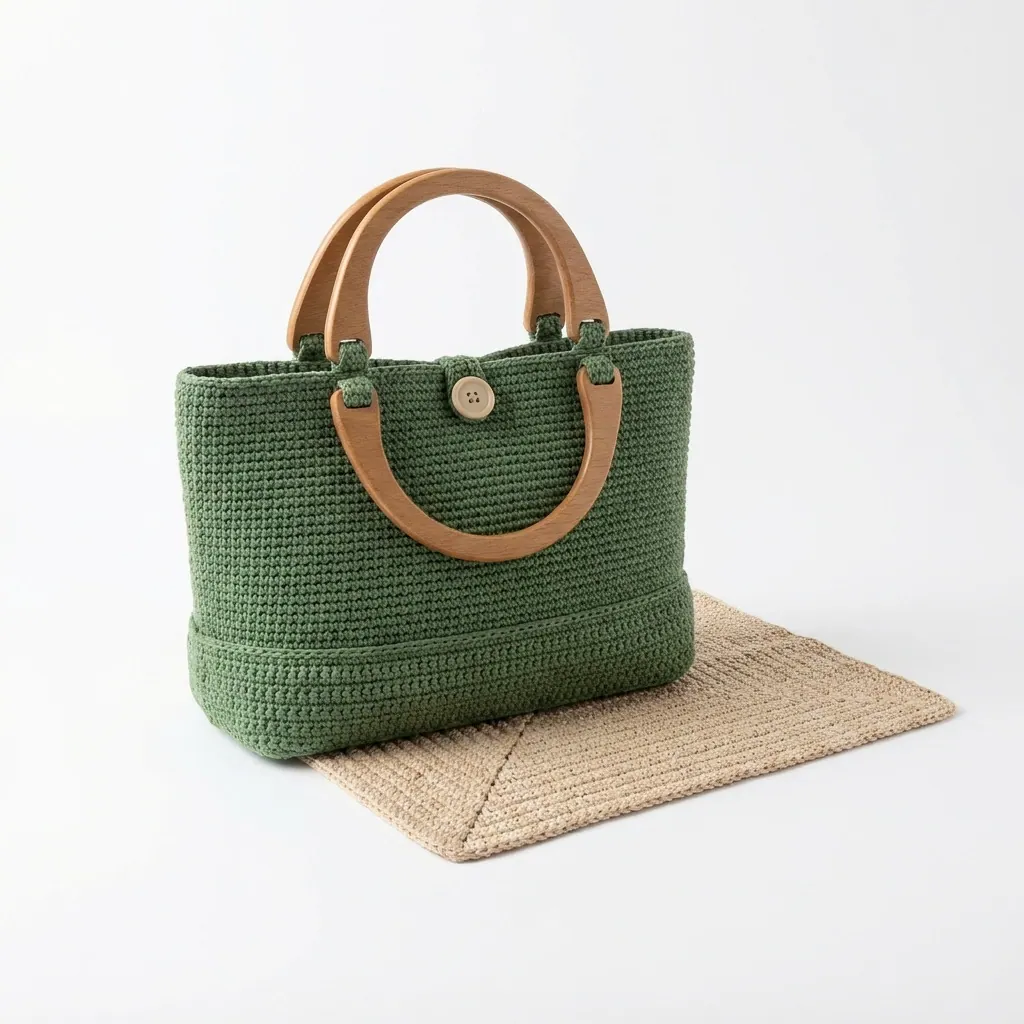
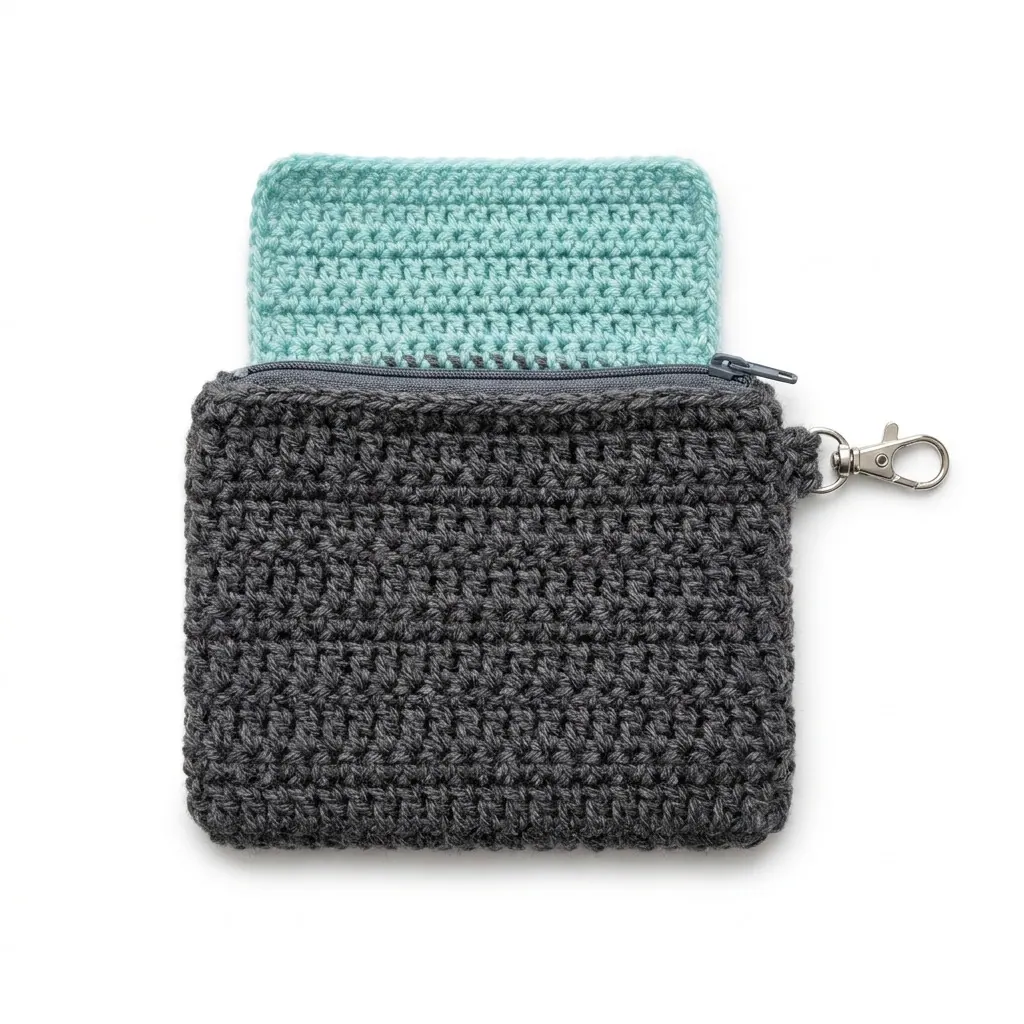
This crochet lunch bag pattern makes a practical and stylish companion for your meals. The Lunch Unroll is designed to unfold into a spacious placemat, perfect for lunchtime at the office or a picnic. It uses basic stitches like single crochet and double crochet, making it easy and enjoyable for you to create.
This pattern is great for beginners who want to learn to crochet a functional item. You'll pick up helpful techniques for shaping and finishing as you work through the bag.
Why You'll Love This Lunch Bag
- Versatile design – easily transforms from a bag into a placemat for dining anywhere.
- Functional and stylish – combines practicality with a modern aesthetic.
- Easy-to-follow instructions – perfect for beginners with clear step-by-step guidance.
- Quick project – complete it in about 5 hours, making it perfect for a weekend craft session.
Is This Pattern Good for Beginners?
Yes! With basic stitches and straightforward instructions, you'll feel confident as you crochet your very own lunch bag.
Crochet Abbreviations (US Terms)
- ch – chain
- sc – single crochet
- dc – double crochet
- sl st – slip stitch
Size and Gauge
- Finished Bag Dimensions: 30.5 × 20.3 × 10.2 cm (12 × 8 × 4 in)
- Placemat dimensions (when unfolded): 30.5 × 40.6 cm (12 × 16 in)
- Gauge: 12 dc and 8 rows = 10 cm (4 in) in sc.
Check your gauge by making a small swatch. If needed, adjust your hook size for a tighter or looser gauge.
Step 1: Body of the Bag
The body is worked in rows.
- Foundation Row: With Grove Green, ch 46.
- Row 1: Sc in 2nd ch from the hook and in each ch across. (45 sc)
- Row 2: Ch 1, turn. Sc in each sc across. (45 sc)
- Row 3: Ch 1, turn. Sc in each sc across. (45 sc)
- Row 4-12: Repeat Row 2 for 10 rows total. (45 sc)
- Row 13 (Bottom Edge): Ch 1, turn. Work 5 sc in the first st, then sc across until 5 sts remain. Work 5 sc in the last st. (55 sc)
- Row 14: Ch 1, turn. Sc in each st across. (55 sc)
- Row 15-16: Repeat Row 14 for 2 more rows. (55 sc)
- Row 17: Ch 1, turn. Sc in the first 5 sc, then work 5 sc in the next st, sk 1 st, sc in next st repeat until the last 5 sc. (45 sc)
- Row 18-19: Repeat Row 14 for 2 more rows. (45 sc)
Step 2: Sides of the Bag
The sides continue with additional rows.
- Row 20: Ch 1, turn. Sc in each st across. (45 sc)
- Row 21: Ch 1, turn. Work 2 sc in the first sc, then sc in each st across. (46 sc)
- Row 22: Ch 1, turn. Work 2 sc in the first sc, then sc in each st across. (47 sc)
- Row 23-30: Repeat Row 20 for 8 more rows. (47 sc)
Step 3: Top Border
We finish off the top with a border for a polished look.
- Row 31: Ch 1, turn. Work a sc in the first 23 sts, ch 8, sk next 1 st, sc in next 23 sts. (47 sc, 8 ch)
- Row 32: Ch 1, turn. Sc in first 23 sc, 8 sc in ch, sc in next 23 sc. (47 sc)
- Row 33: Ch 1, turn. Sc in each st across. (47 sc)
Finishing the Bag
To shape and finish your bag:
- Fold the bag in half with the right sides together and join with sl st down both sides.
- Turn the bag right side out and block if necessary.
Beginner Tips for a Neat Bag
- Keep your yarn untangled – use a yarn bowl or bag while working.
- Maintain consistent tension – try to keep your stitches even.
- Check your size as you go – periodically measure to ensure the final product meets your expectations.
Common Mistakes (and How to Fix Them)
- "My bag is too small." – This might happen if your tension is too tight. Keep a looser grip on your yarn while crocheting.
- "The stitches are uneven." – This can happen with inconsistent tension. Use stitch markers to help keep your stitches organized.
- "I can't get my edge straight." – If the top isn't straight, re-check your counting to ensure you followed the same number of stitches in each row.
How to Care for Your Lunch Bag
To keep your bag looking its best, hand wash gently and lay flat to dry. This will help maintain its shape and durability.
FAQ
Can I customize the size?
Yes! You can adjust the number of foundation chains to make the bag larger or smaller, but be sure to maintain the gauge for a consistent look.
What if I want to add a lining?
Adding a fabric lining can give your bag extra sturdiness. Cut the fabric to match the dimensions of the bag and sew it in after finishing.
How long will this take to make?
You can expect to spend about 5 hours total on this project, depending on your experience level.
Want a matching set? Check out our crochet purse patterns or see all our free crochet bag patterns.
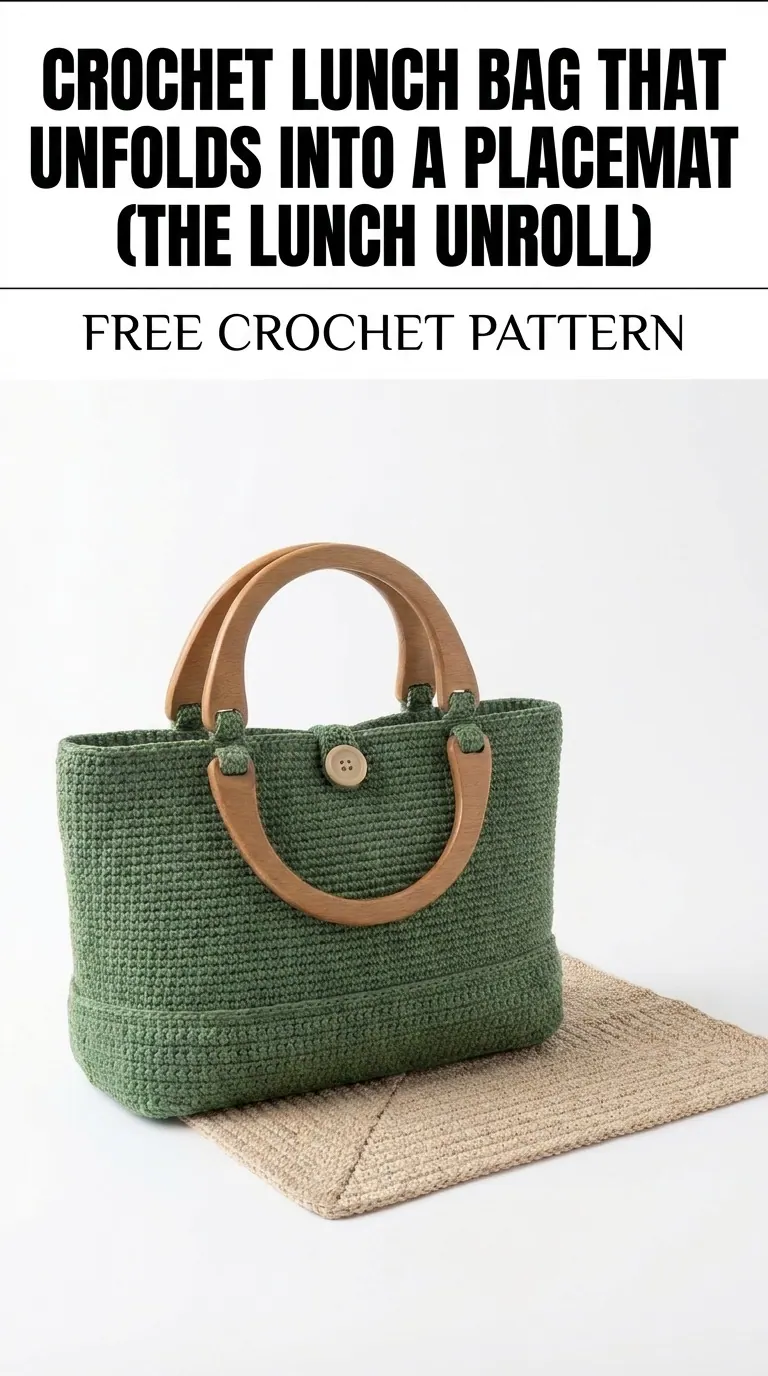
Image shown for inspiration — your finished result may vary slightly.