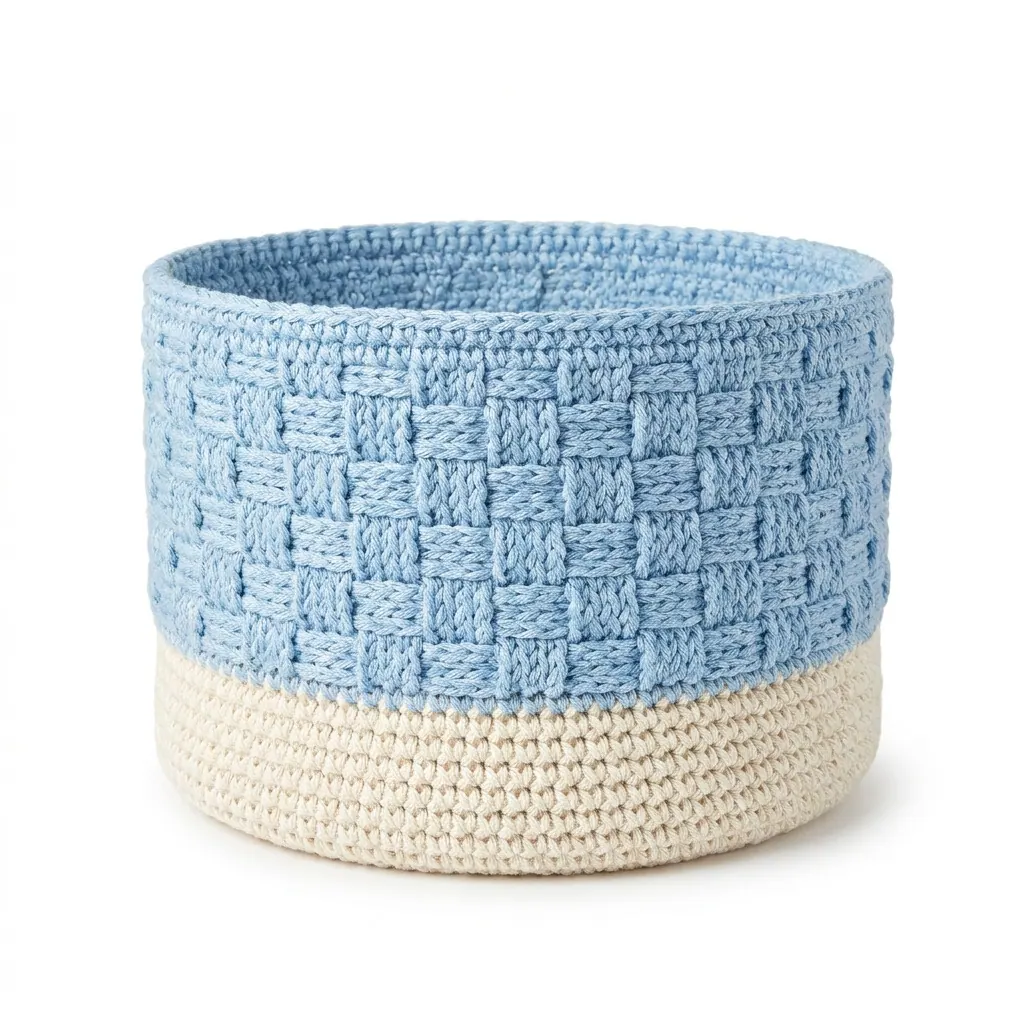
Crochet Laundry Basket With Sock Pairing Pockets (Free)
A free crochet laundry basket pattern featuring innovative sock pairing pockets. Perfect for keeping laundry organized and homes stylish.
Published · by Sara
- Skill level
- Intermediate
- Yarn weight
- Medium (4)
- Hook size
- 5.5 mm (I-9)
- Yardage
- about 200 m
- Gauge
- 12 sc and 8 rows = 10 cm
- Time
- 7 hours
- Sizes
- 38 cm (15 in) diameter and 46 cm (18 in) height
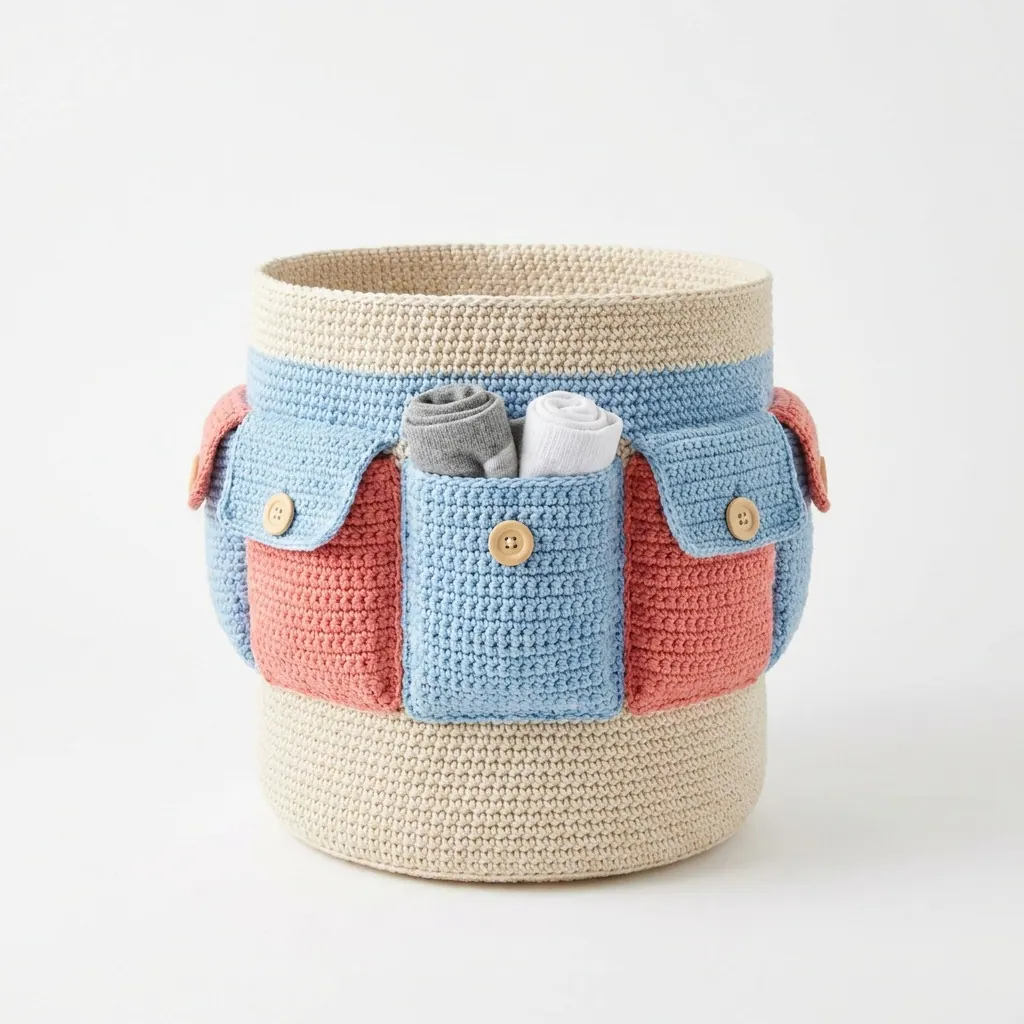
This crochet laundry basket with sock pairing pockets makes laundry day a little easier and a lot more organized. Featuring integrated pockets, it’s a practical solution to keep your socks together while adding a charming touch to your home. You'll enjoy the process of creating this sturdy piece using basic stitches like single crochet and double crochet.
This project is perfect for intermediate crocheters looking to enhance their skills. As you craft this basket, you'll learn to create stunning structure while mastering color changes and special techniques.
Why You'll Love This Crochet Laundry Basket
- Functional design – the integrated sock pairing pockets keep your socks organized during laundry.
- Sturdy construction – made with medium weight yarn, it retains its shape and stands up to regular use.
- Charming décor – personalize it with your favorite colors to match your home.
- Easy to follow – our clear instructions and tips will guide you step-by-step.
Skill Level: Intermediate
You'll need to know the following stitches:
- chain (ch)
- single crochet (sc)
- double crochet (dc)
- slip stitch (sl st)
The new stitches are increase (inc) and decrease (dec).
Crochet Abbreviations (US Terms)
- ch – chain
- sc – single crochet
- dc – double crochet
- sl st – slip stitch
- inc – increase (sc two stitches in the same stitch)
- dec – decrease (sc two stitches together)
- sp – space
- RS – right side
- WS – wrong side
Gauge and Finished Size
- Gauge: 12 sc and 8 rows = 10 cm (4 in)
- Finished size: 38 cm (15 in) in diameter and 46 cm (18 in) in height.
Check your gauge to ensure your basket turns out the right size. A tighter gauge may need a smaller hook; a looser gauge may need a larger hook.
Step 1: Base of the Basket
The base of the basket is worked in rounds to achieve a sturdy foundation.
- Ch 4, join to form a ring. (1 st)
- Rnd 1: Ch 1, 6 sc in the ring. Join with a sl st to the first sc. (6 sts)
- Rnd 2: Ch 1, inc in each st around. Join with a sl st. (12 sts)
- Rnd 3: Ch 1, sc in next st, inc in next st. Repeat around. Join. (18 sts)
- Rnd 4: Ch 1, sc in next 2 sts, inc in next st. Repeat around. Join. (24 sts)
- Rnd 5: Ch 1, sc in next 3 sts, inc in next st. Repeat around. Join. (30 sts)
- Rnd 6: Ch 1, sc in next 4 sts, inc in next st. Repeat around. Join. (36 sts)
- Rnd 7-12: Ch 1, sc in each st around. Join. (36 sts each round)
Step 2: Basket Sides
Now we’ll work on building the sides of the basket for added height. 9. Rnd 13: Ch 1, sc2tog, sc 34, sc2tog. Join. (34 sts) 10. Rnd 14: Ch 1, sc in each st around. Join. (34 sts) 11. Rnd 15: Ch 1, sc2tog, sc 32, sc2tog. Join. (32 sts) 12. Rnd 16: Ch 1, sc in each st around. Join. (32 sts) 13. Rnd 17: Ch 1, sc2tog, sc 30, sc2tog. Join. (30 sts) 14. Rnd 18: Ch 1, sc in each st around. Join. (30 sts) 15. Rnd 19: Ch 1, sc2tog, sc 28, sc2tog. Join. (28 sts) 16. Rnd 20: Ch 1, sc in each st around. Join. (28 sts)
Step 3: Sock Pairing Pockets
Let’s add pockets to keep your socks paired together as you wash. 17. Rnd 21: Switch to "Sky Blue". Ch 1, sc in next 7 sts, ch 7, skip 7 sts. Repeat around. Join. 18. Rnd 22: Ch 1, sc in each st and ch around. Join. (Include 7 sc for each ch sp) 19. Rnd 23: Ch 1, sc in next 8 sts, inc in next st. Repeat around. Join. (30 sts) 20. Rnd 24-26: Ch 1, sc in each st around. Join. (30 sts) 21. Rnd 27: Switch to "Coral Pink". Ch 1, sc in each st around. Join. (30 sts)
Step 4: Finish the Basket
Finish up your basket by closing it off. 22. Rnd 28: Ch 1, sc2tog, sc 26, sc2tog. Join. (28 sts) 23. Rnd 29: Ch 1, sc in each st around. Join. (28 sts) 24. Rnd 30: Ch 1, sc2tog, sc 24, sc2tog. Join. (26 sts) 25. Rnd 31: Ch 1, sc in each st around. Join. (26 sts) 26. Rnd 32: Ch 1, sc2tog, sc 22, sc2tog. Join. (24 sts) 27. Rnd 33: Ch 1, sc in each st around. Join. (24 sts)
Final Edging
Let’s add the final touches to your basket. 28. Rnd 34: Ch 1, sc in each st. Fasten off and weave in all ends.
Beginner Tips for a Neat Crochet Laundry Basket
- Keep your yarn untangled and organized to help maintain a smooth flow while working.
- Check your tension regularly to make sure your stitches stay consistent.
- Measure as you go, especially for key dimensions, to ensure a perfect fit for your space.
Common Mistakes (and How to Fix Them)
- My basket doesn’t have the right shape. – This can happen if your gauge is off. Always check your gauge before starting!
- The stitches look uneven. – This may be due to inconsistent tension. Focus on keeping your tension uniform with practice.
- I forgot the buttons on the pockets. – No worries! You can still sew them on after finishing your basket; just ensure to catch the edges securely.
How to Care for Your Crochet Laundry Basket
For best results, hand wash your basket and lay it flat to dry to maintain its shape. Avoid machine washing to prevent stretching.
FAQ
Can I customize the size?
Absolutely! To adjust the size, simply add more rounds to the base until you reach your desired diameter.
What yarn can I use instead?
You can use any medium weight (Category 4) yarn, but make sure it's sturdy enough to hold the shape of the basket.
How long does it take to finish this basket?
The total estimated time is around 7 hours, depending on your experience and speed.
Want a matching set? Check out our crochet purse patterns or see all our free crochet bag patterns.
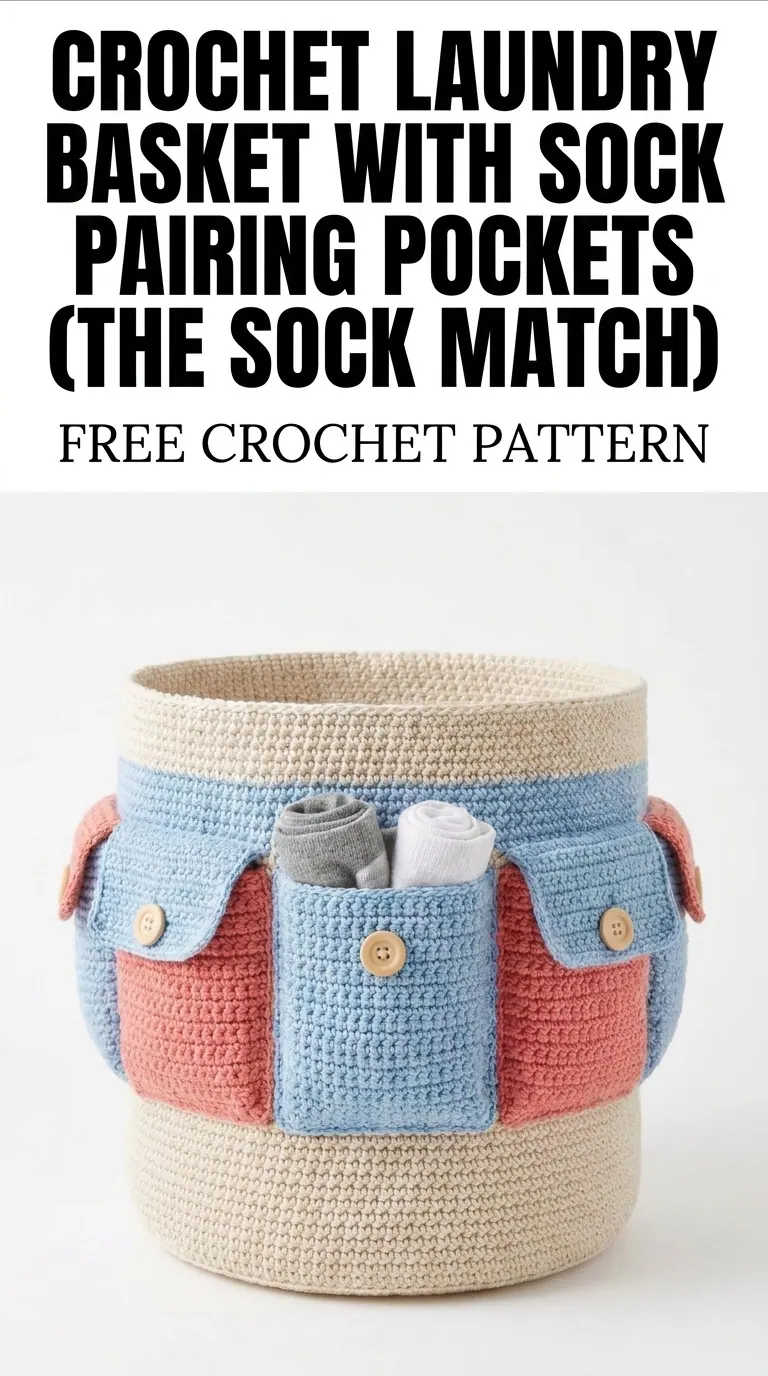
Image shown for inspiration — your finished result may vary slightly.