Crochet Makeup Pouch Pattern for Beginners
A free crochet makeup pouch pattern with straightforward steps, perfect for carrying cosmetics with a stylish zipper closure.
Published · by Sara
- Skill level
- Intermediate
- Yarn weight
- Worsted (4)
- Hook size
- 5.0 mm (H-8) and 4.5 mm (G-6)
- Yardage
- about 200 yards
- Gauge
- 12 hdc and 10 rows = 10 cm
- Time
- 4-5.5 hours
- Sizes
- 20 × 13 cm (8 × 5 in)
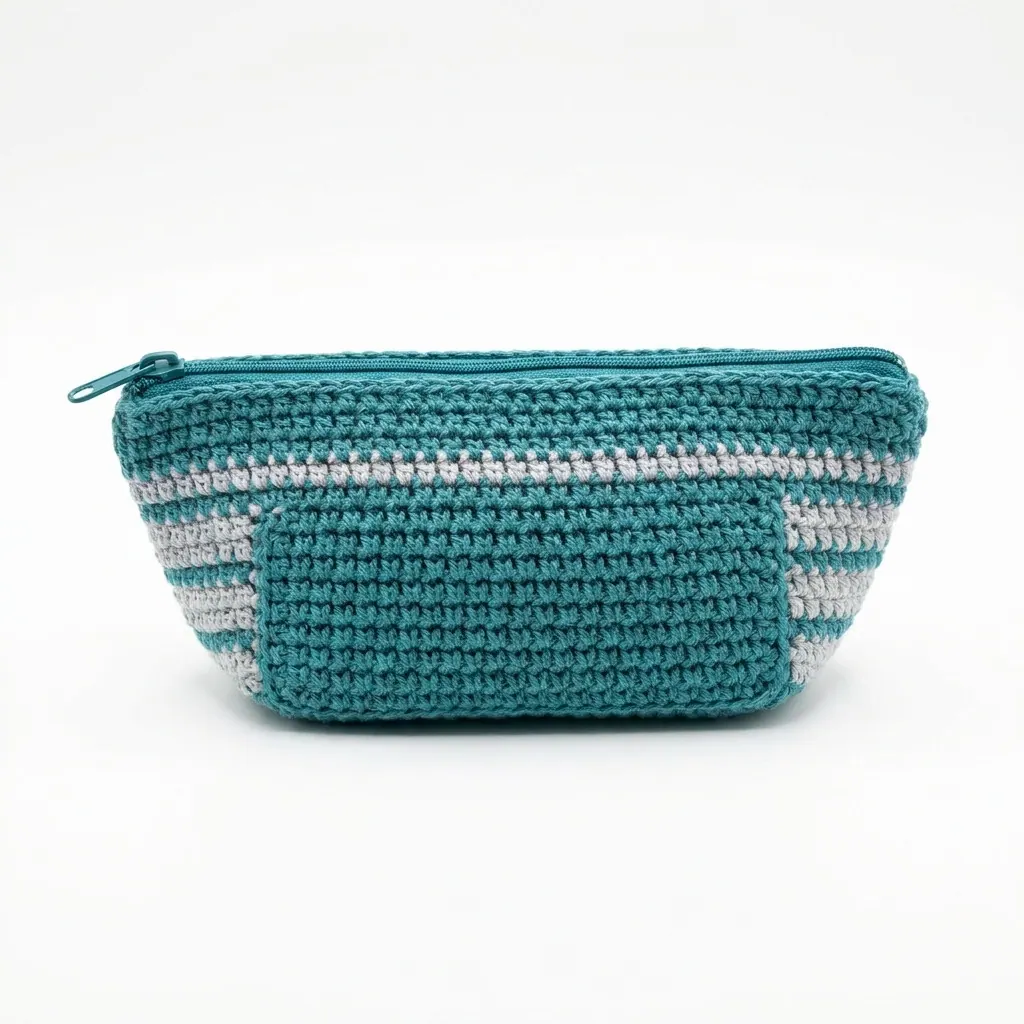
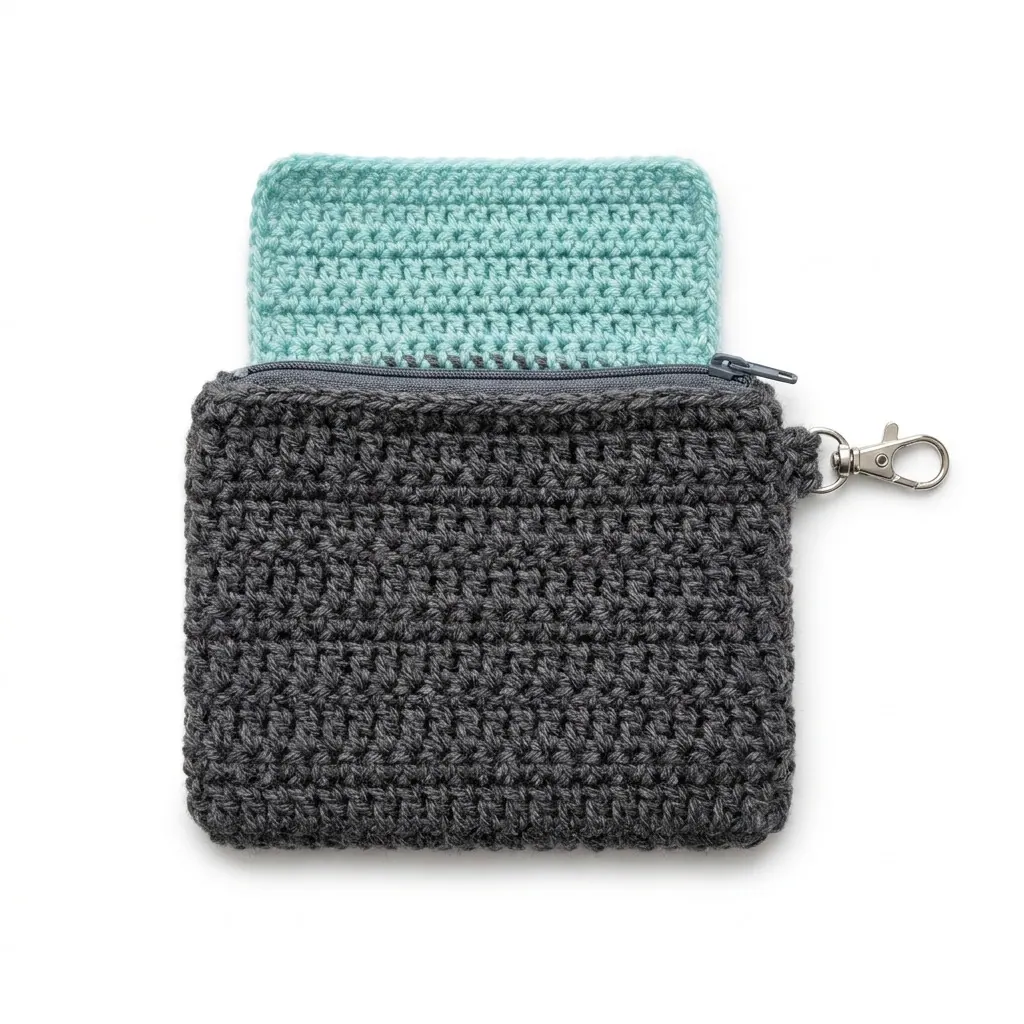
This crochet makeup pouch pattern makes a stylish and functional accessory for storing all your cosmetics or small items. The zipper closure adds a nice touch of convenience while keeping everything secure. With half double crochet and other basic stitches, you'll find this project enjoyable and perfect for brushing up your skills.
This pattern suits anyone looking to create a cozy yet useful item with a bit of flair. By following along, you'll learn how to incorporate a zipper successfully into your crochet work, enhancing your crafting repertoire.
Why You'll Love This Makeup Pouch
- Versatile and stylish – perfect for storing cosmetics or other essentials.
- Great for practicing skills – you'll improve your crochet and sewing techniques.
- Customizable in size and color – easily tailor it to your personal style.
- Clear step-by-step instructions – perfect for tackling your first crochet project with a zipper.
Is This Pattern Good for Beginners?
Yes! While this crochet makeup pouch pattern involves sewing a zipper, the crochet stitches are easy to master. Plus, with clear, step-by-step guidance, you'll feel confident as you progress.
Crochet Abbreviations (US Terms)
- ch – chain
- sl st – slip stitch
- sc – single crochet
- hdc – half double crochet
- dc – double crochet
- st(s) – stitch(es)
Size and Gauge
- Finished Size: 20 × 13 cm (8 × 5 in), with a depth of 7.5 cm (3 in).
- Gauge: 12 hdc and 10 rows = 10 cm (4 in).
- Check your gauge by crocheting a swatch and adjusting your hook size if necessary.
Step 1: Crochet the Makeup Pouch
The pouch is worked in rows.
Row 1: With Color A, ch 40.
Row 2: HDC in the 3rd ch from the hook and in each ch across (38 hdc).
Row 3: Ch 2, turn. HDC in each st across (38 hdc).
Rows 4–10: Repeat Row 3 (38 hdc).
Row 11: Ch 2, turn. HDC in first 10 st, switch to Color B, HDC in next 18 st, switch to Color A, HDC in last 10 st (38 hdc).
Rows 12–18: Repeat Row 11 (38 hdc).
Row 19: Ch 2, turn. HDC in each st across (38 hdc).
Row 20: Ch 2, turn. HDC in each st across (38 hdc).
Row 21: Ch 2, turn. HDC in first 10 st, switch to Color B, HDC in next 18 st, switch to Color A, HDC in last 10 st (38 hdc).
Rows 22–28: Repeat Row 21 (38 hdc).
Row 29: Ch 2, turn. HDC in each st across (38 hdc).
Row 30: Ch 2, turn. HDC in each st across (38 hdc).
Fasten off and leave a long tail for sewing (approx. 30 cm).
Step 2: Preparing the Lining
- Cut interior lining fabric: 2 pieces measuring 23 × 15 cm (9 × 6 in).
- (Optional) Cut interfacing to the same size and apply to the wrong side of the fabric as per manufacturer's instructions.
Step 3: Assembly
- Fold the crochet piece in half, with the right side facing in (it should measure approximately 20 × 13 cm (8 × 5 in)).
- Sew the edges closed, leaving the top open. Ensure the dimensions are correct.
- Turn the pouch right side out.
- Insert the lining into the pouch so that it fits snugly inside.
Step 4: Sewing the Zipper
- Lay the zipper along the top line of the pouch, with the pull tab facing down.
- Pin the zipper to the crochet pouch's top edge.
- Using a sewing machine, sew the zipper to the crochet fabric, taking care to stitch along the zipper teeth but not over them, using a straight stitch.
- Repeat on the other side of the zipper with the lining fabric.
Assembly & Finishing
- Ensure the zipper operates smoothly.
- To finish the edges of the lining, sew a straight line about 1.25 cm (½ in) from the top where the lining meets the zipper.
- Weave in ends of yarn with a tapestry needle.
- Block the crochet pouch for a cleaner finish.
Beginner Tips for a Neat Makeup Pouch
- Keep your workspace tidy – it helps stay organized and find materials easily.
- Check your tension regularly – to ensure consistent sizes throughout the project.
- Measure your work as you go – this will help you avoid mistakes and ensure everything fits together properly.
Common Mistakes (and How to Fix Them)
- "My pouch is too small." – If you increased the starting chain, make sure to follow the row counts accurately. Adjust your starting chain according to the gauge.
- "The stitches are uneven." – This could be due to inconsistent tension while crocheting. Practice keeping an even tension throughout.
- "The zipper is hard to close." – If you stitched too close to the zipper teeth, it can cause stiffness. Re-sew carefully, leaving enough space for smooth operation.
How to Care for Your Makeup Pouch
To keep your crochet pouch looking great, hand wash it gently and lay it flat to dry. The lining can be machine washed on a gentle cycle, making it easy to maintain.
FAQ
Can I customize the size?
Absolutely! To create a larger or smaller pouch, simply adjust the starting chain in increments of 5.
What yarn can I substitute?
You can use any worsted weight 100% cotton yarn for this project. Just make sure to check your gauge.
How long will it take to make?
Crocheting the pouch will take approximately 3-4 hours, with additional time for preparing the lining and sewing, bringing the total to about 4-5.5 hours.
Want a matching set? Check out our crochet purse patterns or see all our free crochet bag patterns.
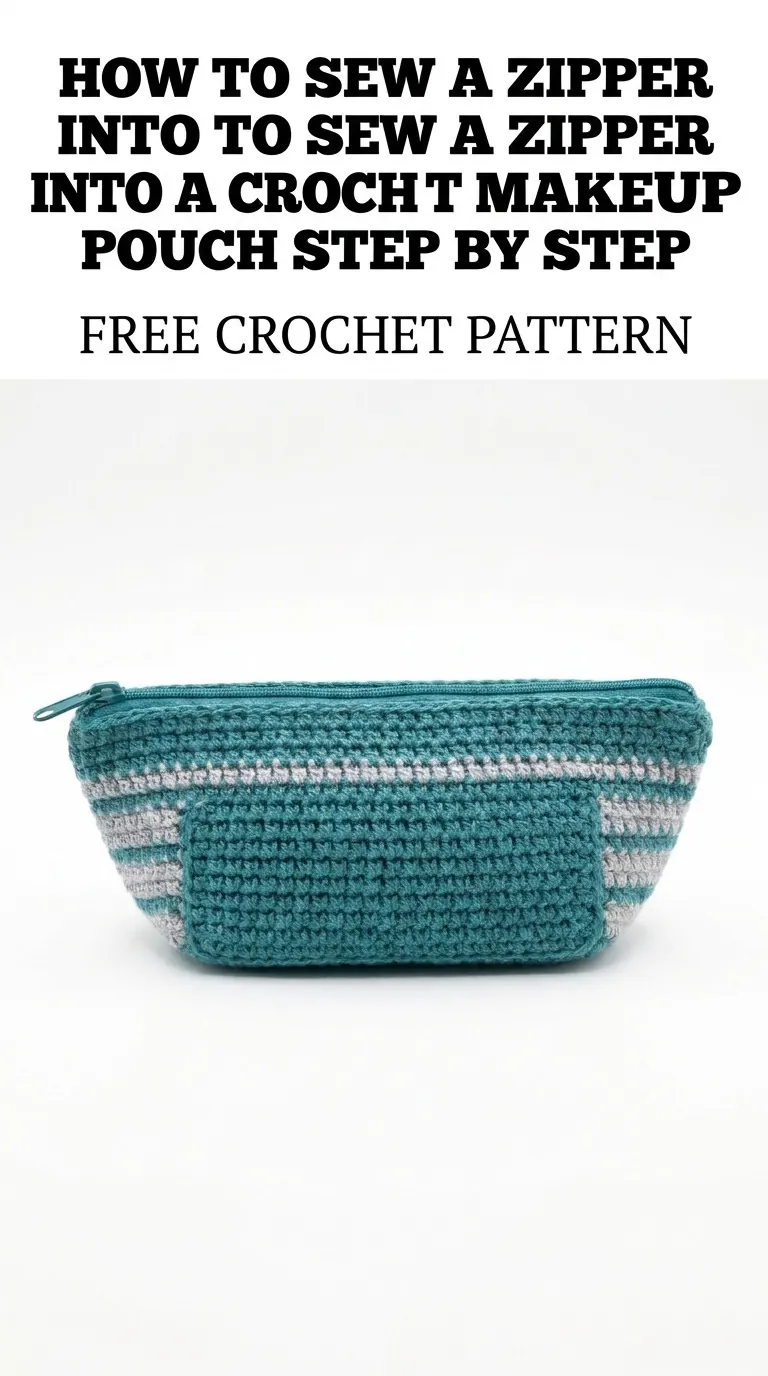
Image shown for inspiration — your finished result may vary slightly.