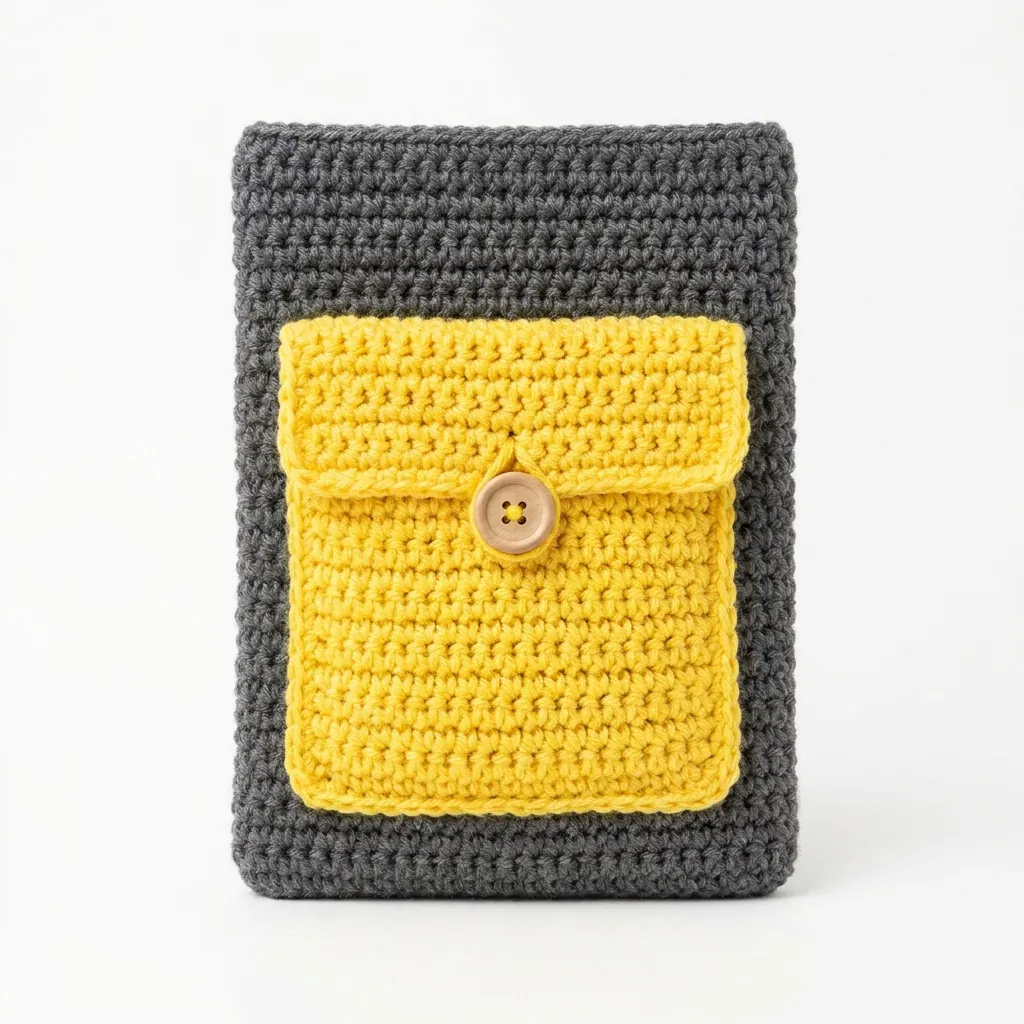
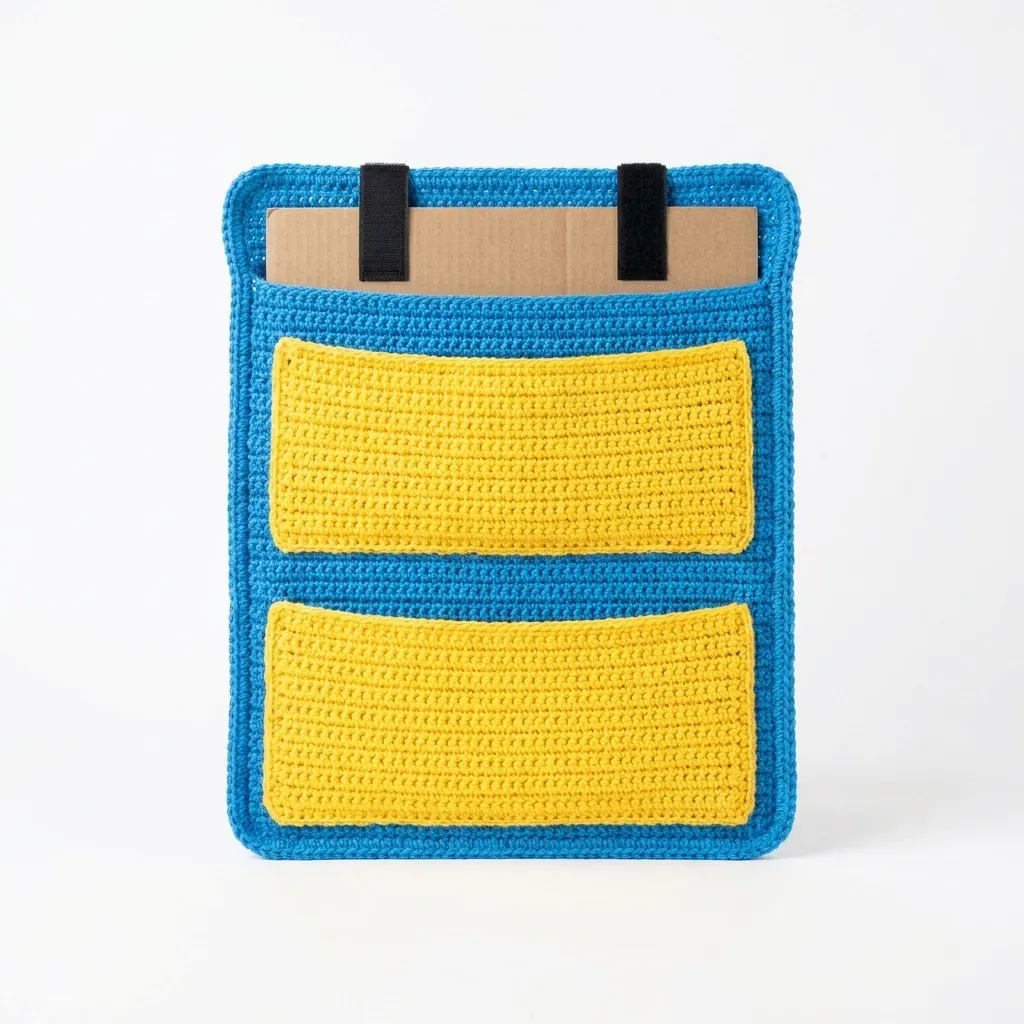
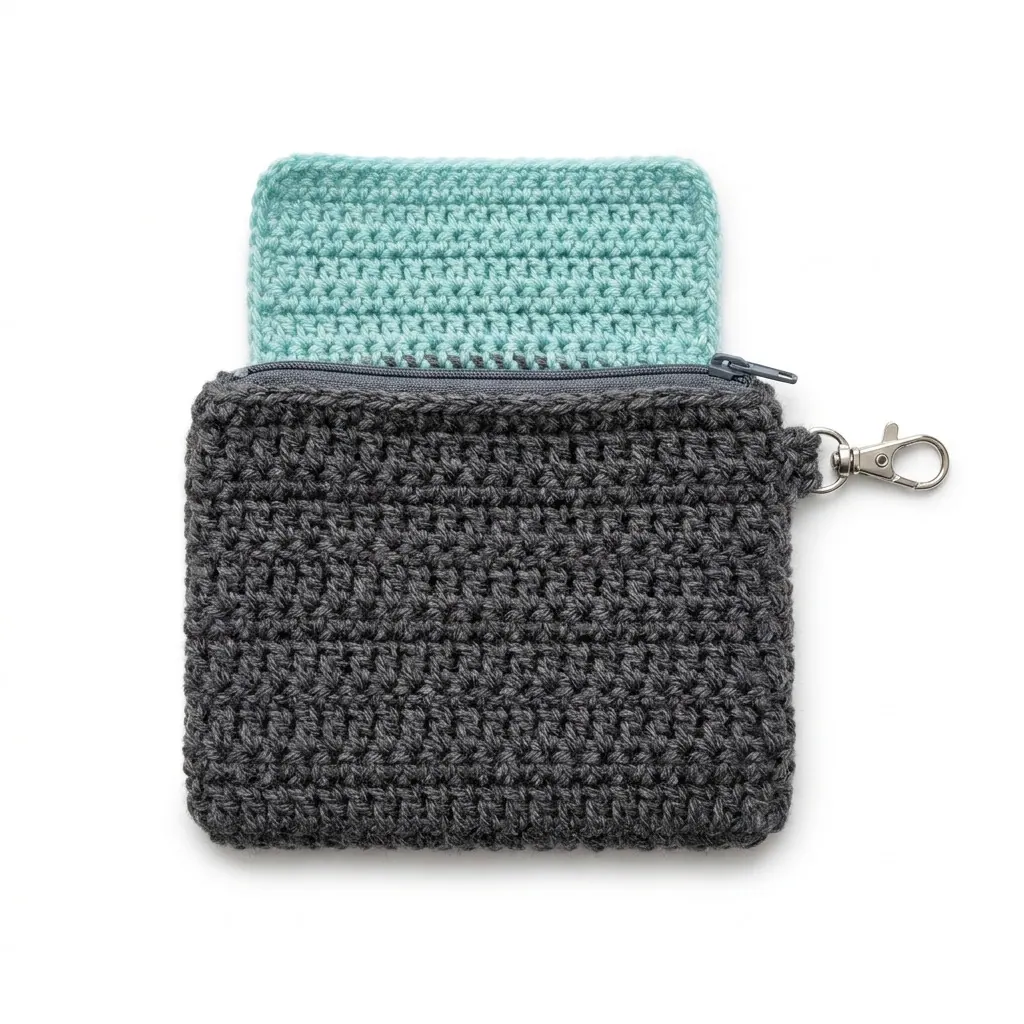
Crochet Monitor Top Pocket Organizer Pattern for Beginners
A free crochet monitor top pocket organizer pattern that helps declutter your workspace with pockets for essential items. Perfect for beginners with easy steps.
Published · by Sara
- Skill level
- Beginner
- Yarn weight
- Worsted (4)
- Hook size
- 5.5 mm (I-9)
- Yardage
- about 300 yards
- Gauge
- 12 dc and 7 rows = 10 cm
- Time
- 4.5 hours
- Sizes
- 46 × 20 cm (18 × 8 in)
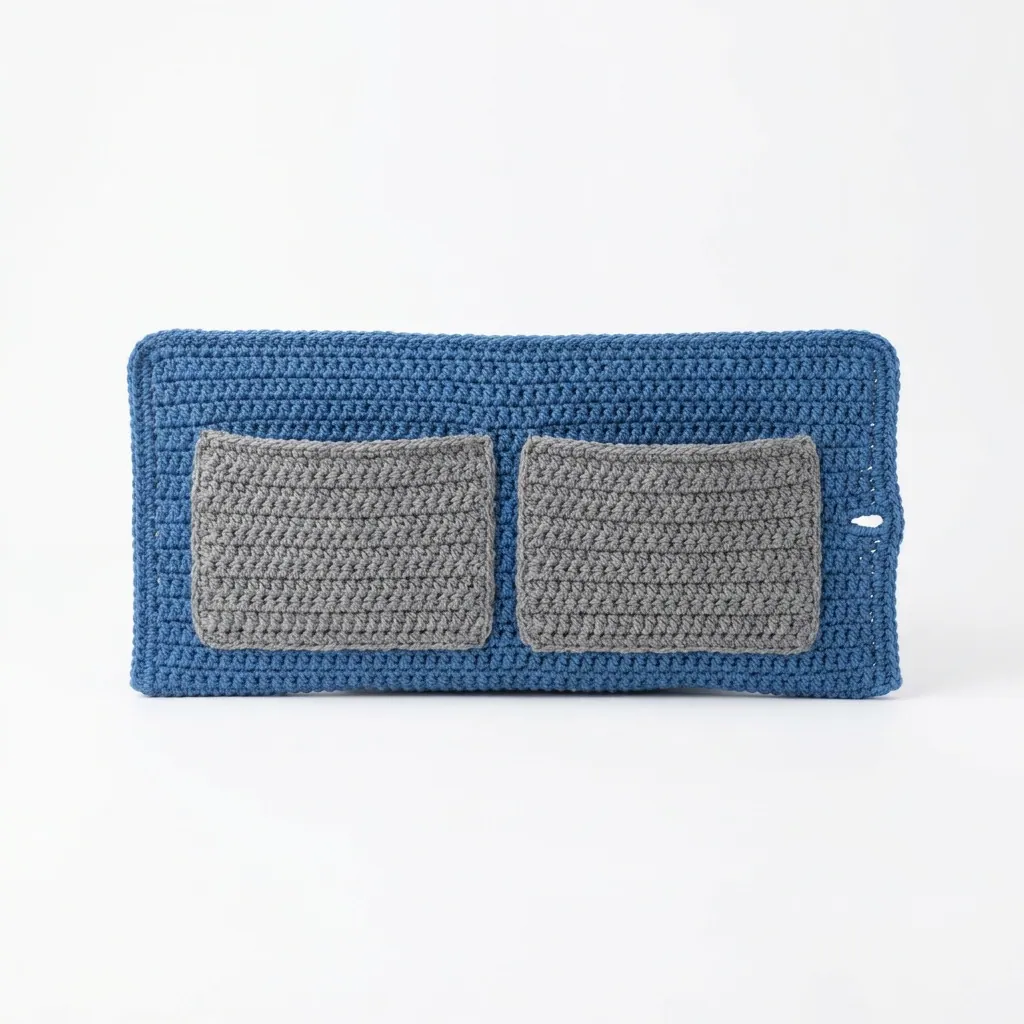
This crochet monitor top pocket organizer pattern makes a practical and stylish accessory that hangs over your computer monitor. It features pockets to hold small items like pens, notepads, and scissors. You’ll enjoy making this easy project using basic double crochet and single crochet stitches.
This project is perfect for beginners looking to enhance their workspace. You’ll learn simple construction techniques and how to create functional pockets.
Why You'll Love This Organizer
- Practical storage – keeps your essential items within reach while working.
- Quick to make – complete this organizer in about 4.5 hours.
- Beginner-friendly – you'll master basic crochet stitches and techniques.
- Customizable – use different colors to match your style or décor.
Is This Pattern Good for Beginners?
Yes! This pattern mainly uses double and single crochet stitches, making it an approachable project. You’ll also practice assembly techniques that help you create practical items.
Crochet Abbreviations (US Terms)
- ch – chain
- dc – double crochet
- sc – single crochet
- sk – skip
- st – stitch
- sl st – slip stitch
- rs – right side
- ws – wrong side
Size and Gauge
- Finished size: approximately 46 × 20 cm (18 × 8 in)
- Gauge: 12 dc and 7 rows = 10 cm (4 in) in double crochet.
Remember to check your gauge by crocheting a swatch of 20 dc over 14 rows. Adjust your hook size if necessary to match the gauge.
Step 1: Making the Body
The body of the organizer is worked in rows.
- Foundation Row: Ch 60, turn. (60 ch)
- Row 1: DC in the 4th ch from hook and in each ch across. (58 dc)
- Row 2: Ch 3 (this counts as your first dc), turn. DC in each dc across. (58 dc)
- Rows 3–20: Repeat Row 2.
- Row 21: Ch 1, turn. SC in the first stitch, SC across. (58 sc)
Step 2: Making the Pockets (Make 2)
The pockets are also worked in rows.
- Foundation for Each Pocket: Ch 20, turn. (20 ch)
- Row 1: DC in the 4th ch from hook and in each ch across. (18 dc)
- Rows 2–10: Repeat Row 2.
- Attach the pockets to the main body by placing them at the center (approximately 15 cm (6 in) from each side) and sewing them down using a tapestry needle.
Step 3: Finishing the Organizer
- Edging: With the main color, SC around the entire top edge of the monitor organizer for a neat finish. Place 2 SC at each corner to round it out.
- Buttonhole: Make a buttonhole on one side of the organizer edge after the SC edging, spacing it evenly to fit your button.
- Assembly: Fold the main body in half and sew the sides together using sl st or whip stitch.
- Weave in all ends with a tapestry needle.
Beginner Tips
- Keep your workspace organized with all materials nearby.
- Maintain even tension as you crochet for a consistent look.
- Check your size as you go to ensure it fits your monitor.
Common Mistakes (and How to Fix Them)
- "My organizer is too small." – You might have crocheted a tight gauge. To fix this, try a bigger hook for a looser stitch.
- "The stitches are uneven." – This often happens due to inconsistent tension. Focus on how tightly you hold your yarn.
- "The pockets are crooked." – They might not be centered. Check your positioning before sewing down to make adjustments.
How to Care for Your Organizer
Hand wash your organizer gently and lay it flat to dry to avoid stretching. This will keep it looking neat and functional for a long time.
FAQ
Can I customize the size?
Yes! Adjust the foundation chain for the body and the number of rows as needed. Be sure to maintain the gauge for best results.
What if I want to change the yarn?
You can substitute any worsted weight yarn. Just ensure the new yarn has similar gauge and fiber content for the best fit.
How long will this take to make?
Expect to spend about 4.5 hours total: 2 hours for the body, 1.5 hours for the pockets, and 1 hour for edging and finishing.
Want a matching set? Check out our crochet purse patterns or see all our free crochet bag patterns.
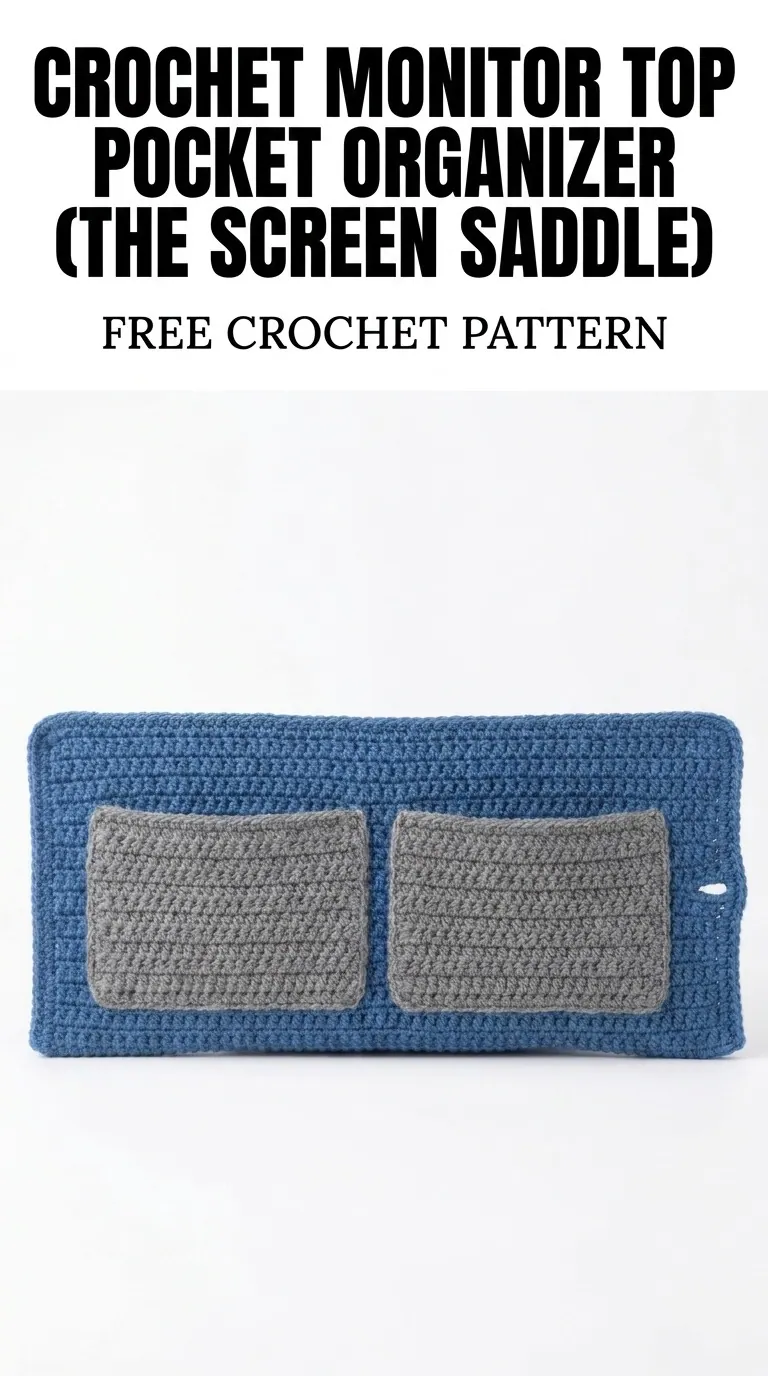
Image shown for inspiration — your finished result may vary slightly.