Free Crochet Car Visor Tissue Holder Pattern for Beginners
A free crochet tissue holder pattern with simple steps that’s perfect for any car owner. Keep tissues easily accessible while driving!
Published · by Sara
- Skill level
- Beginner
- Yarn weight
- Worsted (4)
- Hook size
- 5 mm (H-8)
- Yardage
- about 150 yards
- Gauge
- 14 sc and 16 rows = 4 in
- Time
- 3 hours
- Sizes
- 10 × 6 in (25 × 15 cm)
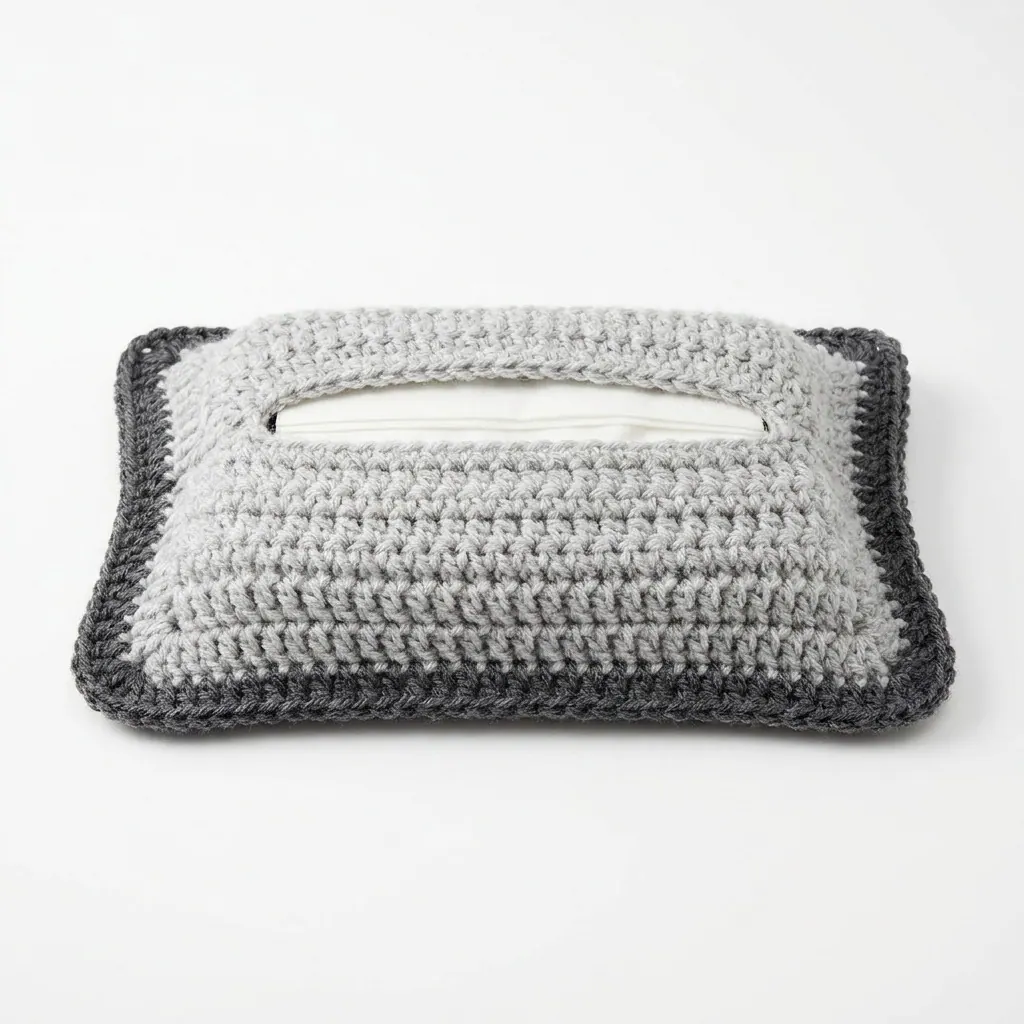
This crochet car visor tissue holder pattern makes a handy accessory to keep tissues close at hand while driving. It features a fun design and is perfect for beginners, using simple stitches like single crochet. You'll enjoy creating this useful project and it makes a great gift for anyone who spends time in their car!
You'll learn how to crochet this practical item while enhancing your skills with basic techniques. Let's dive in and get started!
Why You'll Love This Tissue Holder
- Easy to follow – perfect for beginners and quick to complete.
- Functional design – helps keep tissues organized and accessible.
- Customizable colors – make it uniquely yours with your favorite yarn shades.
- Great gift idea – a thoughtful present for family and friends who drive.
Is This Pattern Good for Beginners?
Yes! This pattern uses simple stitches and straightforward instructions, making it ideal for anyone new to crochet. Don't worry—once you start, you’ll find it easy to follow along!
Crochet Abbreviations (US Terms)
- ch – chain
- sc – single crochet
- sl st – slip stitch
- st(s) – stitch(es)
- inc – increase (2 sc in the same stitch)
Size and Gauge
- Finished Size: 10 × 6 in (25 × 15 cm)
- Gauge: 14 sc and 16 rows = 4 in (10 cm)
Check your gauge before starting. Adjust your hook size if needed!
Step 1: Body of the Holder
The holder is worked in rows.
- Foundation Row: With Color A, ch 30.
- Row 1: Starting in the second ch from the hook, sc in each ch across. (29 sts)
- Row 2: Ch 1, turn. Sc in each sc across. (29 sts)
- Row 3: Ch 1, turn. Sc in the first 5 sts, inc in the next st, sc in the last 23 sts. (30 sts)
- Row 4–11: Repeat Row 2.
- Row 12: Change to Color B. Ch 1, turn. Sc in each sc across. (30 sts)
- Row 13–16: Continue with Color B. Ch 1, turn. Sc in each sc across. (30 sts)
- Row 17: Change back to Color A. Ch 1, turn. Sc in each sc across. (30 sts)
- Row 18–24: Repeat Row 2.
- Row 25: Ch 1, turn. Sc in the first 5 sts, dec (sc2tog) in the next 2 sts, sc in the last 23 sts. (29 sts)
- Row 26–29: Repeat Row 2.
- Row 30: Ch 1, turn. Sc in each sc across. (29 sts)
- Row 31: Ch 1, turn. Sc2tog at the beginning, sc in next 23 sts, sc2tog in the last 2 sts. (27 sts)
- Row 32: Ch 1, turn. Sc in each sc across. (27 sts)
- Row 33: Ch 1, turn. Sc2tog at the beginning, sc in next 21 sts, sc2tog in the last 2 sts. (25 sts)
- Row 34: Ch 1, turn. Sc in each sc across. (25 sts)
- Row 35: Ch 1, turn. Sc2tog at the beginning, sc in next 19 sts, sc2tog in the last 2 sts. (23 sts)
- Row 36: Ch 1, turn. Sc in each sc across. (23 sts)
- Row 37: Ch 1, turn. Sc2tog at the beginning, sc in next 17 sts, sc2tog in the last 2 sts. (21 sts)
- Row 38: Ch 1, turn. Sc in each sc across. (21 sts)
- Row 39: Ch 1, turn. Sc2tog at the beginning, sc in next 15 sts, sc2tog in the last 2 sts. (19 sts)
- Row 40: Ch 1, turn. Sc in each sc across. (19 sts)
- Row 41: Ch 1, turn. Sc2tog at the beginning, sc in next 13 sts, sc2tog in the last 2 sts. (17 sts)
- Row 42: Ch 1, turn. Sc in each sc across. (17 sts)
- Row 43: Ch 1, turn. Sc2tog at the beginning, sc in next 11 sts, sc2tog in the last 2 sts. (15 sts)
- Row 44: Ch 1, turn. Sc in each sc across. (15 sts)
- Row 45: Ch 1, turn. Sc2tog at the beginning, sc in next 9 sts, sc2tog in the last 2 sts. (13 sts)
- Row 46: Ch 1, turn. Sc in each sc across. (13 sts)
- Row 47: Ch 1, turn. Sc2tog at the beginning, sc in next 7 sts, sc2tog in the last 2 sts. (11 sts)
- Row 48: Ch 1, turn. Sc in each sc across. (11 sts)
- Row 49: Ch 1, turn. Sc2tog at the beginning, sc in next 5 sts, sc2tog in the last 2 sts. (9 sts)
- Row 50: Ch 1, turn. Sc in each sc across. (9 sts)
- Row 51: Ch 1, turn. Sc2tog at the beginning, sc in next 3 sts, sc2tog in the last 2 sts. (7 sts)
- Row 52: Ch 1, turn. Sc in each sc across. (7 sts)
- Row 53: Ch 1, turn. Sc2tog at the beginning, sc in last 5 sts. (6 sts)
- Row 54: Ch 1, turn. Sc in each sc across. (6 sts)
- Row 55: Ch 1, turn. Sc2tog at the beginning, sc in last 4 sts. (5 sts)
- Row 56: Ch 1, turn. Sc in each sc across. (5 sts)
- Row 57: Ch 1, turn. Sc2tog at the beginning, sc in last 3 sts. (4 sts)
- Row 58: Ch 1, turn. Sc in each sc across. (4 sts)
- Row 59: Ch 1, turn. Sc2tog at the beginning, sc in last 2 sts. (3 sts)
- Row 60: Ch 1, turn. Sc in each sc across. (3 sts)
- Row 61: Ch 1, turn. Sc2tog at the beginning, sc in last st. (2 sts)
- Row 62: Ch 1, turn. Sc in each sc across. (2 sts)
- Row 63: Ch 1, turn. Sc2tog. (1 st)
Fasten off, leaving a long tail for sewing.
Step 2: Assembly & Finishing
- Fold the holder in half with the right sides facing in, aligning the edges neatly.
- With the tapestry needle and the long tail, whip stitch or sew the sides of the holder closed, ensuring to leave the top open to insert tissues.
- Weave in any loose ends.
- To add a decorative touch, create a simple chain loop with Color A for hanging.
Beginner Tips for a Neat Tissue Holder
- Keep your yarn untangled by using a yarn bowl or a bag.
- Maintain consistent tension for evenly sized stitches.
- Check that your tissue pack fits in the holder before closing it up.
Common Mistakes (and How to Fix Them)
- "My holder is too small." – This can happen if your gauge is off. Always check your gauge and adjust your hook size as needed.
- "The stitches look uneven." – Uneven tension can cause this. Practice keeping your tension consistent as you crochet.
- "I'm confused about the stitch counts." – If you lose stitches, count them at the end of each row to ensure you’re on track.
How to Care for Your Tissue Holder
Hand wash it in cold water and lay it flat to dry. This way, you can keep the tissue holder looking fresh and maintain its shape.
FAQ
Can I customize the size?
Yes! If you need a larger tissue holder, simply add more rows to increase the dimensions for a bigger tissue pack.
What type of yarn can I use?
Feel free to use any worsted weight yarn in your preferred colors. Just ensure it fits the gauge for the best results.
How long will it take to make?
Estimated working time for the body is about 2 hours, with total time around 3 hours, including assembly.
Want a matching set? Check out our crochet purse patterns or see all our free crochet bag patterns.
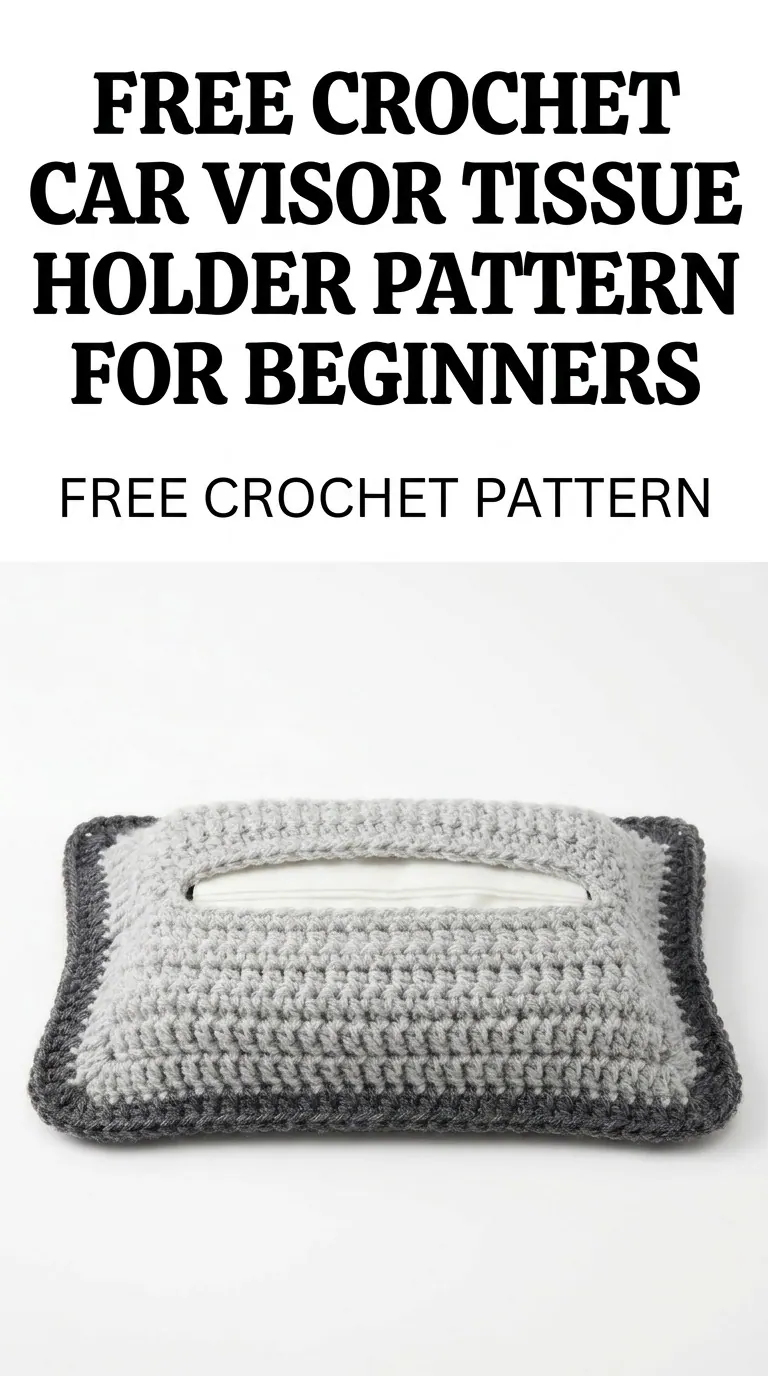
Image shown for inspiration — your finished result may vary slightly.