Free Crochet Chunky Ribbed Beanie Pattern for Adults
A free crochet chunky ribbed beanie pattern with clear steps, perfect for keeping warm this winter.
Published · by Sara
- Skill level
- Beginner
- Yarn weight
- Chunky (5)
- Hook size
- 6.5 mm (K-10.5) and 5.5 mm (I-9)
- Yardage
- approximately 150 yards
- Gauge
- 9 sc and 10 rows = 10 cm
- Time
- about 3 hours
- Sizes
- approximately 51 cm (20 in) circumference, 25 cm (10 in) height
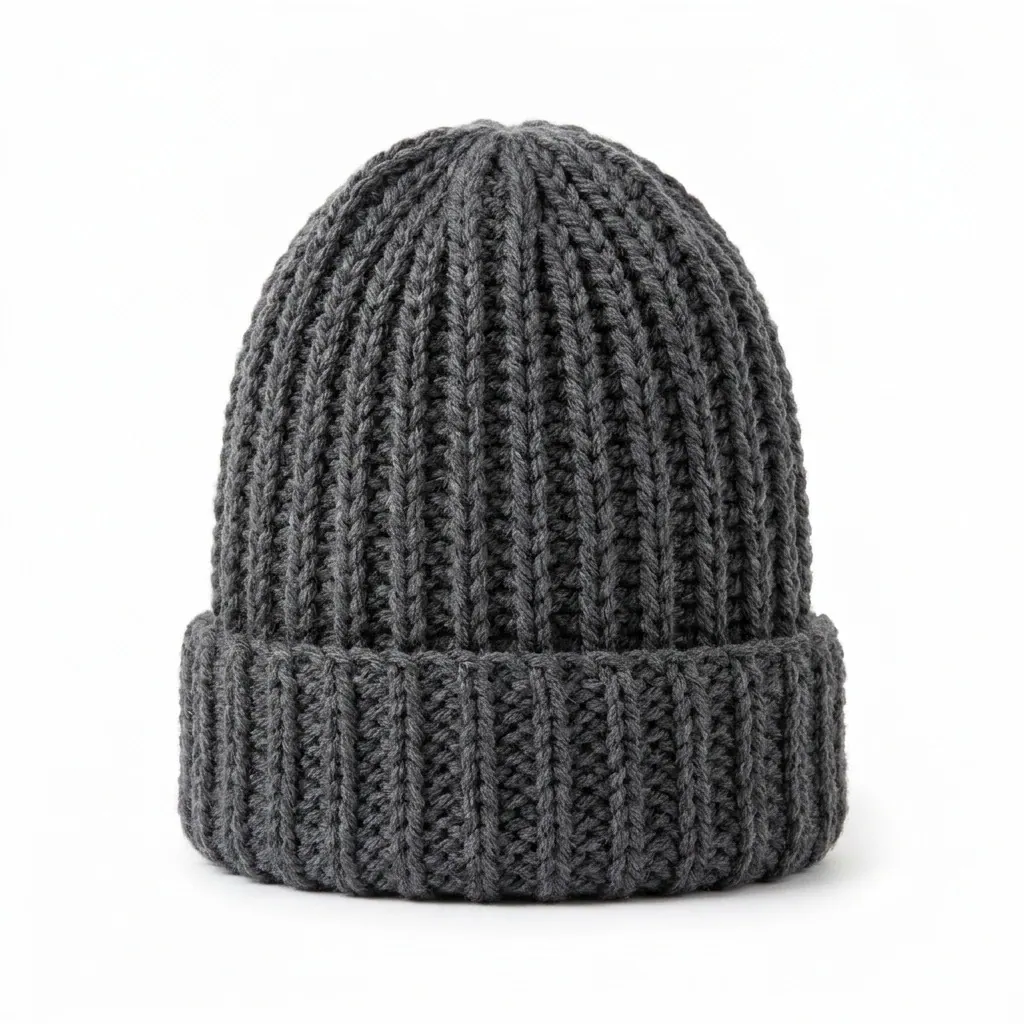
This crochet chunky ribbed beanie pattern makes a stylish and cozy accessory for adults during the colder months. It’s easy to follow, making it a delightful project for those new to crochet. You'll learn the back loop only stitch (BLO) to create that lovely ribbed texture while enjoying the warmth and comfort this beanie provides.
This beanie fits grown-ups perfectly and is great for chilly outdoor adventures. Even if you’re just starting out, you’ll feel accomplished as you create something functional and fashionable.
Why You'll Love This Beanie
- Quick to make – perfect for last-minute gifts or personal use.
- Stylish ribbed texture – adds flair to any winter outfit.
- Versatile colors – easily customize to match your style.
- Warm and cozy – keeps your head snug on chilly days.
Skill Level: Easy
This pattern is perfect for beginners because it primarily uses single crochet and the back loop only technique, which is explained clearly in the instructions.
Crochet Abbreviations (US Terms)
- ch – chain
- sc – single crochet
- sl st – slip stitch
- st(s) – stitch(es)
- BLO – back loop only: working in the back loop creates a ribbed texture.
Size and Gauge
- Finished size: approximately 51 cm (20 in) in circumference, 25 cm (10 in) in height.
- Gauge: 9 sc and 10 rows = 10 cm (4 in).
To check your gauge, make a swatch with 12 sc and 12 rows in the main stitch pattern. Adjust your hook size if necessary.
Step 1: Main Body of Beanie
The main body of the beanie is worked in rows.
- Ch 35 (this counts as your starting chain).
- Row 1: Sc in second ch from hook; sc in each ch across (34 sc).
- Row 2: Ch 1, turn; sc in BLO of each st across (34 sc).
- Repeat Row 2 until the piece measures approximately 25 cm (10 in) in height (total 30 rows).
- Fold the piece in half with the right sides together, aligning edges. Sl st across the long edge to join (34 sc).
Step 2: Brim of the Beanie
Switch to the 5.5 mm (I-9) hook to create the brim.
6. Next Rnd: Ch 1; sc in each st around (34 sc).
7. Rnd 2: Ch 1; sc in first st; sc in next 2 sts, (sc2tog) repeat around (23 sc).
8. Rnd 3: Ch 1; sc in each st around (23 sc).
9. Rnd 4: Ch 1; sc in first st; sc in next st, (sc2tog) repeat around (15 sc).
10. Rnd 5: Ch 1; sc in each st around (15 sc).
11. Rnd 6: Ch 1; (sc2tog) repeat around (7 sc).
12. Rnd 7: Ch 1; (sc2tog) until the final st (4 sc).
13. Cut yarn, leaving a long tail, and thread the tail through remaining stitches. Pull tight and secure with a knot.
Finishing Tip: Weave Ends Neatly
Weave in all ends securely using the tapestry needle. Make sure your beanie has a nice ribbed texture from the BLO sc rows, and the brim should fit snugly around your head. Block gently if needed to shape the beanie.
Beginner Tips for a Neat Beanie
- Stay organized – keep your materials tidy and your work area free from distractions.
- Maintain even tension – try to keep your stitches consistent for the best-looking result.
- Check your size regularly – measure as you go to ensure your beanie fits as expected.
Common Mistakes (and How to Fix Them)
- My beanie is too small. – This could be due to tight stitches or the wrong hook size. Make sure to check your gauge and adjust if necessary.
- The stitches are uneven. – Uneven tension can cause inconsistencies. Practice maintaining even tension throughout your work.
- The ribbing doesn't show well. – Ensure you're using the back loop only as instructed. This creates the desired texture.
How to Care for Your Beanie
Hand wash or machine wash on a gentle cycle; lay flat to dry to maintain its shape. Be gentle to keep your lovely creation in great condition!
FAQ
Can I customize the size?
Yes! You can add more rows to the main body before folding to lengthen the beanie, or adjust the starting chain for a tighter or looser fit.
What yarn can I use instead?
You can substitute with any chunky yarn that matches the gauge and provides warmth. Just remember to adjust your hook size if necessary.
How long does it take to finish?
Most people complete this beanie in about 3 hours, depending on your skill level and pace.
Want a matching set? Check out our crochet purse patterns or see all our free crochet bag patterns.
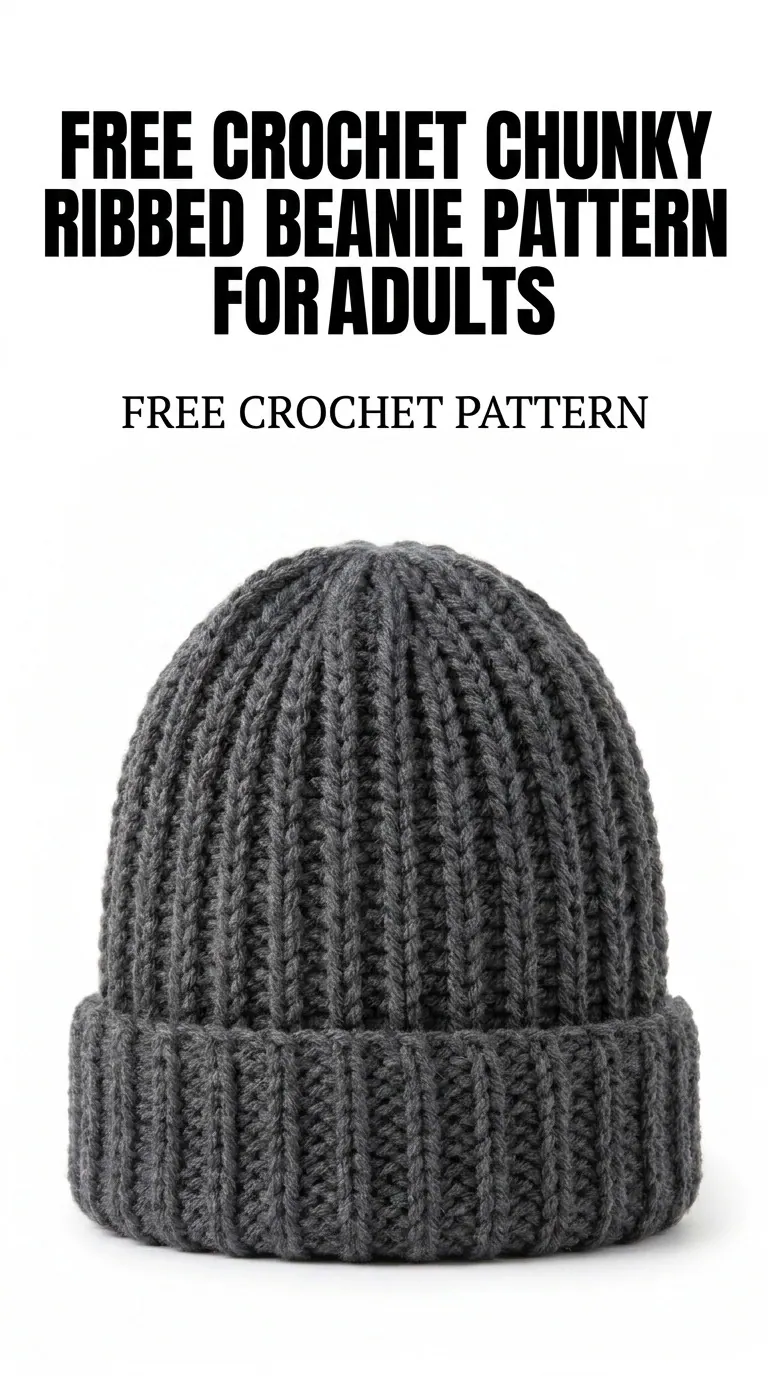
Image shown for inspiration — your finished result may vary slightly.