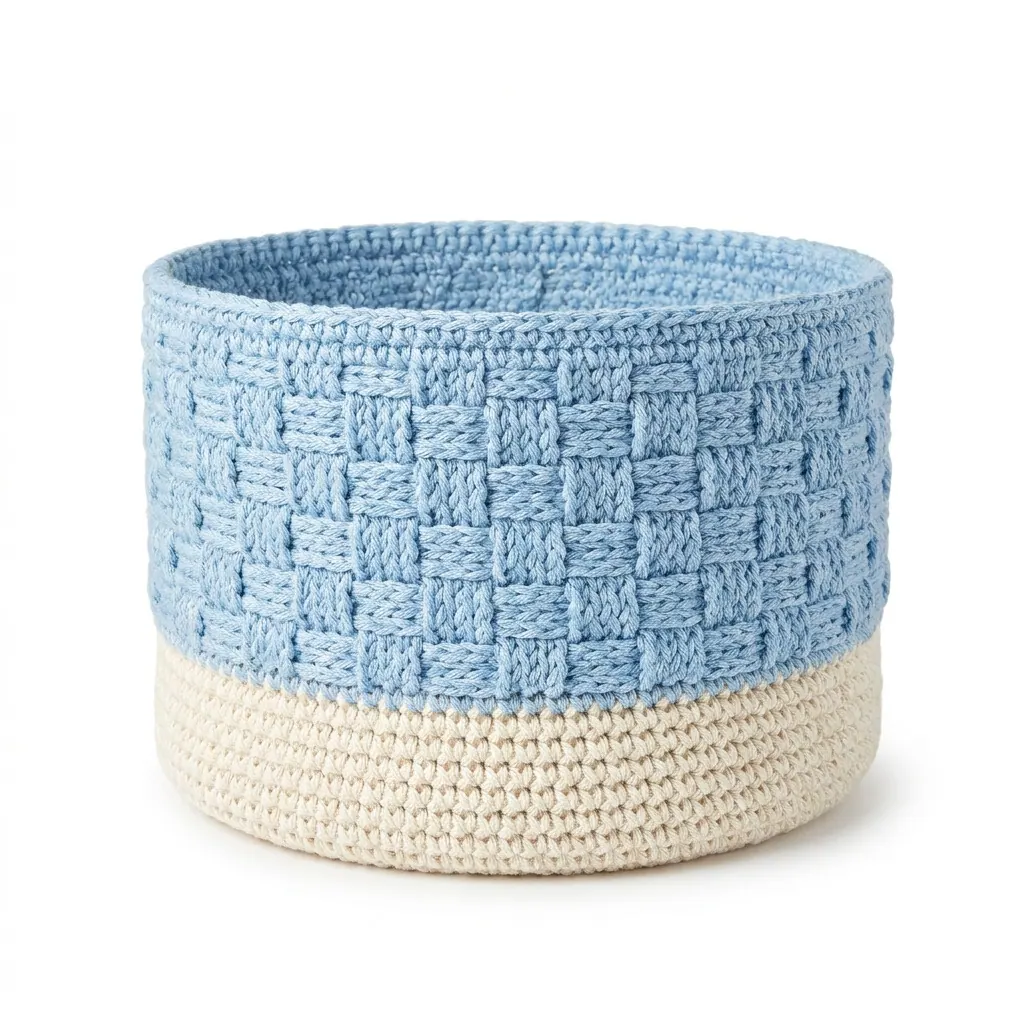
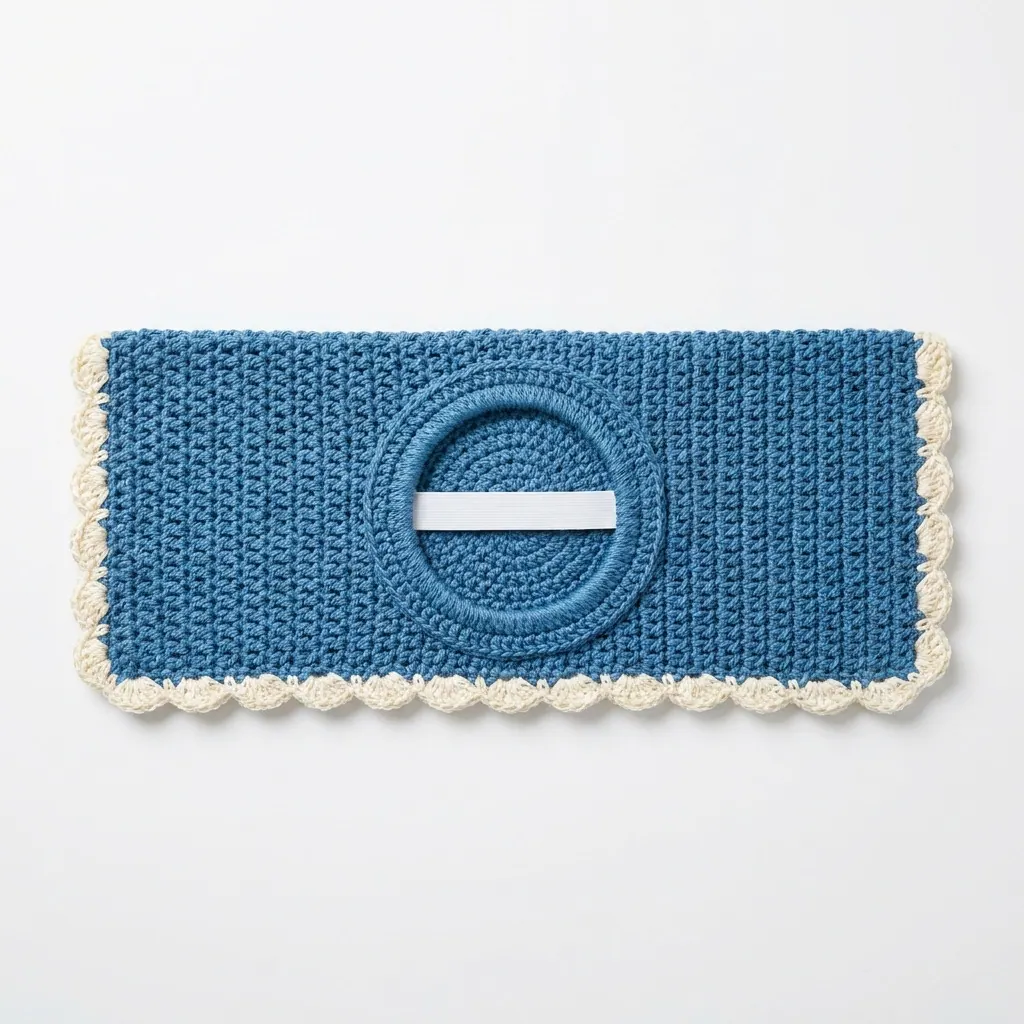
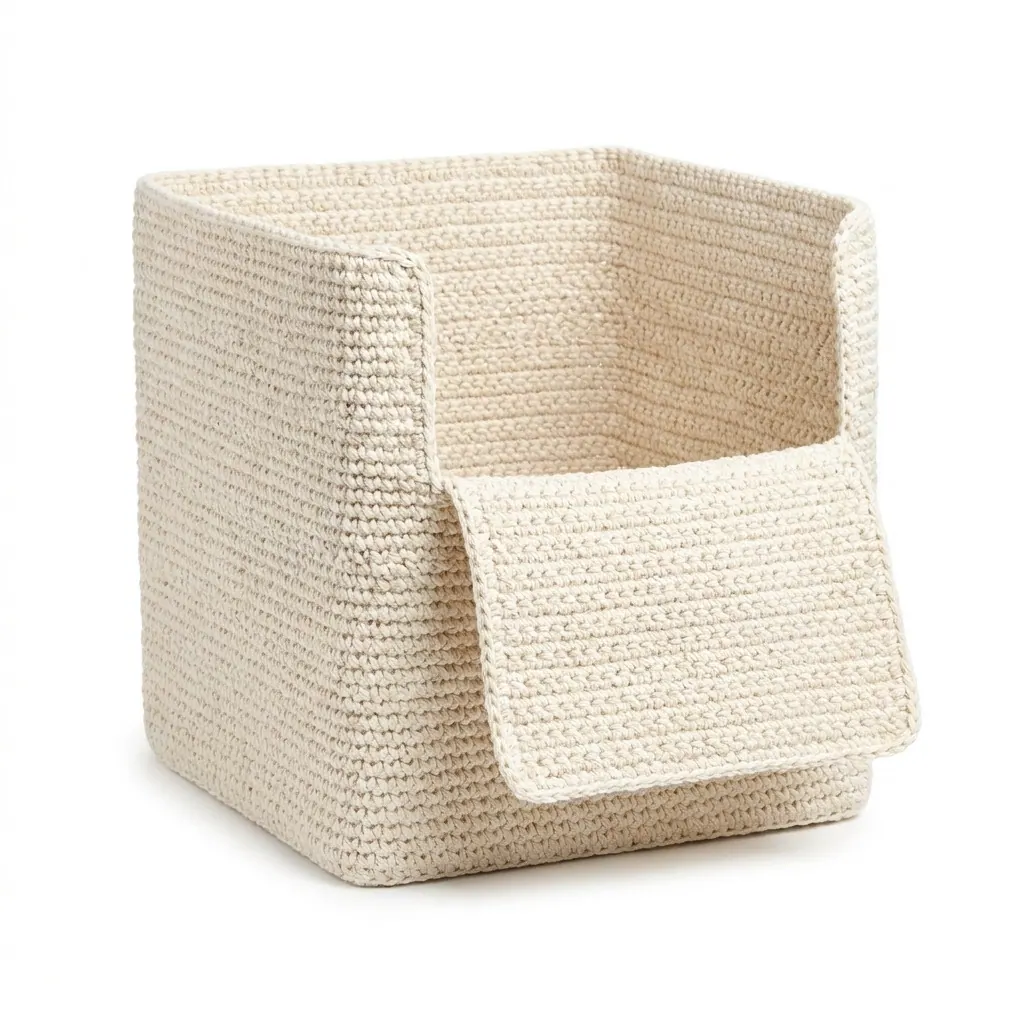
Free Crochet Hanging Cotton Pad Holder Pattern for Bathrooms
A free crochet pattern for a stylish hanging cotton pad holder. Perfect for organizing your bathroom essentials with easy steps for beginners.
Published · by Sara
- Skill level
- Beginner
- Yarn weight
- Worsted (4)
- Hook size
- 5 mm (H-8)
- Yardage
- about 150 yards for Color A, 50 yards for Color B
- Gauge
- 15 dc x 9 rows = 10 cm
- Time
- about 3 hours
- Sizes
- 25.4 × 30.5 cm (10 × 12 in)
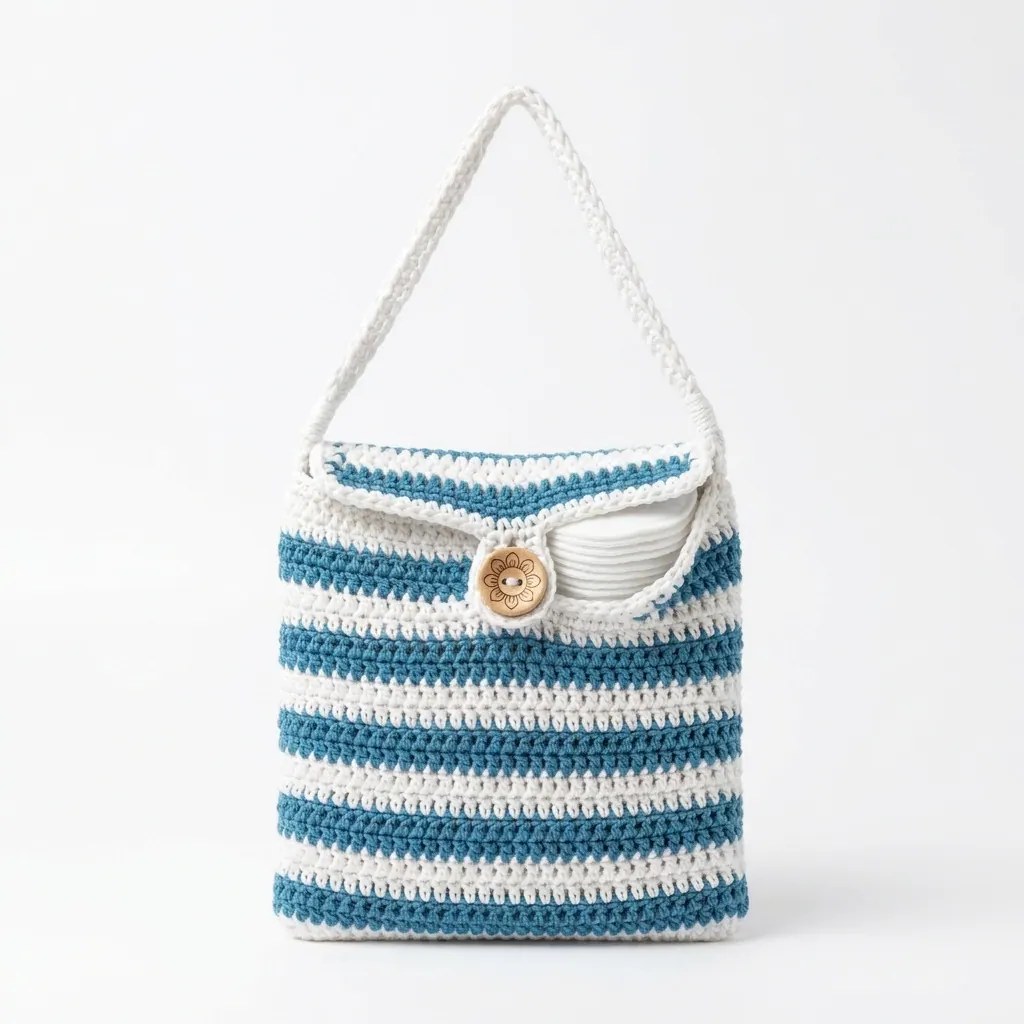
This crochet hanging cotton pad holder pattern makes a stylish and functional piece to organize cotton pads in your bathroom. It's easy to follow, using basic stitches like double crochet and single crochet, making it enjoyable for both beginners and experienced crafters. You’ll learn how to create a practical storage solution while improving your crochet skills.
Why You'll Love This Hanging Cotton Pad Holder
- Easy to make – perfect for beginners and a great way to practice your stitches.
- Functional design – keeps your cotton pads organized and easily accessible.
- Customizable – change colors or add a lining to fit your decor.
- Quick project – finish in about three hours, ideal for a last-minute gift.
Crochet Abbreviations (US Terms)
- ch – chain
- dc – double crochet
- sl st – slip stitch
- sc – single crochet
- st(s) – stitch(es)
- RS – Right Side
- WS – Wrong Side
Size and Gauge
- Finished dimensions: 25.4 × 30.5 cm (10 × 12 in), including hanger.
- Body dimensions without hanger: 25.4 × 20.3 cm (10 × 8 in).
- Gauge: 15 dc and 9 rows = 10 cm (4 in). Check your gauge by making a swatch. If necessary, adjust your hook size to match.
Step 1: Making the Body
The body is crocheted as a flat piece.
- Foundation Chain: Using Color A, ch 40.
- Row 1: Dc in 4th ch from hook, dc in each ch across, turn. (38 sts)
- Row 2: Ch 2 (counts as dc here and throughout), dc in next st, *2 dc in next st, dc in next st; repeat from * across to last 2 sts, 2 dc in last st, turn. (57 sts)
- Rows 3-10: Ch 2, dc in each st across, turn. (57 sts)
- Row 11: Ch 2, *dc in next 10 sts, 2 dc in next st; repeat from * to last st, dc in last st, turn. (63 sts)
- Rows 12-15: Ch 2, dc in each st across, turn. (63 sts)
- Row 16: Ch 1, sc in each st across, turn. (63 sts)
Step 2: Creating the Hanger
The hanger is worked at the top of the body.
8. Row 17: Ch 1, sc in first st, ch 20 for hanger; sl st in same st as sc. Cut yarn. (20 ch)
9. Fasten off and weave in all ends.
How to Assemble and Finish
- Fold the body in half, bringing Rows 16 and 1 together.
- Sew the sides together using slip stitches or whip stitch, leaving the top open for inserting cotton pads.
- Attach the button on the top center (Row 1 side) to serve as a closure for the flap.
- If using a lining, cut the desired size fabric, place it inside, and sew along the edges to secure it.
Beginner Tips for a Neat Hanging Cotton Pad Holder
- Keep your work organized by using stitch markers to mark your rows.
- Check your tension often to ensure even stitches throughout.
- Measure your foundation chain to ensure it's not too tight, making it easier to work subsequent rows.
Common Mistakes (and How to Fix Them)
- "My holder is too small." – This could be due to too few foundation chains. Make sure you start with the correct chain count.
- "The stitches are uneven." – This often happens with inconsistent tension. Try to maintain equal tension throughout your work.
- "I can’t fit cotton pads in." – Check if you left enough room at the top for inserting pads. Ensure you don’t sew the sides too high when finishing.
How to Care for Your Hanging Cotton Pad Holder
To keep your cotton pad holder looking its best, hand wash in cold water and lay flat to dry. This will help maintain its shape and color.
FAQ
Can I customize the size?
Yes! You can adjust the foundation chain to make the holder wider or narrower, keeping in mind that it will affect the overall dimensions.
What other yarn can I use?
You can substitute with any worsted weight yarn (Category 4) in colors that match your aesthetic. Just make sure to check the gauge!
How long does it take to make?
On average, this project takes about three hours to complete, making it great for a quick handmade gift.
Want a matching set? Check out our crochet purse patterns or see all our free crochet bag patterns.
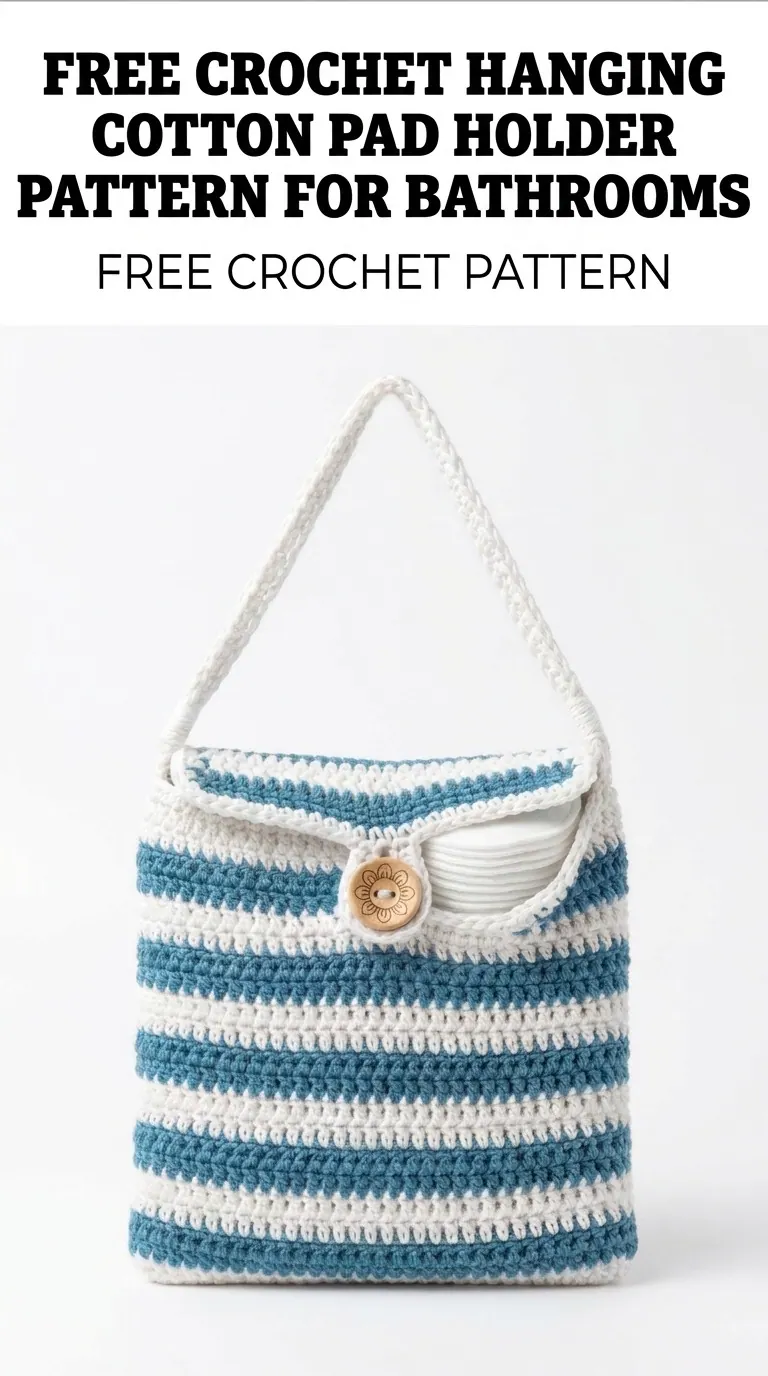
Image shown for inspiration — your finished result may vary slightly.