Free Crochet Tissue Box Cover Pattern for Beginners
A free, beginner-friendly pattern for a cozy crochet tissue box cover that enhances your decor. Quick and easy to make, with customizable colors.
Published · by Sara
- Skill level
- Beginner
- Yarn weight
- Worsted (4)
- Hook size
- 5.0 mm (H-8)
- Yardage
- about 150 yards
- Gauge
- 10 dc and 5 rows = 10 cm
- Time
- 2 hours
- Sizes
- 15 × 14 cm (6 × 5.5 in)
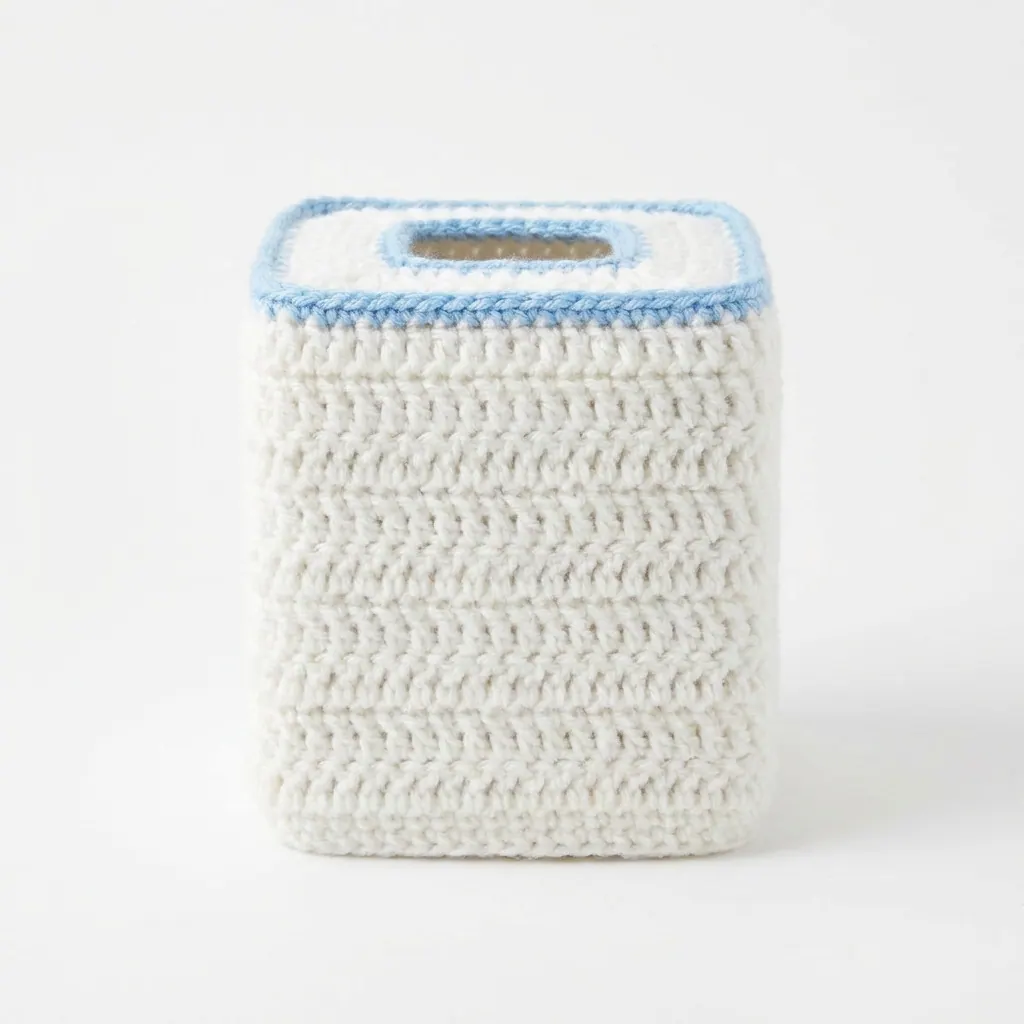
This crochet tissue box cover pattern is a delightful way to add a touch of charm to your home decor while keeping your tissue boxes stylish. It's easy and fun to make, using basic stitches like single crochet and double crochet. You’ll enjoy creating this cozy cover that fits standard square tissue boxes.
This project is perfect for anyone looking to personalize their space. Along the way, you'll learn some fundamental crochet techniques and perhaps try out a few color variations for a unique touch.
Why You'll Love This Tissue Box Cover
- Functional and stylish – brings a splash of color and personality to any room.
- Quick to complete – you can make it in about 2 hours, perfect for a weekend project.
- Customizable colors – choose your favorite shades to match your decor.
- Great for gifting – a thoughtful handmade present for friends and family.
Crochet Abbreviations (US Terms)
- ch – chain
- sc – single crochet
- dc – double crochet
- sl st – slip stitch
- rnd – round
- st(s) – stitch(es)
- sk – skip
- inc – increase (2 stitches in the same stitch)
Gauge and Finished Size
- Gauge: 10 dc and 5 rows = 10 cm (4 in).
- Finished Size: Approximately 15 cm (6 in) high and 14 cm (5.5 in) on each side.
Step 1: Body of Tissue Box Cover
The body is worked in rows.
Foundation: Ch 26.
(25 sts)Row 1: Sc in 2nd ch from hook, sc in next 24 ch, turn.
(25 sts)Row 2: Ch 3 (counts as first dc), dc in next 24 sc, turn.
(25 sts)Row 3: Ch 1, sc in 1st st, dc in next st, sc in next st, repeat from * to * across, turn.
(25 sts)Row 4: Repeat Row 2.
(25 sts)Row 5: Repeat Row 3.
(25 sts)Rows 6–10: Repeat Rows 2 and 3 for 5 additional rows. (Total of 10 rows completed)
(25 sts)Row 11: Ch 1, sc all the way across, turn.
(25 sts)Row 12: Ch 3, dc all the way across, turn.
(25 sts)Row 13: Ch 1, sc all the way across, turn.
(25 sts)Row 14: Ch 1, sc in first 12 sts, (inc in next st) 1 time, sc in last 12 sts, turn.
(26 sts)Row 15: Ch 3, dc all the way across, turn.
(26 sts)Row 16: Repeat Row 14.
(27 sts)Row 17: Repeat Row 15.
(27 sts)Rows 18–22: Alternate between Row 14 (until 30 sts) and Row 15, creating depth for the box.
(30 sts after Row 22)
Step 2: Finishing the Tissue Box Cover
Row 23: Ch 1, sc all the way across, changing to Accent Color (Light Blue) in the last st.
(30 sts)Row 24: Ch 3, dc all the way across, turn.
(30 sts)Row 25: Ch 1, sc in first 30 sts, do not fasten off.
(30 sts)
Step 3: Assembling the Cover
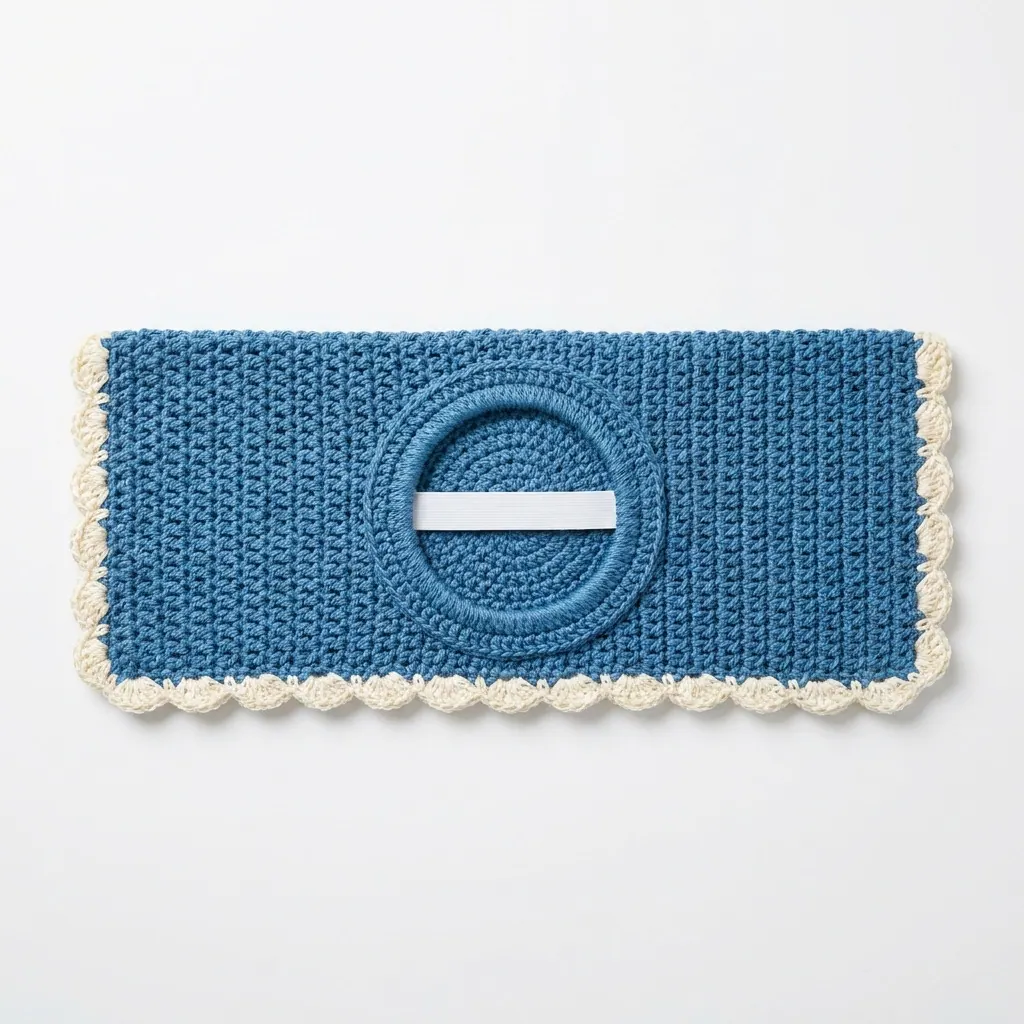
- Sides: Fold the rectangle of the cover in half and stitch up the edges using slip stitch, ensuring that you leave the top open for tissues.
Adding the Edging
- Edging: Sc around the top opening of the cover for a clean finish, fastening off after completing the round.
Beginner Tips for a Neat Tissue Box Cover
- Keep your yarn organized – untangled yarn makes for easier crocheting.
- Maintain an even tension – check your stitches regularly to avoid unevenness.
- Measure as you go – ensuring your work fits the tissue box will help achieve the proper size.
Common Mistakes (and How to Fix Them)
- My cover is too small. – This usually means your gauge swatch didn’t match; try a larger hook.
- The stitches are uneven. – This can happen if your tension varies; practice keeping tension consistent.
- I can’t fit the tissues in. – If you've stitched too tightly, consider loosening up and adjusting your tension.
How to Care for Your Tissue Box Cover
To keep your tissue box cover looking great, hand wash it in cool water and reshape it as needed. Lay it flat to dry to maintain its shape.
FAQ
Can I customize the size?
Yes! You can adjust the foundation chain and number of rows to fit different sizes of tissue boxes, just ensure that the cover remains proportional.
What if I want to use different yarn?
That's perfectly fine! You can substitute yarn as long as you check your gauge to maintain the cover's dimensions.
How long will it take to make?
The estimated working time is about 2 hours in total, making it a quick and satisfying project.
Want a matching set? Check out our crochet purse patterns or see all our free crochet bag patterns.
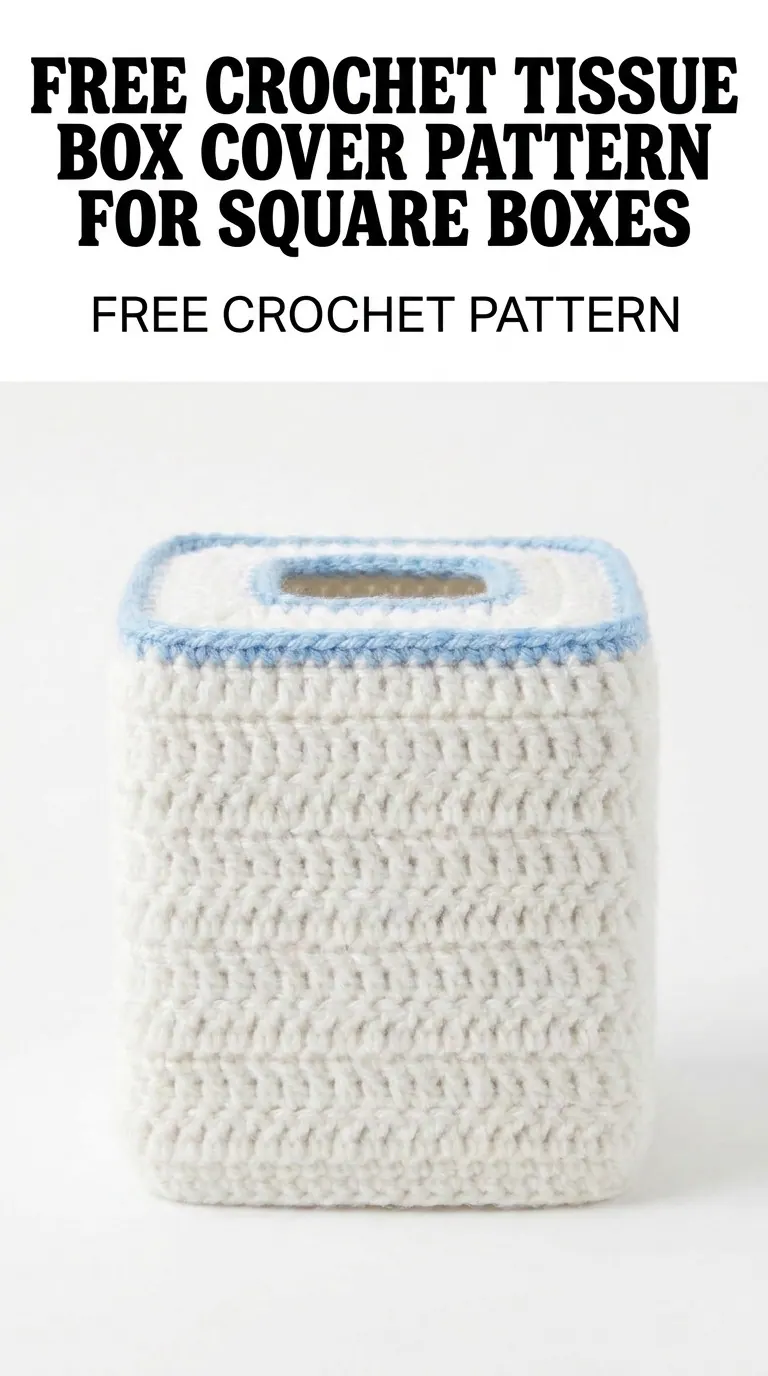
Image shown for inspiration — your finished result may vary slightly.