How to Crochet a Basket Lid That Fits Snugly Every Time
A free crochet basket lid pattern with straightforward steps and helpful tips. Perfect for keeping your basket contents secure.
Published · by Sara
- Skill level
- Intermediate
- Yarn weight
- Medium Worsted (4)
- Hook size
- 5.5 mm (I-9)
- Yardage
- about 200 yards
- Gauge
- 12 dc and 6 rows = 10 cm
- Time
- approximately 3 hours
- Sizes
- 30.5 cm (12 in)
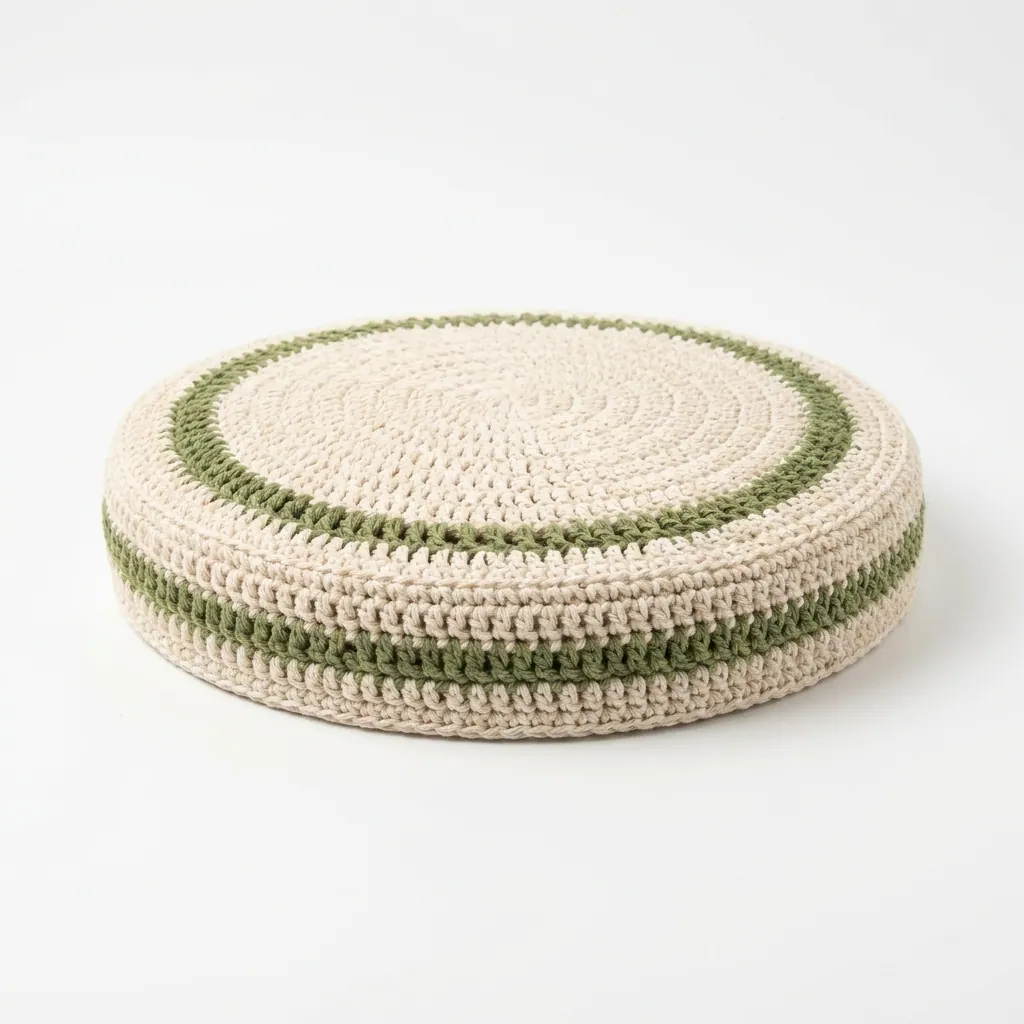
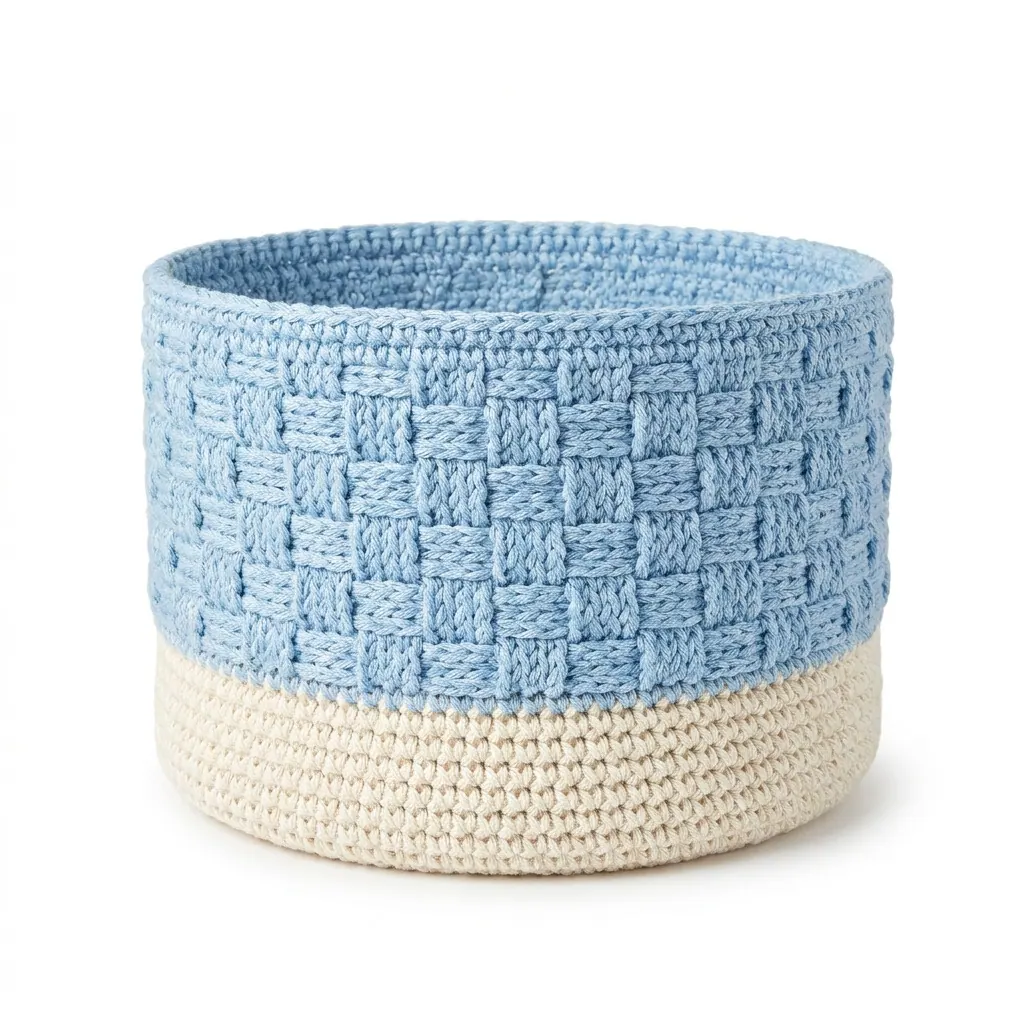
This crochet basket lid pattern makes a snug-fit lid designed to perfectly cover a standard-sized basket, keeping your contents secure and protected. It’s both functional and decorative, adding a lovely touch to your woven basket. In this project, we’ll be working with basic stitches like double crochet and single crochet, making it a great choice for those with some crochet experience.
You'll learn how to crochet in rounds and create textured patterns, giving your lid a professional finish. This project is perfect for anyone looking to enhance their crochet skills while making something practical for their home.
Why You'll Love This Crochet Basket Lid
- Perfect Fit – Designed to snugly cover your basket, ensuring contents are secure.
- Functional and Decorative – Adds an attractive element to your home decor.
- Easy to Customize – Change colors or add textures to match your style.
- Quick Project – Complete it in about 3 hours for a rewarding experience.
Is This Pattern Good for Beginners?
Yes! While this pattern is categorized as intermediate due to some stitches, if you have a bit of experience, you'll find it very manageable. The step-by-step instructions guide you along, and you'll build on skills you already have.
Crochet Abbreviations (US Terms)
- ch – chain
- sl st – slip stitch
- sc – single crochet
- dc – double crochet
- inc – increase (two dc in the same stitch)
- sk – skip
- st – stitch
Size and Gauge
- Finished Lid Diameter: 30.5 cm (12 in)
- Lid Height: 3.8 cm (1.5 in)
- Gauge: 12 dc and 6 rows = 10 cm (4 in) in double crochet. Check your gauge with a swatch to ensure the right fit for your basket.
Step 1: Start the Circle
The base of the lid is crocheted in rounds.
- With Color A, make a magic ring.
- Round 1: Ch 3 (counts as 1st dc), 11 dc in ring, pull ring tight. Join with sl st to top of ch-3. (12 sts)
- Round 2: Ch 3, 1 dc in same st, 2 dc in each st around, join. (24 sts)
- Round 3: Ch 3, *1 dc in next st, 2 dc in next st; repeat from * around, join. (36 sts)
- Round 4: Ch 3, *1 dc in next 2 sts, 2 dc in next st; repeat from * around, join. (48 sts)
Step 2: Continue Expanding
This part continues to increase the size of the circle. 6. Round 5: Ch 3, *1 dc in next 3 sts, 2 dc in next st; repeat from * around, join. (60 sts) 7. Round 6: Ch 3, *1 dc in next 4 sts, 2 dc in next st; repeat from * around, join. (72 sts)
Step 3: Create the Brim
The brim adds a structured edge to the lid. 8. Round 7: Ch 1, sc in each st around, join with sl st. (72 sts)
Step 4: Add Texture
We’ll introduce some decorative elements now. 9. Round 8: Ch 3, dc in each st around, join. (72 sts) 10. Round 9: Ch 1, *sc in next st, ch 1, sk next st; repeat from * around, join. (36 ch-1 spaces)
Step 5: Finish the Lid
The finishing rounds will complete our project. 11. Round 10: In the first ch-1 space, (ch 3, 2 dc), in same space, *skip next ch-1 space, in next space (3 dc); repeat from * around, join. (36 sts) 12. Round 11: Ch 1, sc in each dc around, join. (72 sts)
Finishing Tip: Weave Ends Neatly
After completing your lid, weave in all the ends using a tapestry needle.
To block your lid, wet it and stretch it into shape on a blocking mat, using pins if needed. If desired, apply fabric stiffener for added firmness and let it dry according to the product instructions.
Beginner Tips for a Neat Basket Lid
- Keep Your Tension Consistent – This helps ensure the perfect fit around your basket.
- Use Stitch Markers – Mark where each round begins to keep track of your progress.
- Check Your Gauge – A quick gauge check can save time and ensure the right fit.
Common Mistakes (and How to Fix Them)
- My lid is too small. – This usually happens from not following the gauge. If it's too tight, go up a hook size and try again.
- The stitches look uneven. – This is often due to inconsistent tension. Relax your grip or take breaks to reset.
- I'm not sure how to block my project. – Wet the piece, shape it, and secure it with pins to hold the form.
How to Care for Your Crochet Basket Lid
Hand wash with mild soap and lay it flat to dry. This method helps preserve its shape and color, keeping your project looking great for a long time.
FAQ
Can I customize the size?
Yes! If you need a different size, adjust the number of stitches in the beginning rounds while keeping the increase pattern.
What type of yarn can I use?
You can substitute with any medium worsted weight yarn, but ensure it's durable and can hold its shape, like 100% cotton.
How long will this take to finish?
The estimated total time is about 3 hours, broken into 2 hours for crocheting and 1 hour for finishing and blocking.
Enjoy creating your snug-fitting crochet basket lid! Want a matching set? Check out our crochet purse patterns or see all our free crochet bag patterns.
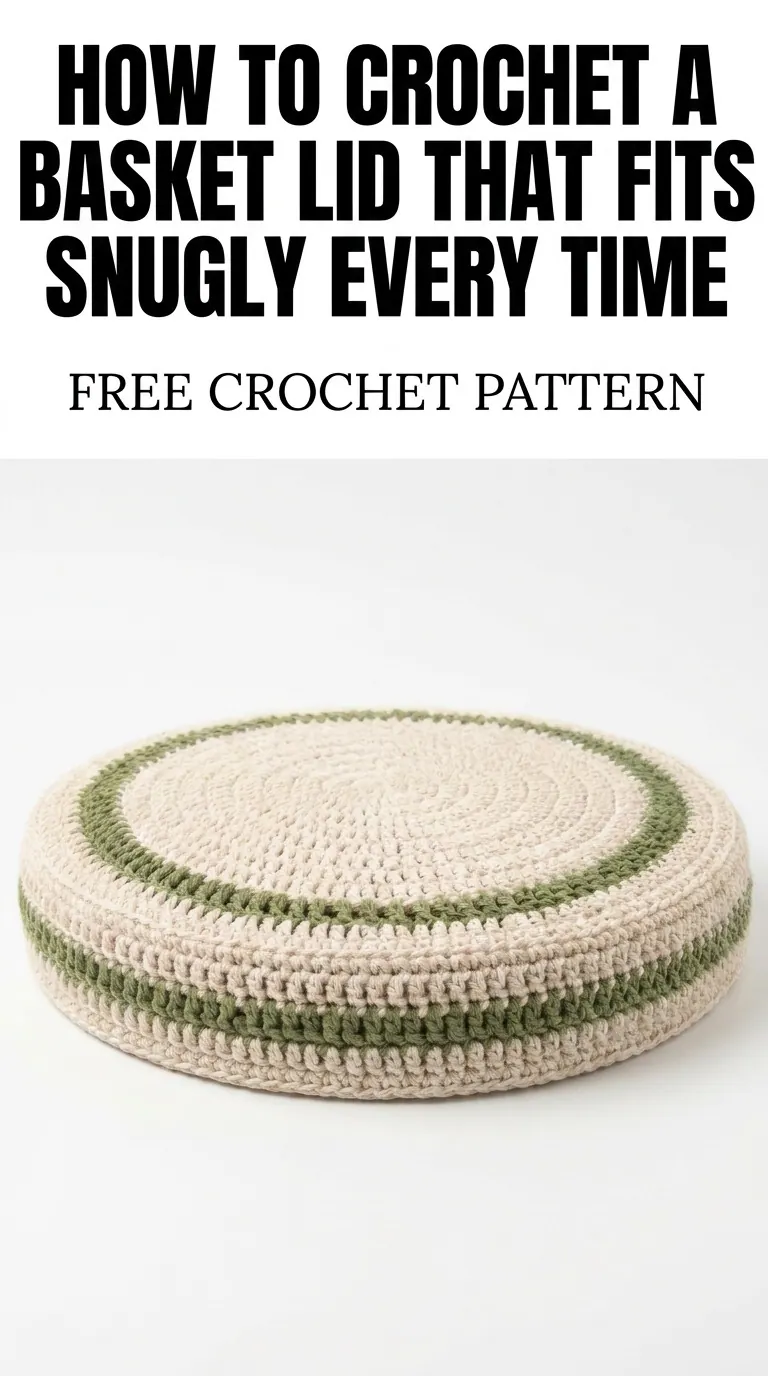
Image shown for inspiration — your finished result may vary slightly.